Introduction
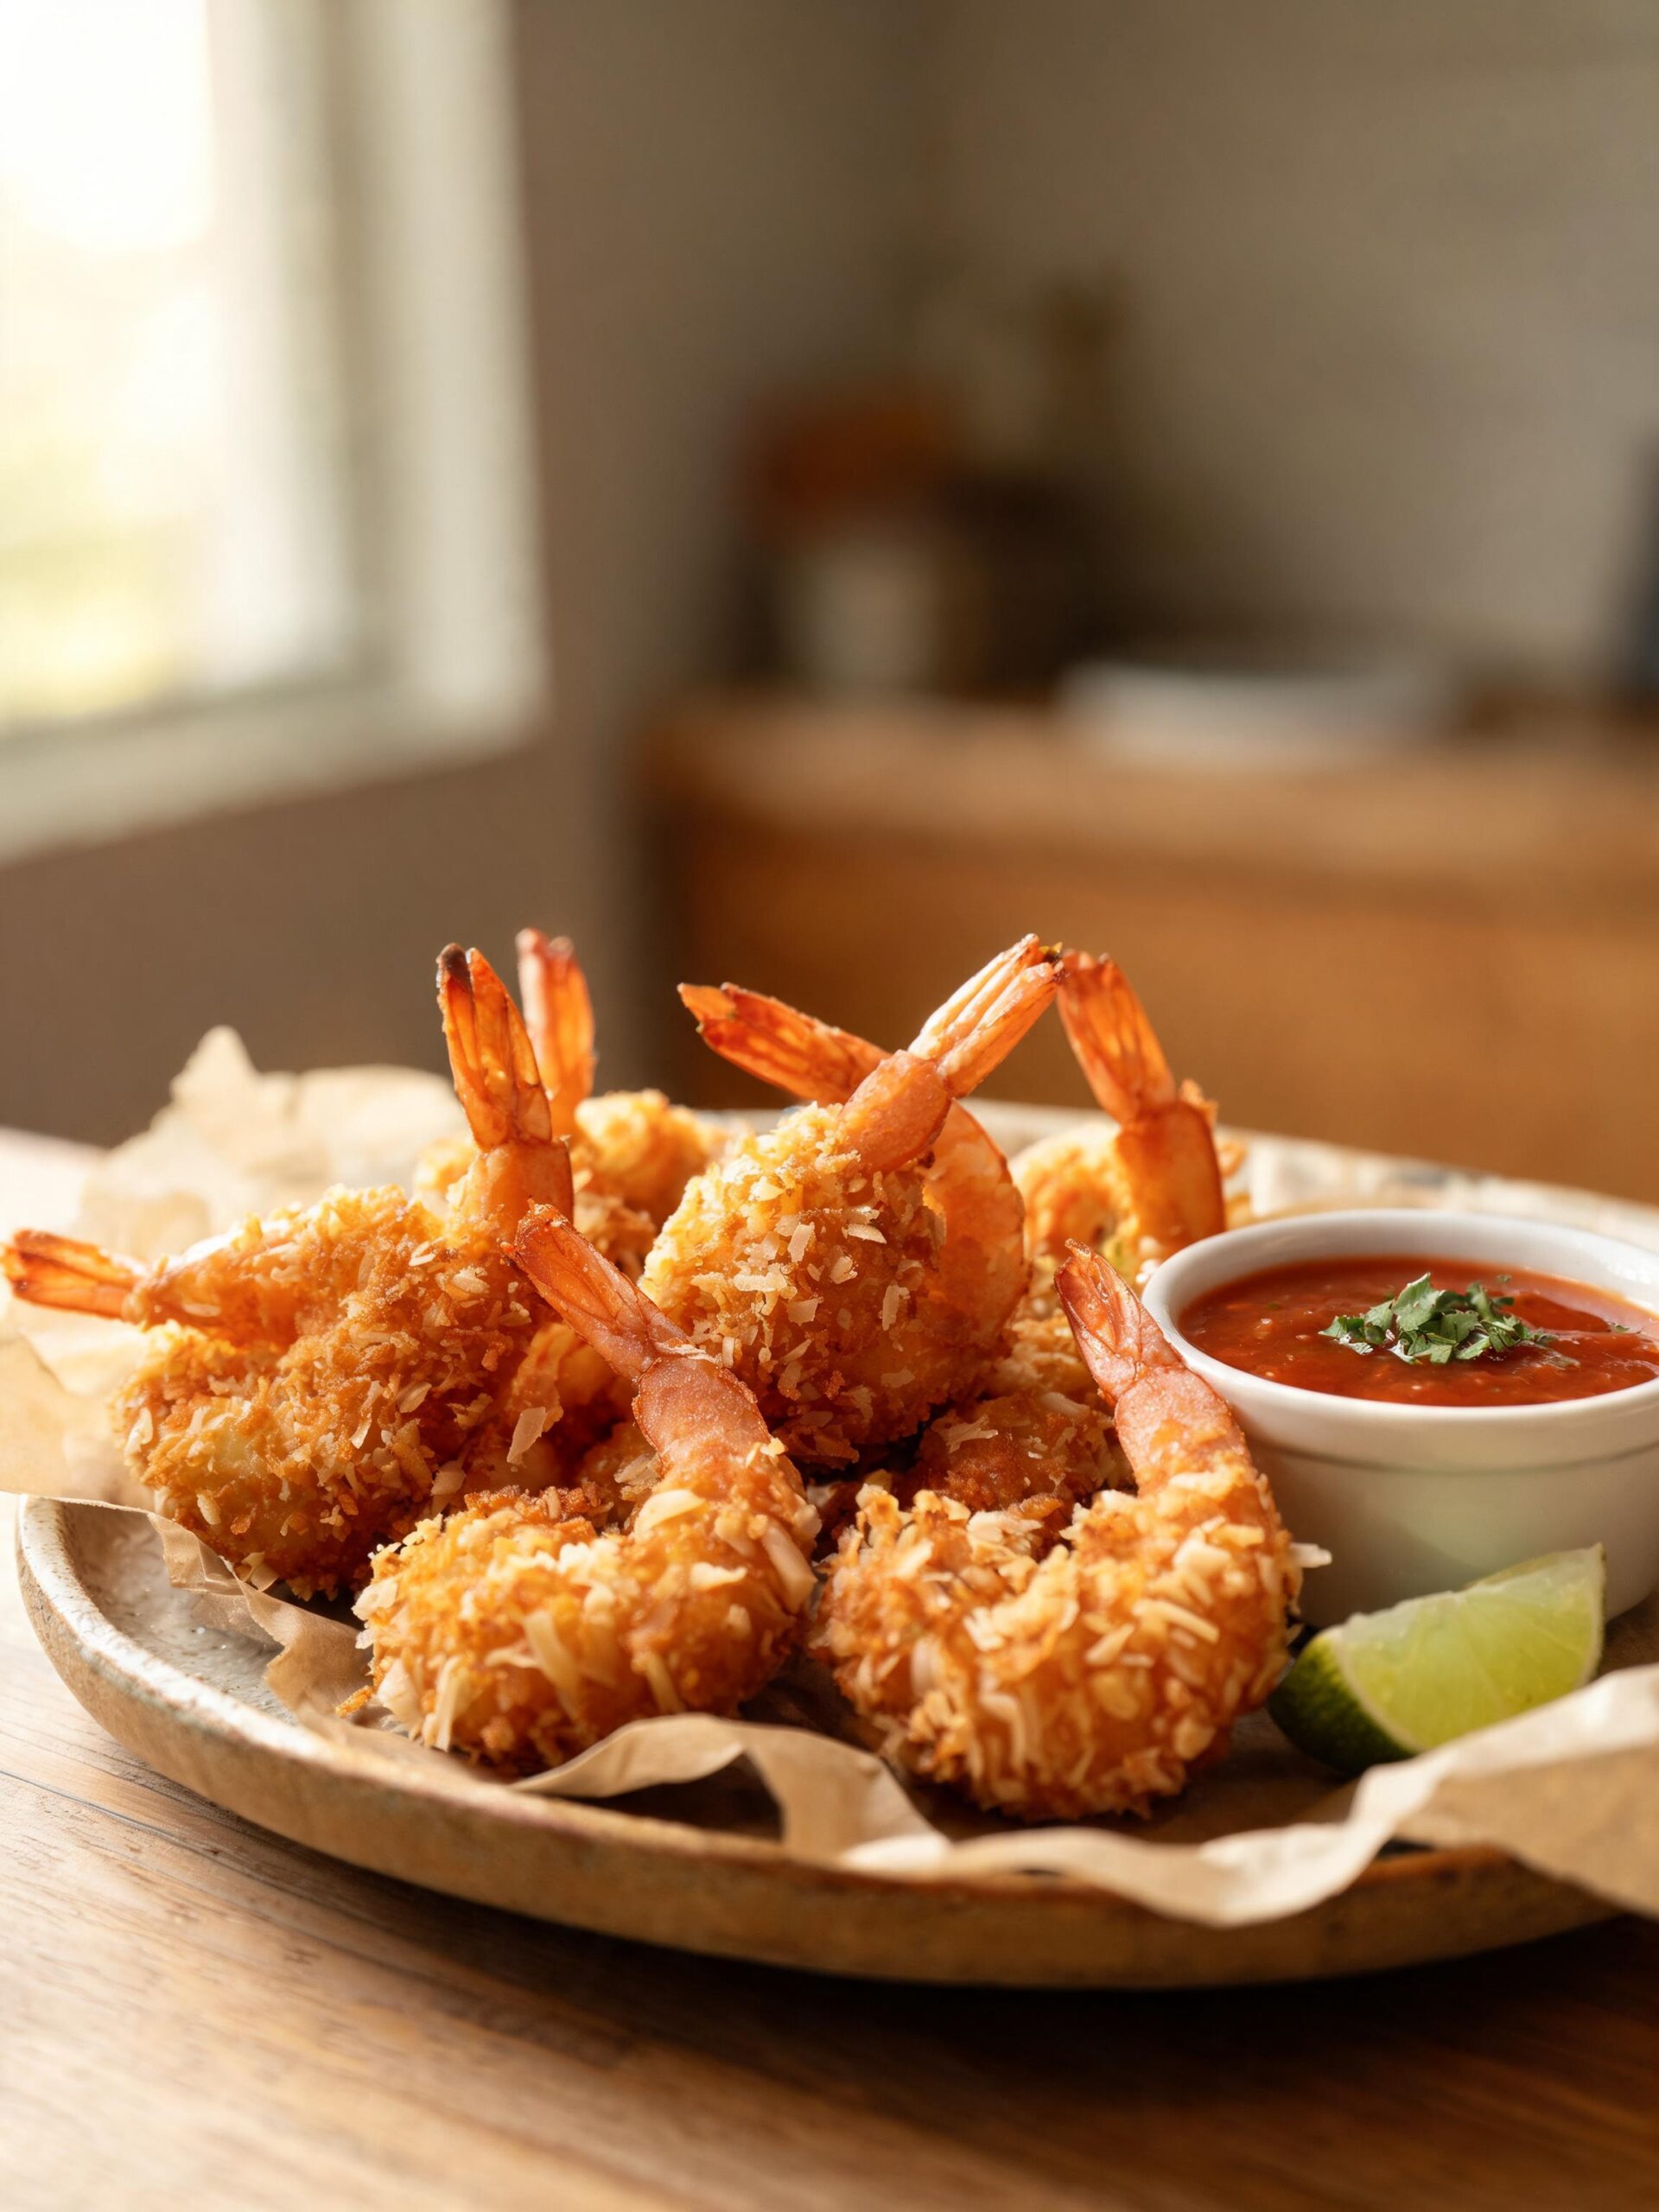
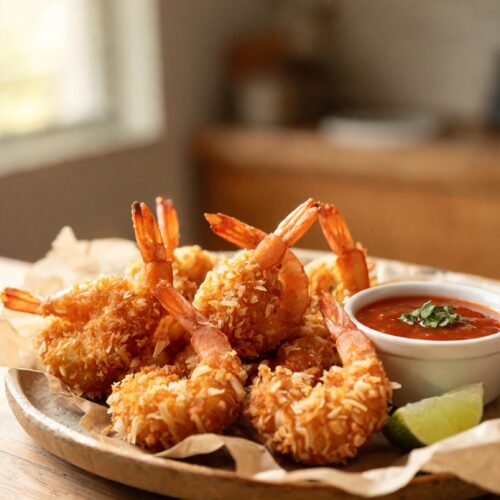
After twenty years behind the line in professional kitchens, I can tell you that a perfectly executed plate of Coconut Shrimp is a thing of beauty. It’s not just about frying some shrimp; it’s about creating a specific experience. You’re looking for that loud, satisfying crunch, followed by the sweetness of the coconut and the savory, tender shrimp inside. This isn’t your average freezer-aisle appetizer. This recipe is the result of years of tweaking and perfecting the balance of texture and flavor, similar to the techniques we use in our Crispy Salt and Pepper Fried Calamari. We’re going to walk through how to get that shatteringly crisp coating that sticks to the shrimp, how to season it properly so it’s not just sweet, and how to fry it so it comes out golden brown, not greasy. Forget the soggy, overly sweet versions you may have had. This is the real deal, a restaurant-quality dish you can nail in your own kitchen. Let’s get to it.
Why You’ll Love This Recipe
- Restaurant-Quality Crunch: This recipe uses a specific three-step breading process with panko and two types of coconut to guarantee a crispy, craggy coating that won’t fall off.
- Perfectly Balanced Flavor: It’s not just sweet. A touch of garlic powder, paprika, and proper salting in the dredge creates a savory backbone that makes this dish incredibly addictive.
- Surprisingly Fast: From prepping the shrimp to plating, you can have this entire dish ready in about 35 minutes, making it perfect for a weeknight treat or an impressive appetizer for guests.
Ingredients List
Precision is key in a recipe like this. The ratios in the breading are what create the perfect texture. Don’t eyeball it. Use measuring cups and spoons for the best results.
For the Shrimp:
- Large Shrimp: 1 lb (about 16-20 count), peeled and deveined, tails left on. The tail acts as a perfect little handle for dredging and eating.
- Kosher Salt: 1/2 teaspoon, for seasoning the shrimp directly.
- Black Pepper: 1/4 teaspoon, freshly ground.
For the Breading Station:
- All-Purpose Flour: 1/2 cup. This is the base layer that helps everything else stick.
- Garlic Powder: 1 teaspoon.
- Smoked Paprika: 1/2 teaspoon. Adds color and a subtle smoky depth.
- Large Eggs: 2, beaten well. This is the binder.
- Panko Breadcrumbs: 1 cup. Panko is essential for that light, airy crispiness. Do not substitute with regular breadcrumbs.
- Sweetened Shredded Coconut: 1 cup. This provides the signature sweetness and texture.
- Unsweetened Coconut Flakes: 1/2 cup. Using a mix of sweetened and unsweetened coconut prevents the dish from becoming cloying and adds another layer of texture.
For Frying:
- Neutral Oil: About 3-4 cups (like canola, vegetable, or peanut oil), for frying. You need enough for about 1.5 to 2 inches of depth in your pot.
For the Sweet Chili Dipping Sauce:
- Sweet Chili Sauce: 1/2 cup, store-bought is perfectly fine.
- Lime Juice: 1 tablespoon, freshly squeezed.
- Cilantro: 1 tablespoon, finely chopped (optional, but recommended).
Step-by-Step Instructions
Follow these steps exactly. The order and technique matter for getting the breading to adhere properly and fry up perfectly.
- Prep the Shrimp: First, ensure your shrimp are completely dry. Pat them down thoroughly with paper towels. Moisture is the enemy of a crispy coating. Season the dry shrimp with the 1/2 teaspoon of kosher salt and 1/4 teaspoon of black pepper.
- Set Up the Breading Station: You’ll need three shallow dishes (pie plates work great). In the first dish, whisk together the all-purpose flour, garlic powder, and smoked paprika. In the second dish, beat the two eggs until smooth. In the third dish, combine the panko breadcrumbs, sweetened shredded coconut, and unsweetened coconut flakes. Mix the coconut and panko mixture well with your fingers to break up any clumps. Arrange the dishes in that order: flour, egg, coconut.
- Dredge the Shrimp: Working one shrimp at a time, hold it by the tail. First, dredge it in the seasoned flour mixture, shaking off any excess. A thin, even coat is all you need. Next, dip it completely into the beaten egg, letting the excess drip off. Finally, press it firmly into the coconut-panko mixture, ensuring it’s generously coated on all sides. Place the breaded shrimp on a baking sheet or large plate in a single layer. Do not stack them.
- Heat the Oil: Pour the oil into a heavy-bottomed pot or Dutch oven to a depth of about 2 inches. Heat over medium-high heat until it reaches 350°F (175°C). Use a kitchen thermometer for accuracy. This temperature is critical. Too low and the shrimp will be greasy; too high and the coconut will burn before the shrimp is cooked.
- Fry the Shrimp: Carefully place 5-6 breaded shrimp into the hot oil. Do not overcrowd the pot, as this will drop the oil temperature. Fry for 2-3 minutes, flipping once, until they are a deep golden brown and crispy. The shrimp will cook quickly.
- Drain and Serve: Using a slotted spoon or spider strainer, remove the cooked shrimp from the oil and transfer them to a wire rack set over a baking sheet to drain. This keeps the bottoms from getting soggy. If you’re frying in batches, make sure the oil returns to 350°F before adding the next batch. While the shrimp are hot, you can sprinkle them with a tiny pinch of salt.
- Mix the Sauce: While the shrimp are frying, quickly whisk together the sweet chili sauce, fresh lime juice, and chopped cilantro in a small bowl. Serve the hot and crispy Coconut Shrimp immediately with the dipping sauce.
Chef’s Pro Tips for Success
If there’s one tool that makes the biggest difference between amateur and pro results in this recipe, it’s a reliable thermometer. I’ve been saying it for years: you have to control your oil temperature, and guessing just won’t cut it. That’s why I always have my infrared thermometer gun handy. I can get an instant, accurate reading of the oil’s surface without having to clip anything to the side of the pot. It lets me know exactly when to add the shrimp and how much to adjust my burner between batches, guaranteeing that perfect golden-brown, non-greasy crunch every single time.
Stop guessing and start frying like a pro. Grab the tool that will guarantee your success with this recipe.
ThermoPro TP420 Digital Infrared Thermometer Gun
✓ prime
We earn a commission if you make a purchase, at no additional cost to you.
These are the non-negotiable details that separate good Coconut Shrimp from great Coconut Shrimp. Pay attention here.
- The Double Dry-Hand, Wet-Hand Method: To avoid your fingers becoming a clumpy, breaded mess, dedicate one hand for the dry ingredients (flour, coconut mixture) and the other for the wet (egg). Pick up a shrimp with your dry hand, place it in the flour, and coat. Still using your dry hand, drop it into the egg. Now, switch to your wet hand to turn the shrimp in the egg and lift it out, letting it drip. Drop it into the coconut mixture, and switch back to your dry hand to press the coating on. This technique keeps your station clean and your breading even.
- Control Your Oil Temperature Religiously: A deep-fry or candy thermometer is your best friend here. The ideal range is 350-360°F (175-182°C). When you add the shrimp, the temperature will naturally drop. Your goal is to keep it from dipping below 325°F. Adjust your burner as needed between batches. If the oil gets too hot (above 375°F), the delicate coconut will scorch and turn bitter before the shrimp is cooked through.
- Press the Breading Firmly: When you get to the final coconut-panko stage, don’t be gentle. Gently but firmly press the coating onto the shrimp. This mechanical action helps the breading create a solid crust that won’t flake off in the fryer. You want every bit of that delicious coating to make it to the plate.
- Rest the Breaded Shrimp: For an even more secure coating, let the breaded shrimp rest on the baking sheet in the refrigerator for 10-15 minutes before frying. This short rest helps the coating hydrate and adhere to the shrimp, creating a sturdier crust that’s less likely to detach during frying. It’s a small step that makes a big difference.
- Don’t Skip the Panko (or the Coconut Mix): The combination of panko, sweetened coconut, and unsweetened coconut is intentional. Panko provides a light, jagged crispiness that regular breadcrumbs can’t match. The sweetened coconut gives the classic flavor and helps with browning (due to the sugar), while the unsweetened flakes add more pure coconut flavor and a different texture without making the dish overly sweet.
Common Mistakes to Avoid
I’ve seen these mistakes happen over and over. Here’s how to make sure they don’t happen to you.
- Mistake 1: Soggy, Greasy Shrimp. This is almost always caused by one of two things: wet shrimp or incorrect oil temperature. If you don’t pat the shrimp completely dry, the moisture will steam under the breading, making it fall off and turn soggy. If your oil is too cool (below 325°F), the shrimp will absorb oil instead of instantly searing, resulting in a greasy final product. Always start with bone-dry shrimp and a calibrated thermometer.
- Mistake 2: The Breading Falls Off in the Fryer. This is heartbreaking. It happens when the initial flour dredge is too thick or you didn’t press the final coating on firmly enough. When you flour the shrimp, shake off all the excess; you want a paper-thin layer. When you get to the coconut stage, pack it on. The resting period in the fridge I mentioned in the pro tips section also significantly helps prevent this.
- Mistake 3: Burnt Coconut, Raw Shrimp. This is a clear sign your oil is too hot. Coconut is full of sugar and fat, which means it burns very quickly. If your thermometer reads 380°F or higher, the outside will be dark brown in under a minute, long before the inside of the shrimp has had a chance to turn opaque and cook through. Keep it locked in at 350°F.
- Mistake 4: One-Dimensional, Overly Sweet Flavor. Many recipes forget to season the layers. Tossing the raw shrimp in salt and pepper and adding garlic powder and paprika to the flour builds a foundation of savory flavor. This complexity is what makes the sweetness of the coconut and the dipping sauce pop. Without it, the dish is just sweet on sweet, which gets boring quickly. Seasoning is not optional.
Variations and Serving Ideas
Once you’ve mastered the classic fried version, you can play around with it. For serving, think about contrast in texture and flavor.
Cooking Method Variations:
- Air Fryer Coconut Shrimp: For a lighter version, bread the shrimp as directed. Preheat your air fryer to 400°F (200°C). Arrange the shrimp in a single layer in the basket and spray them generously with cooking oil spray. Air fry for 8-10 minutes, flipping halfway through, until golden and crispy. They won’t be quite as rich as the deep-fried version, but they’re still delicious.
- Baked Coconut Shrimp: Preheat your oven to 425°F (220°C). Place the breaded shrimp on a wire rack set inside a baking sheet. Spray the tops with cooking spray. Bake for 10-12 minutes, flipping once, until the shrimp are cooked through and the coating is golden.
Flavor Variations:
- Spicy Coconut Shrimp: Add 1/4 to 1/2 teaspoon of cayenne pepper to the flour mixture for a background heat. You can also add a teaspoon of sriracha to your egg wash for another layer of spice.
- Citrus-Herb: Add the zest of one lime and two tablespoons of chopped cilantro directly into the coconut-panko mixture. This adds a fresh, bright note that cuts through the richness of the fried coating. For another impressive seafood dish, consider trying our Easy Authentic Spanish Seafood Paella Recipe.
What to Serve With
A great main dish deserves great partners. Here are some pairings that work perfectly with this Coconut Shrimp recipe.
- Mango Salsa: A fresh, chunky salsa with mango, red onion, cilantro, jalapeno, and lime juice is a classic pairing. The tropical sweetness and acidity cut through the richness of the fried shrimp beautifully.
- Cilantro Lime Rice: Simple, fluffy white rice steamed and then tossed with fresh lime juice and chopped cilantro. It’s a perfect, neutral base that complements the main dish without overpowering it.
- Pineapple Coleslaw: A crisp, creamy coleslaw with the addition of finely diced pineapple offers a cool, crunchy, and slightly sweet contrast.
- Grilled Pineapple Spears: Grilling pineapple caramelizes its sugars and adds a smoky element. It’s a fantastic side that echoes the tropical theme.
Storage and Reheating
Fried food is always best fresh, but if you have leftovers, here’s how to handle them properly to maintain as much crunch as possible.
- Storage: Let the shrimp cool completely to room temperature. Store them in an airtight container in the refrigerator for up to 2 days. Don’t just pile them in; arrange them in a single layer if possible, or place a piece of parchment paper between layers to prevent them from getting crushed or sticking.
- Reheating: The microwave is forbidden. It will turn your crispy shrimp into a rubbery, soggy tragedy. The best way to reheat is in an oven or air fryer. Preheat your oven or air fryer to 375°F (190°C). Place the shrimp in a single layer on a baking sheet or in the air fryer basket. Heat for 5-7 minutes, or until they are hot and have crisped up again. Listen for the sizzle.
- Freezing: You can freeze the shrimp either before or after cooking. To freeze uncooked, bread the shrimp and place them on a baking sheet in the freezer. Once solid, transfer to a freezer bag. They can be fried directly from frozen, just add 1-2 minutes to the cooking time. To freeze cooked shrimp, let them cool completely, then freeze in a single layer before transferring to a bag. Reheat from frozen in a 375°F oven for about 10-12 minutes.
FAQs (People Also Ask)
1. Can I use pre-cooked shrimp for this recipe?
I strongly advise against it. Pre-cooked shrimp will become tough, dry, and rubbery when you cook it a second time. The recipe is designed for the shrimp to cook perfectly in the 2-3 minutes it takes for the coating to become golden brown. Always start with raw shrimp for the best texture.
2. How can I make this recipe gluten-free?
Easily. Substitute the all-purpose flour with a gluten-free all-purpose blend (one that contains xanthan gum works best). Ensure your panko breadcrumbs are certified gluten-free, as many brands are now available. The rest of the ingredients are naturally gluten-free.
3. Why is my breading falling off?
This is the most common issue. It’s usually a combination of three things: the shrimp wasn’t dry enough to start, you skipped the flour dredge, or you didn’t press the coating on firmly. Follow the three-step breading process (dry flour -> wet egg -> dry coconut) and make sure to really press that final layer on. A 10-minute rest in the fridge before frying also helps ‘set’ the coating.
4. What is the best oil for frying Coconut Shrimp?
You want a neutral oil with a high smoke point. Canola, vegetable, peanut, or safflower oil are all excellent choices. They won’t impart any strong flavor, and they can handle the 350°F heat without smoking or burning. Avoid oils with low smoke points like extra virgin olive oil.
5. Can I prepare the shrimp ahead of time?
Yes. You can bread all the shrimp and lay them on a parchment-lined baking sheet. Cover them loosely with plastic wrap and refrigerate for up to 4 hours before you plan to fry them. This is a great time-saver if you’re having guests. Just take them straight from the fridge to the fryer.
Nutrition
Nutrition Facts
(Per serving. Estimates only, varies by exact ingredients used)
Conclusion
There you have it—the complete guide to making incredible, crispy Coconut Shrimp at home. This recipe isn’t about shortcuts; it’s about using the right techniques to get a truly professional result. That first bite, with the loud crunch and the perfectly cooked shrimp inside, is worth every bit of effort. I hope you make this for your family and friends and see the looks on their faces. Enjoy the process, and happy cooking.
The Best Crispy Fried Coconut Shrimp Recipe
Ingredients
- 1 lb large shrimp (16-20 count), peeled and deveined, tails on
- 1/2 teaspoon kosher salt
- 1/4 teaspoon black pepper, freshly ground
- 1/2 cup all-purpose flour
- 1 teaspoon garlic powder
- 1/2 teaspoon smoked paprika
- 2 large eggs, beaten
- 1 cup panko breadcrumbs
- 1 cup sweetened shredded coconut
- 1/2 cup unsweetened coconut flakes
- 4 cups neutral oil (canola, vegetable, or peanut)
- 1/2 cup sweet chili sauce
- 1 tablespoon fresh lime juice
- 1 tablespoon cilantro, finely chopped (optional)
Instructions
- Pat the shrimp completely dry with paper towels and season with kosher salt and black pepper.
- Set up a three-dish breading station: 1) flour, garlic powder, and paprika; 2) beaten eggs; 3) panko, sweetened coconut, and unsweetened coconut.
- Dredge each shrimp first in the flour, then the egg, and finally press firmly into the coconut mixture to coat completely. Place on a baking sheet.
- Heat oil in a heavy-bottomed pot to 350°F (175°C).
- Fry the shrimp in small batches (5-6 at a time) for 2-3 minutes, flipping once, until deep golden brown and crispy.
- Remove shrimp with a slotted spoon and drain on a wire rack. Ensure oil returns to 350°F between batches.
- While the shrimp are hot, whisk together sweet chili sauce, lime juice, and cilantro for the dipping sauce.
- Serve immediately.