Introduction
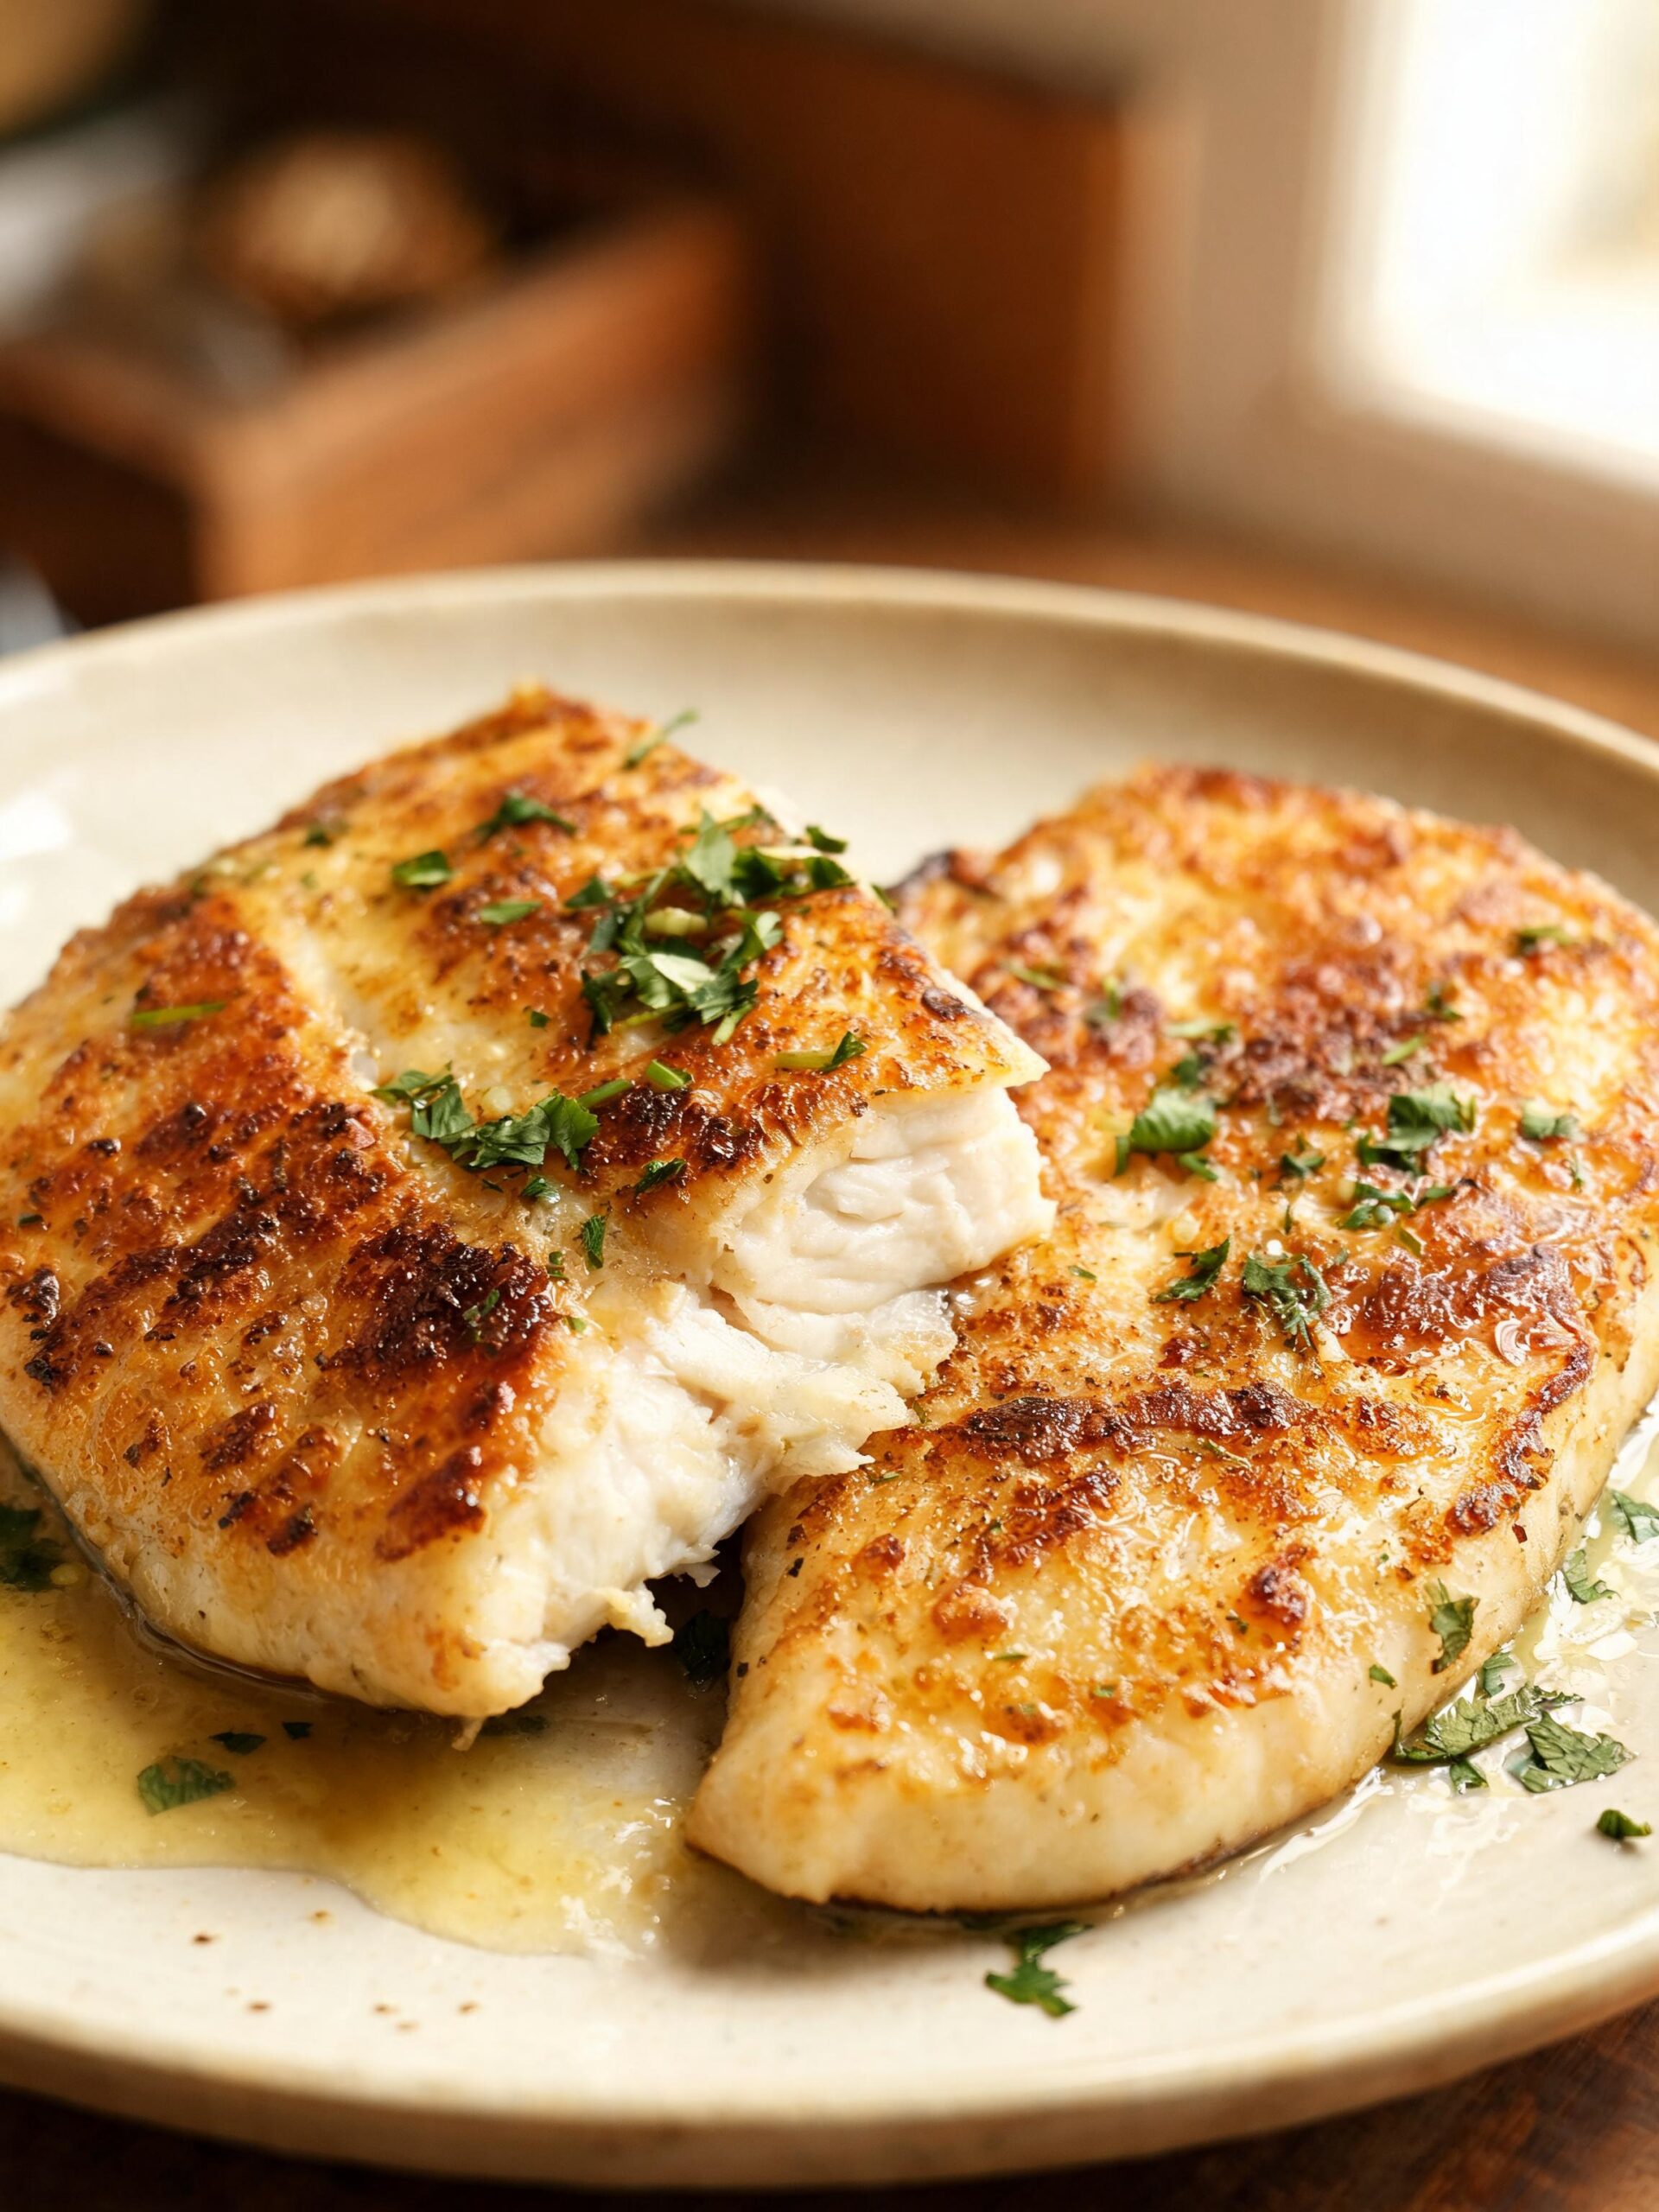
Learning how to make perfect pan seared tilapia is a fundamental skill that every home cook should have in their back pocket. Forget everything you think you know about bland, boring white fish. For over 20 years in professional kitchens, I’ve seen how a few simple techniques can transform this humble fillet into something truly spectacular. This isn’t just about cooking fish; it’s about creating a textural masterpiece. We’re talking about a shatteringly crisp, golden-brown crust that gives way to a moist, flaky, and tender interior. This recipe is my tried-and-true method, perfected over thousands of services. It’s designed for speed and flavor, delivering a restaurant-quality meal similar to our Quick Baked Garlic Butter Shrimp. We’ll use a simple seasoning blend and finish with a quick lemon-garlic butter pan sauce that comes together in seconds. Let’s get to it.
Why You’ll Love This Recipe
- Incredibly Fast: From refrigerator to plate, this entire meal can be ready in under 15 minutes. It’s the ideal solution for a busy weeknight when you want something healthy and satisfying without the long prep time.
- Simple, High-Impact Ingredients: You don’t need a pantry full of exotic spices. We use basic seasonings like paprika and garlic powder, combined with butter and lemon, to create a flavor profile that is both classic and incredibly delicious.
- Foolproof Technique: I’ll walk you through the professional secrets to achieving that perfect sear every single time. No more soggy fish or fillets that stick to the pan. This method is reliable and easy to master.
Ingredients List
A great dish starts with quality ingredients. For this recipe, we’re keeping it simple and letting the technique shine. Here’s what you’ll need for four servings.
For the Tilapia:
- Tilapia Fillets: 4 (6-ounce) fillets, about 1/2 to 3/4-inch thick. Fresh is always best, but if using frozen, ensure they are fully thawed.
- High-Smoke Point Oil: 2 tablespoons of avocado, grapeseed, or canola oil. Do not use extra virgin olive oil for the initial sear, as it will burn.
- Unsalted Butter: 2 tablespoons, for basting and flavor.
- Kosher Salt: 1 teaspoon, or to taste. Kosher salt’s texture adheres better to the fish.
- Freshly Ground Black Pepper: 1/2 teaspoon, or to taste.
- Smoked Paprika: 1 teaspoon. This is crucial for color and a subtle smoky flavor.
- Garlic Powder: 1 teaspoon. This provides a savory base without the risk of burning fresh garlic.
For the Lemon-Garlic Pan Sauce:
- Unsalted Butter: 4 tablespoons (1/2 stick), cut into cubes.
- Garlic: 2 cloves, finely minced.
- Low-Sodium Chicken Broth: 1/4 cup. You can also substitute a dry white wine like Sauvignon Blanc.
- Fresh Lemon Juice: 2 tablespoons, from about one lemon.
- Fresh Parsley: 2 tablespoons, chopped, for garnish.
Step-by-Step Instructions
Follow these steps precisely for the best results. The key is preparation and timing.
- Prep the Fillets: Remove the tilapia fillets from the packaging. Using paper towels, pat them completely dry on all sides. This step is non-negotiable for a crispy crust. Moisture is the enemy of a good sear.
- Season Generously: In a small bowl, combine the kosher salt, black pepper, smoked paprika, and garlic powder. Sprinkle the seasoning mix evenly over both sides of each tilapia fillet, gently pressing it into the flesh.
- Preheat the Pan: Place a large 12-inch cast iron or stainless steel skillet over medium-high heat. Let the pan get hot for a good 2-3 minutes. You’ll know it’s ready when a drop of water sizzles and evaporates instantly.
- Sear the First Side: Add the 2 tablespoons of high-smoke point oil to the hot pan. It should shimmer almost immediately. Carefully place the seasoned fillets in the pan, making sure not to overcrowd it. (Cook in two batches if necessary). Let the fish cook, undisturbed, for 3-4 minutes. You will see the edges turning opaque and golden brown.
- Flip and Baste: Using a thin fish spatula, flip the fillets. They should release easily if the crust has formed. Add the 2 tablespoons of butter to the pan. As it melts, tilt the pan and use a spoon to baste the fish with the hot butter. Cook for another 2-3 minutes, or until the fish is opaque and flakes easily with a fork.
- Rest the Fish: Remove the fish from the skillet and transfer it to a plate. Let it rest while you make the quick pan sauce.
- Make the Pan Sauce: Reduce the heat to medium. Add the minced garlic to the leftover butter and drippings in the pan and cook for about 30 seconds until fragrant. Do not let it burn. Deglaze the pan by pouring in the chicken broth (or white wine), scraping up any browned bits from the bottom.
- Finish the Sauce: Let the liquid simmer and reduce by about half, which should take about 1-2 minutes. Turn off the heat. Whisk in the remaining 4 tablespoons of cubed butter, one piece at a time, until the sauce is creamy. Stir in the fresh lemon juice and chopped parsley.
- Serve Immediately: Spoon the warm lemon-garlic pan sauce over the rested tilapia fillets and serve right away.
Chef’s Pro Tips for Success
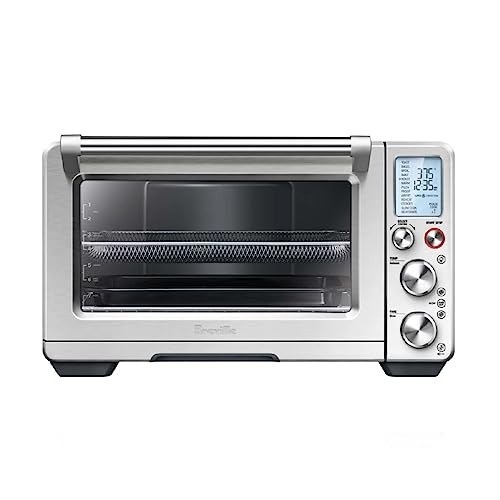
Speaking of the right pan, my absolute workhorse for recipes like this is the Lodge Cast Iron Skillet. You can talk about technique all day, but without a pan that holds and distributes heat this evenly, you’re fighting an uphill battle. This skillet gets screaming hot and stays that way, which is the real secret to that non-stick sear and a crust that audibly crunches. It’s the difference between good tilapia and unforgettable tilapia.
This is the exact model I’ve relied on for years. If you want to take the guesswork out of getting a perfect sear, you can check it out here:
Lodge 10.25 Inch Cast Iron Skillet with Assist Handle
✓ prime
We earn a commission if you make a purchase, at no additional cost to you.

After years of cooking seafood, I’ve learned that success lies in the details. Here are the five critical tips that separate amateur from professional results when making pan seared tilapia.
- The Bone-Dry Imperative: I cannot stress this enough: your fish fillets must be completely, utterly dry. Use multiple paper towels and press firmly. Any surface moisture will instantly turn to steam when it hits the hot pan, which prevents the Maillard reaction—the chemical process responsible for that delicious, brown crust. You’ll be steaming your fish instead of searing it.
- Choose Your Weapon (The Pan): For a serious sear, you need a pan that holds heat well. A well-seasoned cast-iron skillet is my top choice, followed closely by a heavy-bottomed stainless steel pan. These materials retain and distribute heat evenly, ensuring a consistent crust. Avoid thin, cheap non-stick pans; they don’t get hot enough and won’t produce the same quality of crust.
- The Two-Fat Technique: Start searing with a high-smoke-point oil like avocado or grapeseed oil. These oils can handle the high heat needed for the initial sear without burning and creating off-flavors. Add the butter only *after* you flip the fish. This allows you to get the rich, nutty flavor of browned butter for basting without the milk solids burning during the initial high-heat sear.
- The Hands-Off Rule: Once you place the fish in the hot pan, do not touch it. Don’t nudge it, don’t shake the pan, don’t try to peek underneath. Let it sit for the full 3-4 minutes. The fish will tell you when it’s ready to be flipped; it will release from the pan naturally once a proper crust has formed. If you try to force it, you’ll tear the fillet and leave the best part stuck to the pan.
- Judge Doneness Like a Pro: A timer is a guideline, but the fish is the ultimate authority. The best way to check for doneness is visually and with a fork. The flesh should be uniformly opaque from edge to center. Gently insert the tip of a fork into the thickest part and twist. If it flakes apart easily into distinct layers, it’s done. If it’s still translucent or feels resistant, give it another 30-60 seconds.
Common Mistakes to Avoid
It’s easy to get this dish right, but a few common errors can ruin it. Here’s what to watch out for.
- Starting with a Cold Pan: This is the number one reason fish sticks. When cold protein hits a cold pan, it forms an immediate chemical bond. By preheating your pan until it’s very hot *before* adding the oil, you create a layer of hot fat that the fish essentially floats on, preventing it from sticking.
- Overcrowding the Skillet: Putting too many fillets in the pan at once dramatically lowers the temperature of the pan’s surface. This leads to the same problem as a wet fillet—the fish steams in its own juices instead of searing. If your pan isn’t large enough to hold all four fillets with at least an inch of space between them, cook in two separate batches. It’s worth the extra few minutes.
- Using the Wrong Spatula: Trying to flip a delicate fish fillet with a thick, clumsy spatula is a recipe for disaster. Invest in a thin, flexible metal spatula, often called a fish spatula or fish turner. It’s designed to slide cleanly under the crust without breaking the fillet.
- Overcooking the Fish: Tilapia is a lean fish, which means it can go from perfectly cooked to dry and chalky in less than a minute. Remember that the fish will continue to cook from residual heat even after you remove it from the pan (this is called carryover cooking). It’s always better to pull it from the heat when it’s just *barely* cooked through. The resting period will finish the job. Making a perfect pan seared tilapia is all about timing.
Variations and Serving Ideas
Once you’ve mastered the basic technique, this pan seared tilapia recipe becomes a canvas for countless variations.
- Cajun-Style: Swap the seasoning blend for 2 teaspoons of your favorite Cajun or Blackening seasoning. Proceed with the recipe as written. The bold, spicy flavors are a fantastic match for the simple pan sauce. Serve with a side of dirty rice.
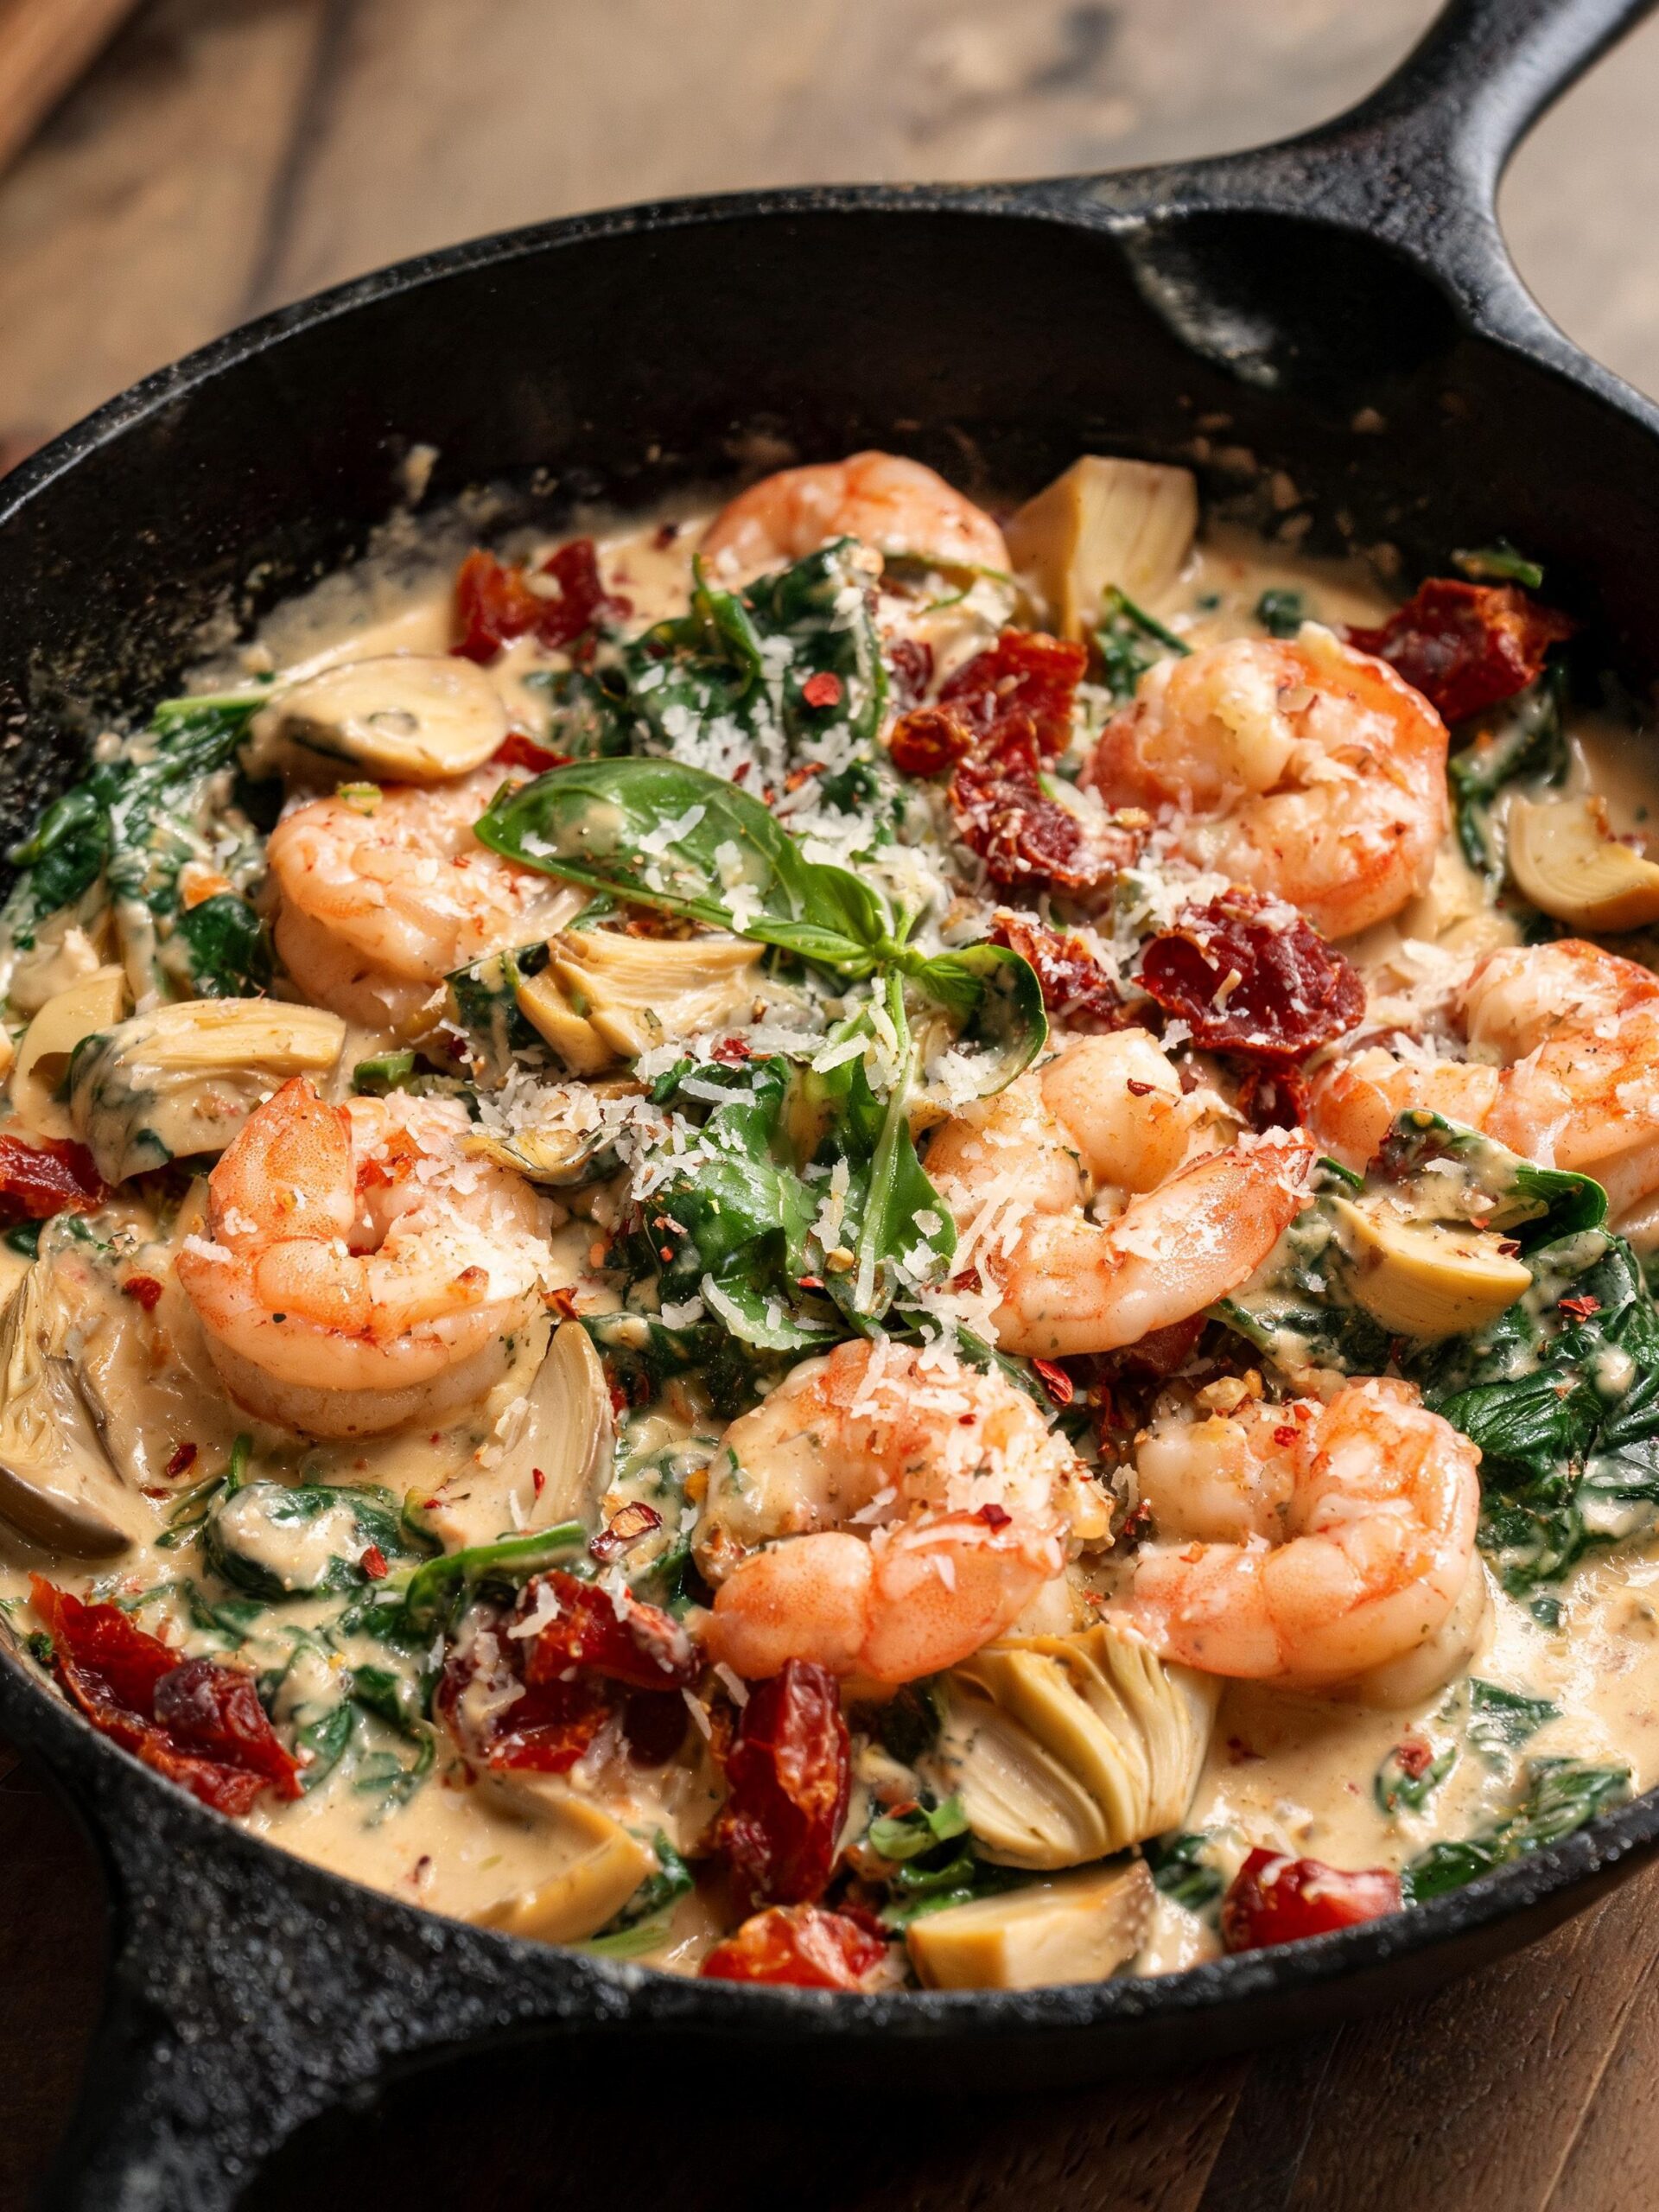
- Mediterranean Twist: After making the pan sauce, stir in 1 tablespoon of drained capers and 1/4 cup of halved cherry tomatoes. Let them warm through for a minute. This adds a briny, bright flavor that complements the fish beautifully.
- Herb-Crusted: Add 1 tablespoon of finely chopped fresh herbs like dill, chives, or tarragon to the seasoning mix. This introduces a fresh, aromatic layer to the crust.
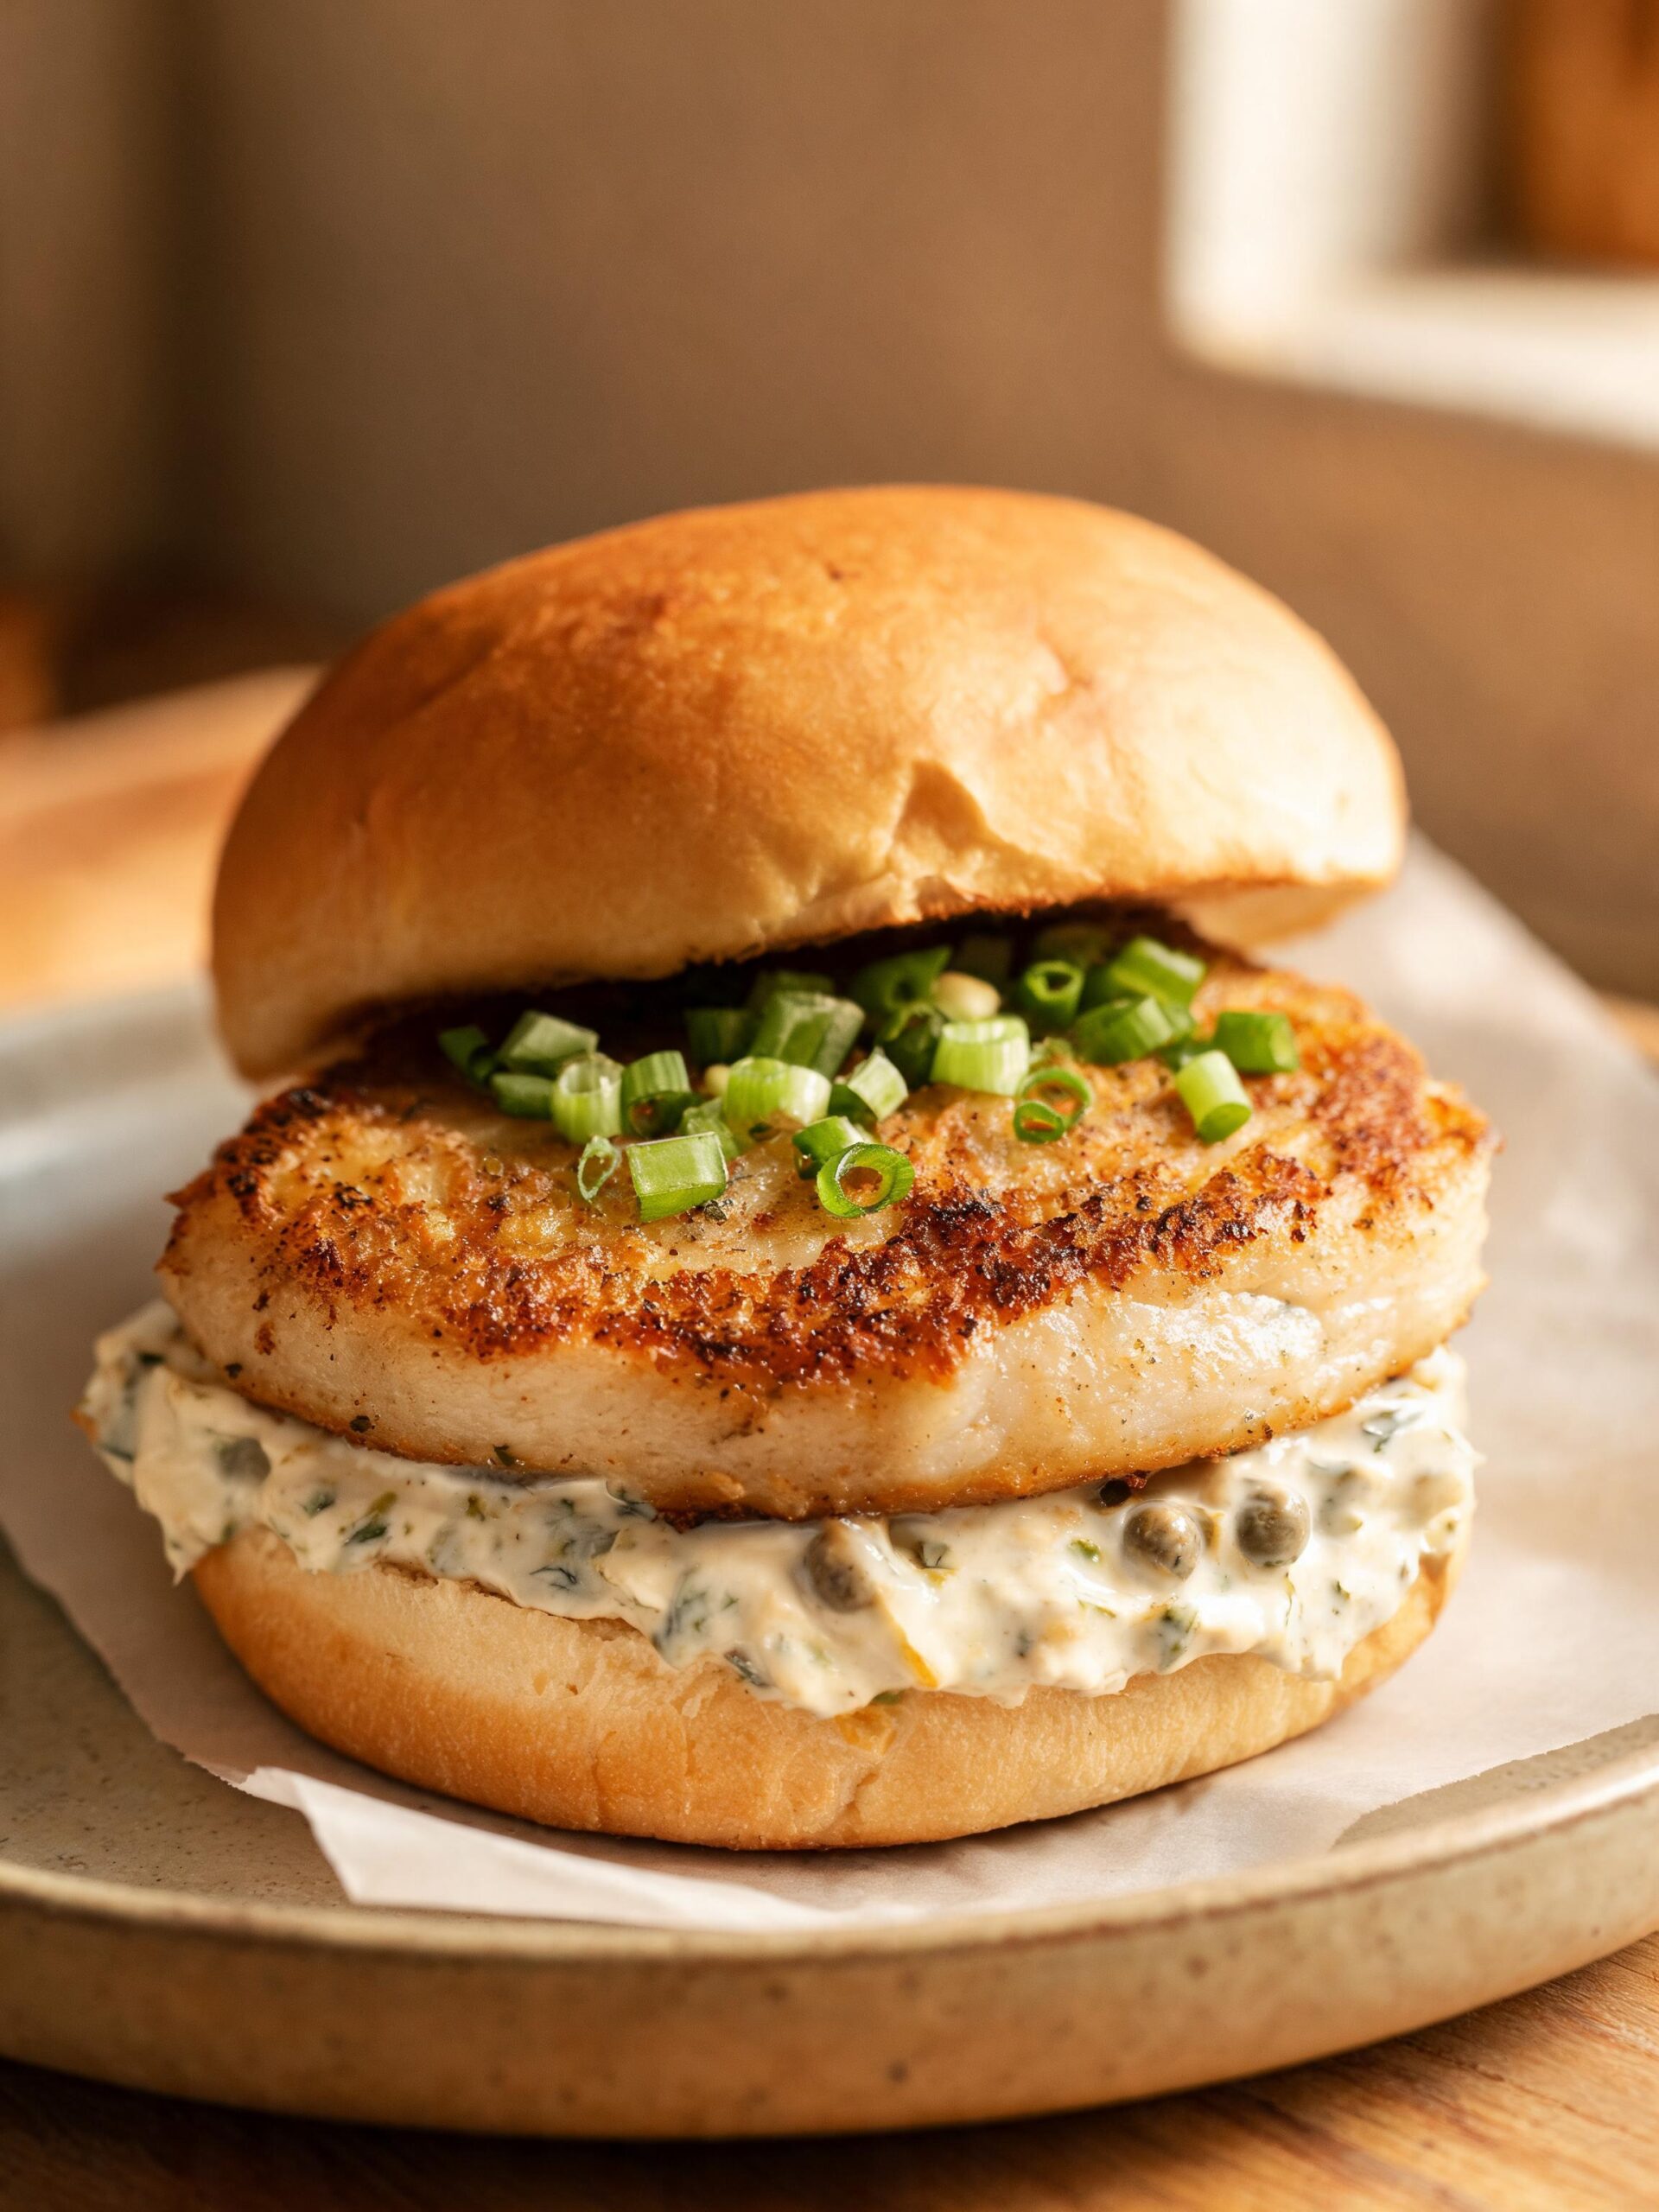
- Tilapia Tacos: Flake the cooked fish and serve it in warm corn tortillas with your favorite toppings like slaw, avocado crema, and pickled red onions. Skip the pan sauce for this variation.
What to Serve With
A perfectly cooked piece of fish deserves equally great sides. Here are some pairings that work exceptionally well:
- Starches: The lemon-garlic butter sauce is perfect for spooning over Creamy Parmesan Risotto, Lemon Herb Orzo, or simple Steamed Jasmine Rice. Garlic Mashed Potatoes are also a classic, comforting choice.
- Vegetables: Roasted Asparagus with Parmesan is a go-to. The roasting time is similar to the fish cooking time. Other great options include Sautéed Garlic Spinach, Blistered Green Beans with Almonds, or a simple side of steamed broccoli.
- Salads: For a lighter meal, serve the tilapia alongside a simple Arugula Salad with a lemon vinaigrette and shaved Parmesan cheese. The peppery greens cut through the richness of the butter sauce. For another great seafood option, try our Homemade Air Fryer Crab Cakes.
Storage and Reheating
Cooked fish can be tricky, but if you have leftovers, here’s how to handle them correctly.
- Storage: Let the tilapia cool completely to room temperature. Store it in an airtight container in the refrigerator for up to 2 days. To minimize fishy odors in your fridge, you can wrap the fillets individually in plastic wrap before placing them in the container. Store any leftover sauce separately.
- Reheating: The microwave can make fish rubbery. The best method is to reheat it gently in the oven. Preheat your oven to 275°F (135°C). Place the fish on a small baking sheet and add a splash of water or broth to the pan to create some steam. Cover loosely with foil and heat for 10-15 minutes, or until just warmed through. Reheat the sauce gently in a small saucepan over low heat.
FAQs (People Also Ask)
Can I use frozen tilapia for this recipe?
Yes, absolutely. The key is to thaw it properly. The best way is to place it in the refrigerator overnight. If you’re in a hurry, you can place the sealed fish in a bowl of cold water for about 30-60 minutes. Never use hot water or the microwave to thaw it. Once thawed, it will have more excess moisture than fresh fish, so be extra thorough when patting it dry with paper towels.
How do I know my pan is hot enough?
The visual cue is your best friend. A properly heated pan will have a slight shimmer to its surface. The most reliable test is the water drop test: flick a tiny drop of water onto the pan’s surface. If it sizzles, beads up, and dances around before evaporating, your pan is at the perfect temperature for searing. If it just sits there and steams, it’s not hot enough.
Can I make this recipe with a different type of fish?
Certainly. This pan-searing technique and sauce work well with any firm, relatively thin white fish fillet. Good substitutes include cod, haddock, pollock, or even flounder. You may need to adjust the cooking time slightly based on the thickness of the fillet.
Why did my fish fall apart when I flipped it?
This usually happens for one of two reasons. First, you may have tried to flip it too soon before a solid crust had a chance to form and release from the pan. Second, the fish may have been overcooked, causing the muscle fibers to break down completely. Be patient on the first sear and use a proper fish spatula for support.
Is this pan seared tilapia recipe healthy?
Yes, it’s a very healthy option. Tilapia is a great source of lean protein and is low in fat. The recipe uses healthy fats for cooking, and the majority of the flavor comes from spices, garlic, and lemon rather than heavy creams or sugars. It fits well into many balanced diets.
Nutrition Facts
(Per serving. Estimates only, varies by exact ingredients used)
Conclusion
There you have it—the definitive guide to making incredible pan seared tilapia. This recipe is more than just a set of instructions; it’s a lesson in technique that will serve you well with almost any fish you cook. The satisfaction of nailing that perfect golden crust and serving a beautiful, delicious meal is what cooking is all about. Give this recipe a try, and I guarantee it will become a permanent fixture in your weeknight dinner rotation. Enjoy it.
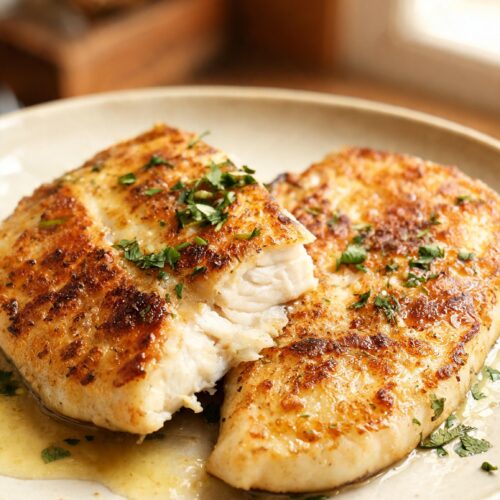
Pan Seared Tilapia Recipe | Crispy Outside, Tender Inside in Under 15 Minutes
Ingredients
- 4 (6-ounce) tilapia fillets, fresh or thawed
- 2 tablespoons avocado oil (or other high-smoke point oil)
- 6 tablespoons unsalted butter, divided
- 1 teaspoon Kosher salt
- 1/2 teaspoon freshly ground black pepper
- 1 teaspoon smoked paprika
- 1 teaspoon garlic powder
- 2 cloves garlic, finely minced
- 1/4 cup low-sodium chicken broth
- 2 tablespoons fresh lemon juice
- 2 tablespoons fresh parsley, chopped
Instructions
- Pat the tilapia fillets completely dry with paper towels. In a small bowl, mix together the salt, pepper, smoked paprika, and garlic powder. Season both sides of each fillet.
- Heat a large cast iron or stainless steel skillet over medium-high heat for 2-3 minutes until very hot. Add the avocado oil.
- Carefully place the fillets in the hot skillet, ensuring they don't touch. Sear for 3-4 minutes without moving them, until a golden-brown crust forms.
- Flip the fillets. Add 2 tablespoons of butter to the pan. As it melts, tilt the pan and baste the fish. Cook for another 2-3 minutes until opaque and cooked through.
- Remove the fish to a plate and set aside.
- Reduce heat to medium. Add the minced garlic to the pan and cook for 30 seconds until fragrant.
- Pour in the chicken broth to deglaze, scraping up any browned bits. Simmer for 1-2 minutes until slightly reduced.
- Turn off the heat and whisk in the remaining 4 tablespoons of butter, one piece at a time, until the sauce is creamy. Stir in the lemon juice and parsley.
- Spoon the sauce over the tilapia and serve immediately.