Introduction
The first time I made pan seared scallops at home, I burned three of them and nearly threw the whole pan in the sink. I’d just gotten back from the docks with a bag of fresh sea scallops, and I thought — how hard can this be? Turns out, it’s harder than it looks if nobody ever told you the one thing that actually matters, unlike my much simpler buttery Chilean sea bass recipe.
But once I figured it out? I’ve been making this easy pan seared scallops dinner probably once a month ever since. It’s one of those meals that feels like you did something special, even when you only spent twenty minutes in the kitchen.
This isn’t a fancy restaurant version. It’s just what I do at home after a good haul or a lucky trip to the fish market. And it works every single time now.
Why You’ll Love This Recipe
- It’s genuinely fast — from fridge to table in under 20 minutes on a regular weeknight, no prep marathon required.
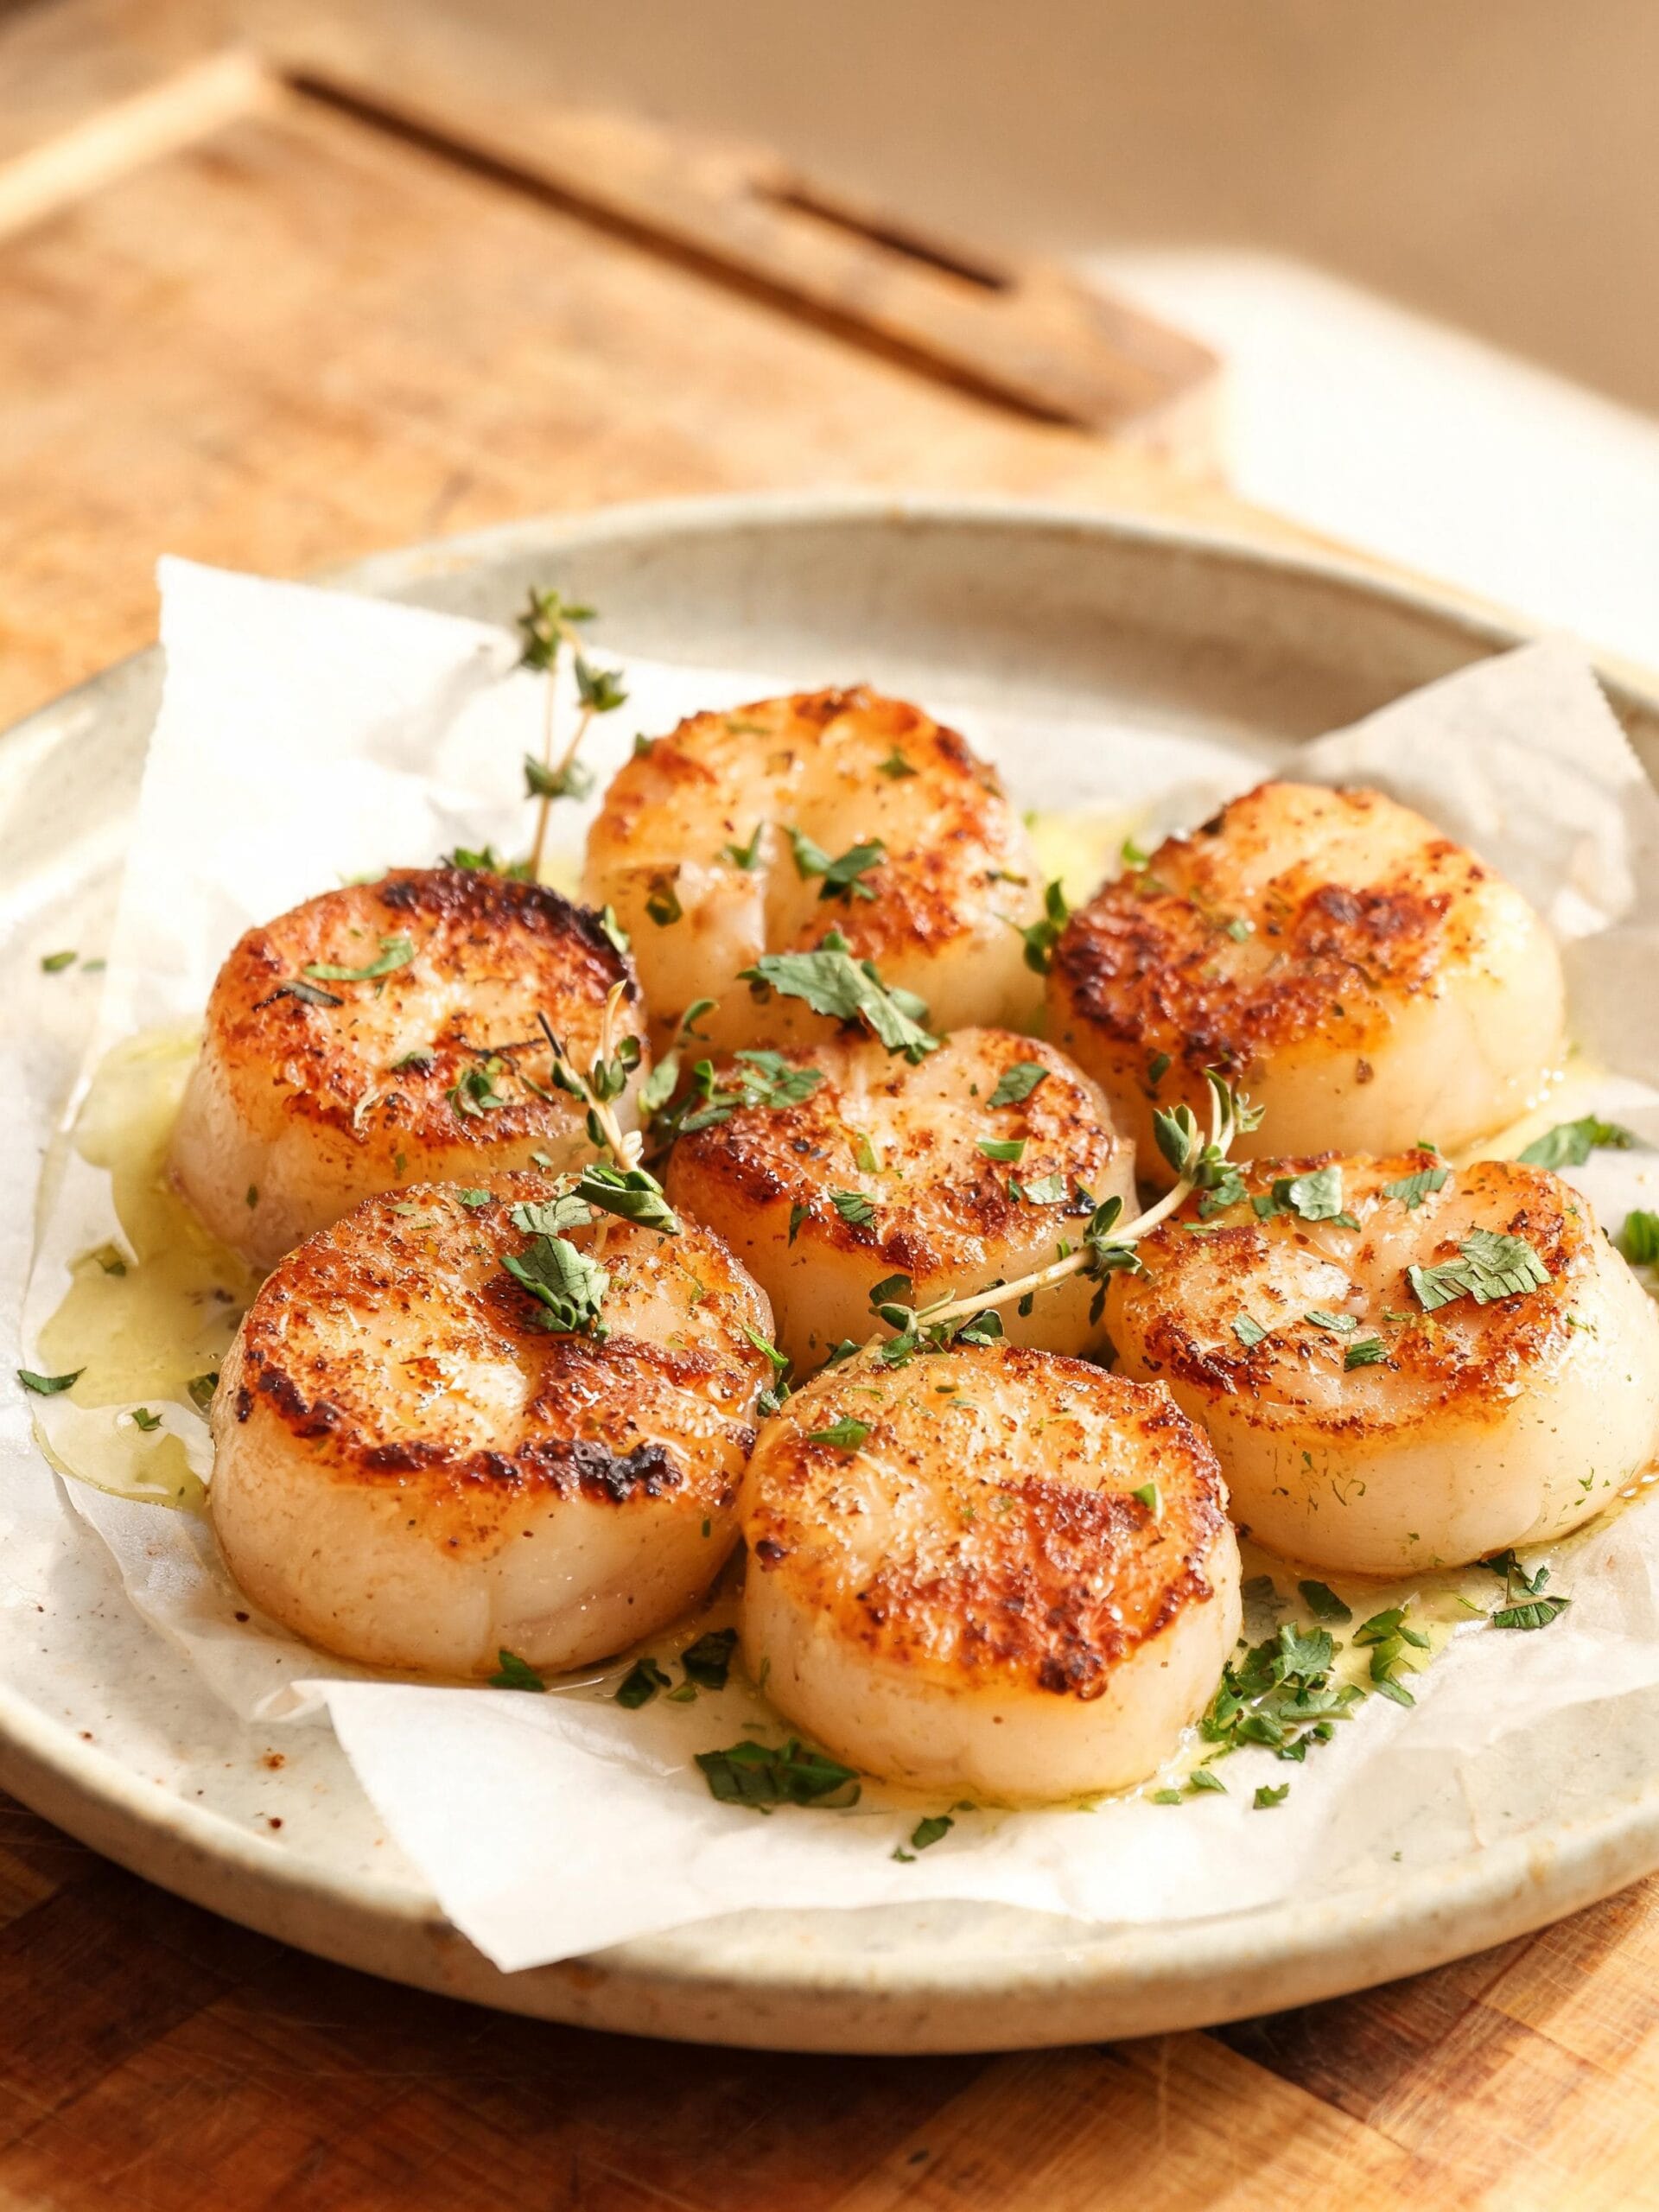
- That golden crust you get when the pan is hot enough is something else. Sweet, slightly caramelized on the outside, tender and almost creamy in the middle.
- You don’t need much. A handful of ingredients you probably already have, and the scallops do most of the work themselves.
Quick Recipe Snapshot
Recipe: Coastal Style Pan Seared Scallops
Prep Time: 10 minutes
Cook Time: 6–8 minutes
Total Time: Under 20 minutes
Servings: 4
Difficulty: Easy — beginner friendly
Best For: Weeknight dinner, date night at home, quick seafood meal
Key Flavor: Buttery, golden, slightly sweet with a hint of lemon
Ingredients List
The Scallops
- 1 ½ lbs large sea scallops — dry-packed if you can find them, it makes a real difference for the sear
- ½ tsp kosher salt — just enough to season, not bury the natural sweetness
- ¼ tsp black pepper, freshly cracked
For the Pan
- 2 tbsp neutral oil — avocado or grapeseed, something with a high smoke point so it doesn’t burn before the scallops do
- 2 tbsp unsalted butter — added at the end, this is what gives you that golden baste and rich finish
- 3 garlic cloves, lightly smashed — not minced, just cracked open so they flavor the butter without burning
- 3–4 sprigs fresh thyme — optional, but if you have it, it smells like the coast in the pan
To Finish
- 1 tbsp fresh lemon juice — just a squeeze at the end to cut through the butter
- 1 tbsp fresh parsley, roughly chopped — for a little color and freshness on the plate
Step-by-Step Instructions
- Dry your scallops completely. Pull them out of the fridge about 15 minutes before cooking. Pat every single one dry with paper towels — both flat sides. This is the step most people skip and it’s why they steam instead of sear. If there’s moisture on the surface, you won’t get a crust. You’ll just get a sad gray scallop sitting in its own liquid.
- Season right before cooking. Sprinkle salt and pepper on both flat sides just before they go in the pan. Not ten minutes ahead. Right before. Salt draws out moisture and you want them as dry as possible going in.
- Get the pan seriously hot. Use a cast iron skillet or a heavy stainless pan. Put it over high heat for about 2 minutes with nothing in it. Then add your oil and let that heat up for another 30 seconds until it just starts to shimmer. You want it almost smoking.
- Place scallops in the pan without crowding. Lay them flat side down, one by one, leaving space between each one. If they’re touching, they’ll steam each other. Work in batches if you need to. Don’t move them once they’re down. Just leave them alone for 2 minutes.
- Check for the crust before flipping. After 2 minutes, gently lift the edge of one scallop. If it releases easily and has a deep golden-brown crust, it’s ready to flip. If it sticks, give it another 30 seconds. It’ll let go when it’s ready — scallops kind of tell you.
- Flip and add butter. Flip each scallop, then immediately drop in the butter, garlic, and thyme. Tilt the pan slightly and use a spoon to baste the tops of the scallops with the melted butter as it foams. About 90 seconds on this side is usually enough.
- Pull them off the heat. Scallops keep cooking even after they leave the pan, so don’t wait until they look fully done. The center should still look slightly translucent when you pull them. Squeeze lemon over everything, scatter parsley on top, and serve immediately. They don’t wait well.
Side note — the first time I got this right, I just stood at the stove and ate two of them straight out of the pan before they even made it to the plate. That golden crust, that soft middle. It’s worth getting right.
Small Tricks From Cooking Fish at Home
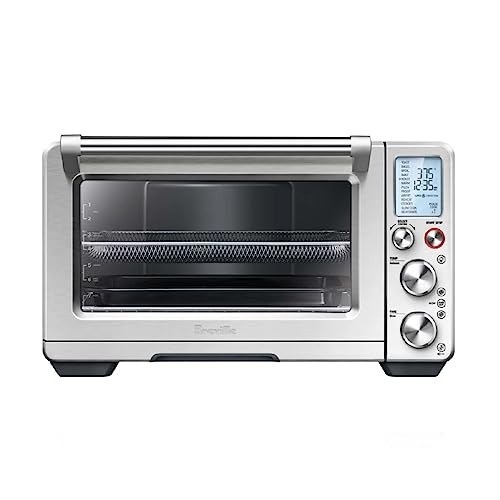
I mentioned my old cast iron skillet earlier, and for a very good reason. A thin, cheap pan will lose heat the moment those cold scallops hit it, leading to a steamed, rubbery mess. For that perfect, deep golden crust we’re aiming for, you need something that holds heat like a furnace. This is the exact Lodge skillet I use; it gets screaming hot and stays that way, which is the whole secret to a restaurant-quality sear at home.
If you’re serious about getting that perfect golden-brown crust, this is the pan that will do it for you every time. It’s the real workhorse in my kitchen.
Lodge 10.25 Inch Cast Iron Skillet with Assist Handle
✓ prime
We earn a commission if you make a purchase, at no additional cost to you.

Dry-packed scallops are worth hunting for. Wet-packed ones are soaked in a preservative solution that makes them release a ton of water in the pan. I learned this the hard way after wondering why my pan looked like a pot of soup. Ask your fishmonger or check the label.
Cast iron holds heat better than anything else I’ve used. A thin pan loses temperature the second the cold scallops hit it, and then you’re just slow-cooking them instead of searing. My old cast iron skillet has made more good seafood dinners than anything else in my kitchen.
Don’t add butter at the start. Butter burns fast at high heat, and you need high heat for the crust. Add the oil first for the sear, then drop the butter in after you flip. That way you get the crust AND the flavor without the burnt bitter taste.
One time I tried to rush the process and flipped them after only a minute. They tore apart and stuck to the pan. Lesson learned — patience is the whole game with scallops. When they’re ready, they release. When they’re not, they hold on for dear life.
Room temperature matters more than people think. Cold scallops straight from the fridge drop the pan temperature fast. Even 10 minutes sitting on the counter makes a difference in how evenly they cook through.
Common Mistakes to Avoid
Skipping the drying step. I know I already said this but it really is the number one thing. Wet scallops don’t sear. They steam. And steamed scallops are rubbery and pale and kind of sad. Dry them like you mean it.
Overcrowding the pan is something I see a lot when people are cooking for a group and trying to do everything at once. The pan temperature drops, moisture builds up, and suddenly you’ve got a situation. Two batches takes an extra four minutes. It’s worth it.
Overcooking them. Scallops go from perfect to rubbery really fast. The inside should be just barely set — almost like a soft custard texture in the very center. If it’s fully opaque and firm all the way through, you’ve gone a little too far. Still edible, but not what you’re going for.
Using the wrong oil. Olive oil smokes and burns at the heat you need for a proper sear. I used it for years thinking it was fine. It’s not. Switch to something neutral with a higher smoke point and you’ll notice the difference immediately.
Variations and Serving Ideas
Spicy version: Add a pinch of crushed red pepper flakes to the butter when you baste, and finish with a tiny drizzle of chili oil. It adds heat without covering up the sweetness of the scallop.
Mild and simple: Skip the garlic and thyme entirely. Just butter, salt, lemon. Sometimes the simplest version is the best one, especially when the scallops are really fresh.
Coastal twist: Serve them over a small pile of creamy corn and a spoonful of something bright — a simple tomato and basil salsa, or just halved cherry tomatoes tossed with a little olive oil and sea salt. That combination of sweet corn, sweet scallop, and fresh tomato is very much a summer evening on the water.
What to Serve With
Scallops are rich and buttery on their own, so I like to pair them with something that cuts through a little. If you’re looking for a great appetizer to start with, these easy stuffed mushrooms with crab are a perfect choice. For a side, a simple green salad with a sharp vinaigrette or just roasted asparagus with lemon balances the plate beautifully.
If you want something more filling, creamy polenta or a small mound of buttery mashed potatoes underneath the scallops makes this feel like a real dinner. The sauce from the pan soaks right in.
Crusty bread on the side is never a bad idea. You’re going to want to wipe the pan.
Storage and Reheating
Honestly, scallops are best eaten the moment they come off the heat. That’s just the truth. But if you have leftovers, store them in an airtight container in the fridge and eat them within one day. Two days at the absolute most.
DO NOT microwave them. Please. They turn rubbery and the texture goes completely wrong. If you need to reheat, do it gently in a pan over low heat with a small splash of water or broth, just until warmed through. Don’t try to re-sear them — the crust won’t come back and you’ll just overcook them.
DO NOT freeze cooked scallops. The texture breaks down and they get watery and strange. If you have raw scallops you want to freeze, do it before cooking and thaw them slowly in the fridge overnight.
FAQs (People Also Ask)
Can I use frozen scallops for this recipe?
Yes, but thaw them slowly in the fridge overnight — never in warm water. Once thawed, dry them really well. Frozen scallops tend to hold more moisture, so the drying step is even more important.
How do I know when scallops are done?
The outside should have a deep golden-brown crust and the sides should look opaque about three-quarters of the way up. The very center can still look slightly translucent. If you press gently, it should feel firm but still have a little give — not rock solid.
Can I substitute bay scallops for sea scallops?
You can, but bay scallops are much smaller and cook in under a minute. The technique is the same but the timing is completely different. They’re harder to get a real crust on, too. Sea scallops are better for this kind of recipe.
How long does this recipe take from start to finish?
About 15 to 20 minutes total, including the resting time before cooking. It’s one of the fastest real seafood dinners you can make at home.
Why are my scallops sticking to the pan?
Usually means the pan wasn’t hot enough, or they weren’t dry enough, or both. A properly heated pan with dry scallops will release naturally when the crust forms. If they’re sticking, give them another 30 seconds and try again — don’t force it.
Can I make this ahead of time?
Not really. Scallops are one of those things that need to be eaten fresh. You can prep everything ahead — dry the scallops, measure your ingredients, make your sides — but cook them right before you eat.
Nutrition Facts
(Per serving. Estimates only, varies by exact ingredients used)
Conclusion
There’s something about getting scallops right at home that feels a little like a small victory. Not because it’s complicated — it’s not, once you know the few things that actually matter. But because for a long time I thought this kind of dinner was something you only got at a restaurant, from someone who actually knew what they were doing.
Turns out, you just needed a hot pan and dry scallops and a little patience. That’s most of it right there.
I hope yours turn out golden and sweet and exactly the way they should. And if the first one sticks a little — that’s okay. The second one will be better. That’s just how it goes.
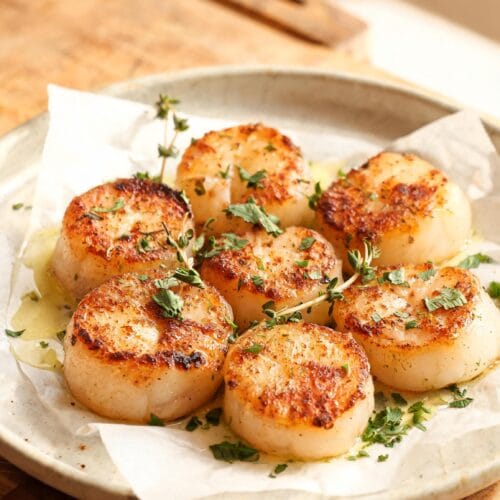
Coastal Style Pan Seared Scallops with Garlic Butter and Lemon
Ingredients
- 1 1/2 lbs large dry-packed sea scallops
- 1/2 tsp kosher salt
- 1/4 tsp freshly cracked black pepper
- 2 tbsp avocado oil or grapeseed oil
- 2 tbsp unsalted butter
- 3 garlic cloves, lightly smashed
- 3-4 sprigs fresh thyme (optional)
- 1 tbsp fresh lemon juice
- 1 tbsp fresh parsley, roughly chopped
Instructions
- Remove scallops from the fridge 10-15 minutes before cooking. Pat every scallop completely dry on both flat sides using paper towels. Repeat if needed — they should feel dry to the touch.
- Season both flat sides of each scallop with kosher salt and black pepper right before cooking.
- Heat a cast iron skillet or heavy stainless pan over high heat for 2 minutes. Add oil and heat for another 30 seconds until shimmering and almost smoking.
- Place scallops flat side down in the pan without crowding. Leave space between each one. Do not move them. Cook for 2 minutes undisturbed.
- Gently lift the edge of one scallop. If it releases easily with a deep golden crust, flip all scallops. If it sticks, wait another 30 seconds.
- After flipping, immediately add butter, smashed garlic, and thyme to the pan. Tilt the pan and baste the tops of the scallops with the foaming butter for about 90 seconds.
- Remove scallops from heat while the very center still looks slightly translucent. Squeeze fresh lemon juice over the top, scatter chopped parsley, and serve immediately.