Introduction
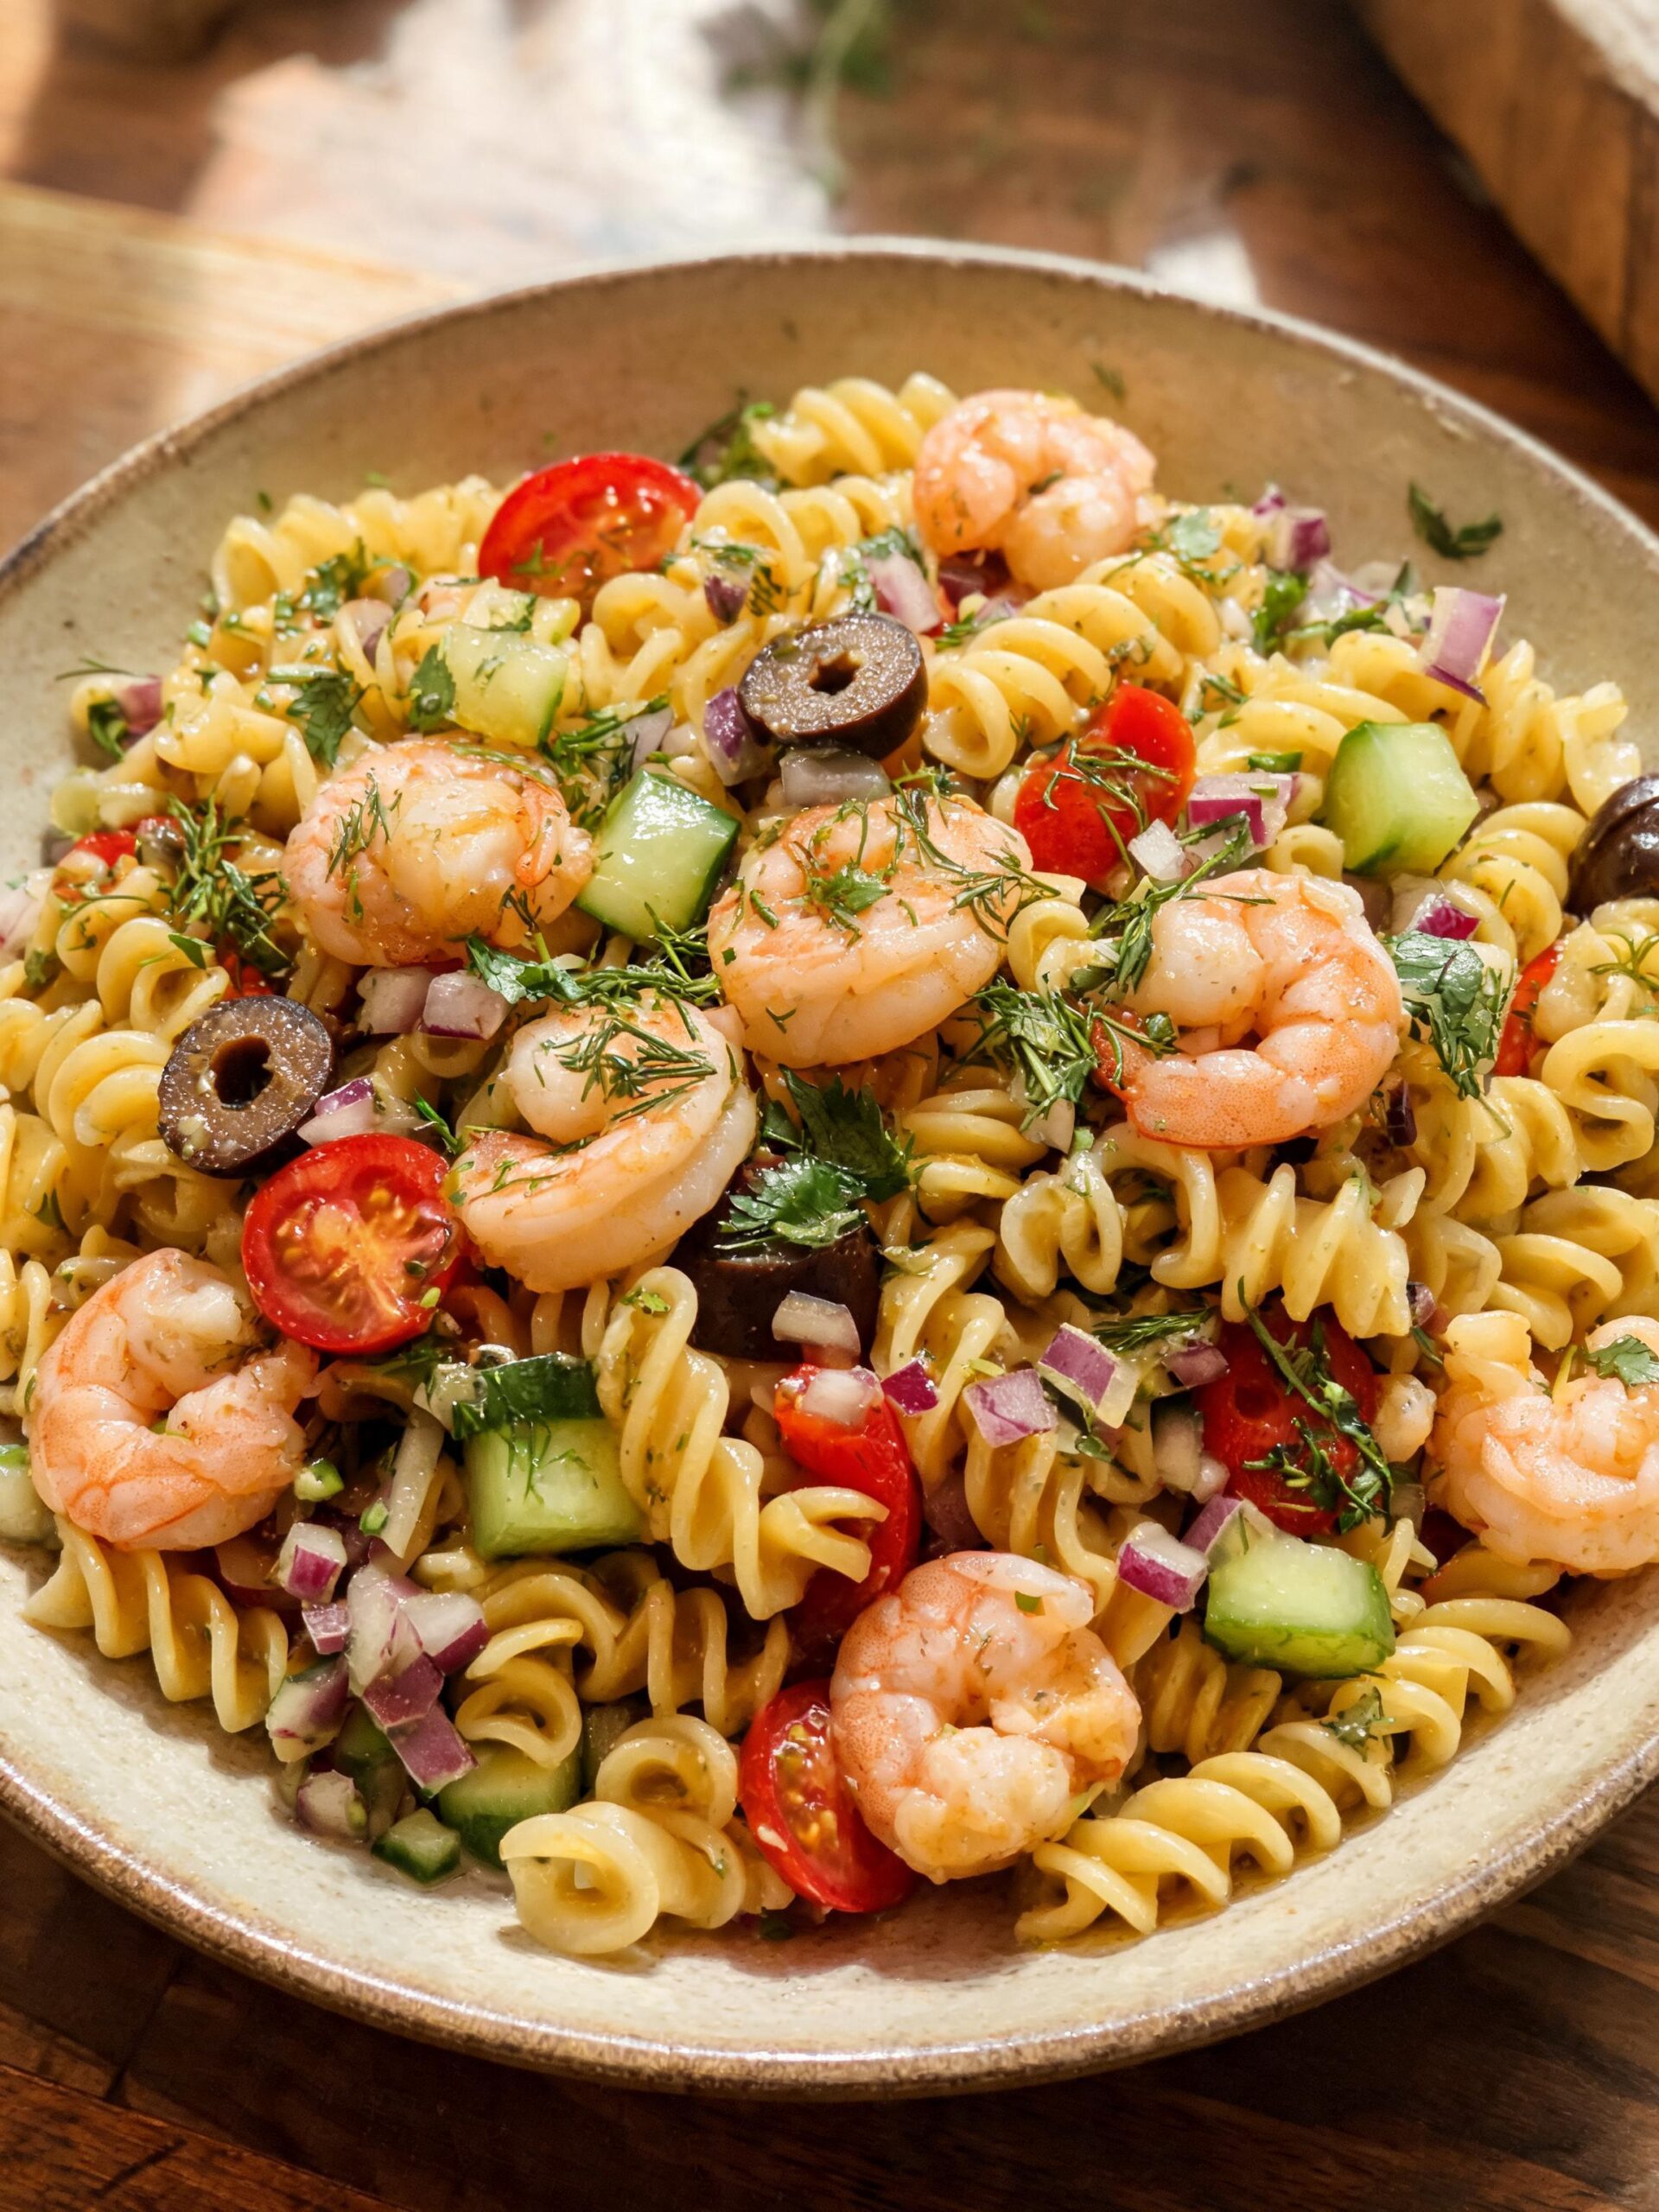
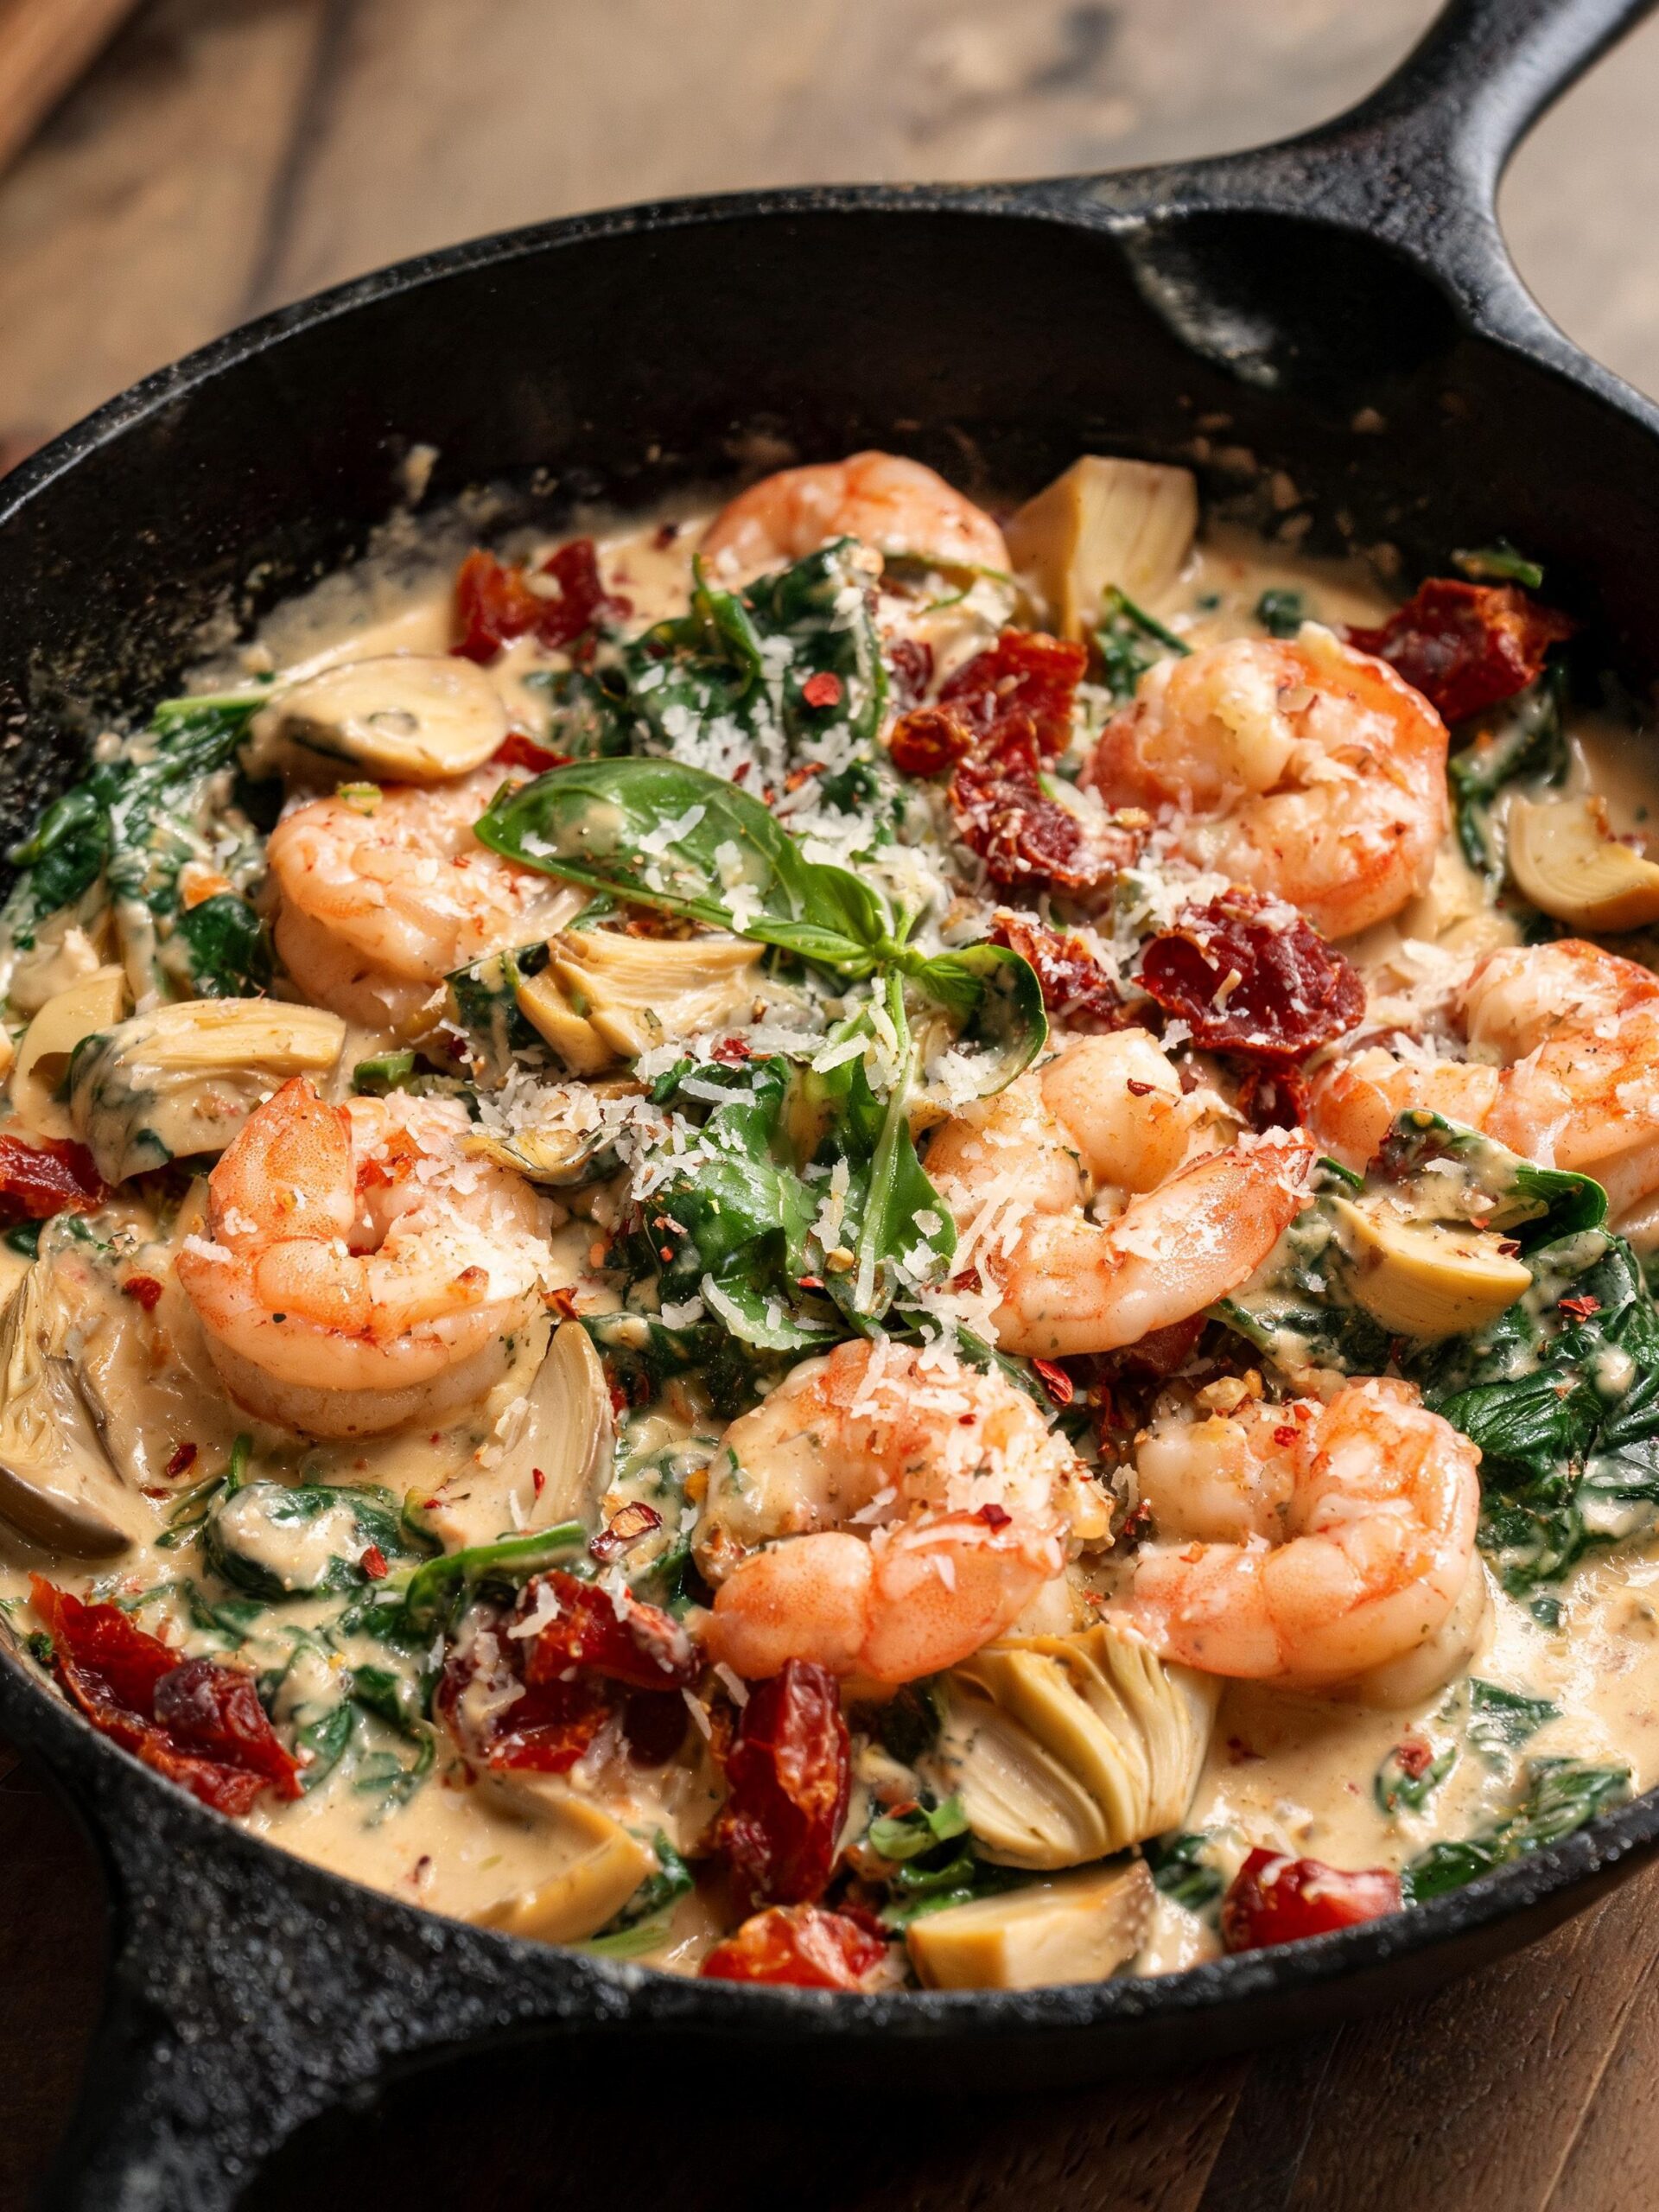
Some nights you just open the fridge and there they are — a bag of shrimp sitting on the second shelf, already thawed, just waiting. That’s how the best shrimp dinner ideas happen. Not planned or elaborate like some of our favorite easy seafood boil recipes, but just as satisfying. Just a quiet Tuesday, a little butter, some garlic, and the smell of the coast coming right off the stove.
I grew up near the water. My uncle used to bring shrimp home in a cooler after early morning runs, and my mom would have them in a pan before the ice had even fully melted. She never measured anything. She just cooked. And somehow it always tasted like something you’d pay good money for at a restaurant, except we were eating it in bare feet on a linoleum floor.
That’s the spirit behind these easy shrimp dinner ideas. Nothing complicated. Nothing that requires a culinary degree or a kitchen full of equipment. Just real food, cooked simply, the way people who live near the water have always done it.
Why You’ll Love This Recipe
- It’s fast. We’re talking 25 minutes from fridge to table. On a weeknight, that’s everything.
- The flavor is real. Garlic, butter, lemon, a little heat — shrimp doesn’t need much, and this recipe proves it.
- Anyone can do it. Seriously. If you can stir something in a pan without burning it, you’ve got this.
Quick Recipe Snapshot
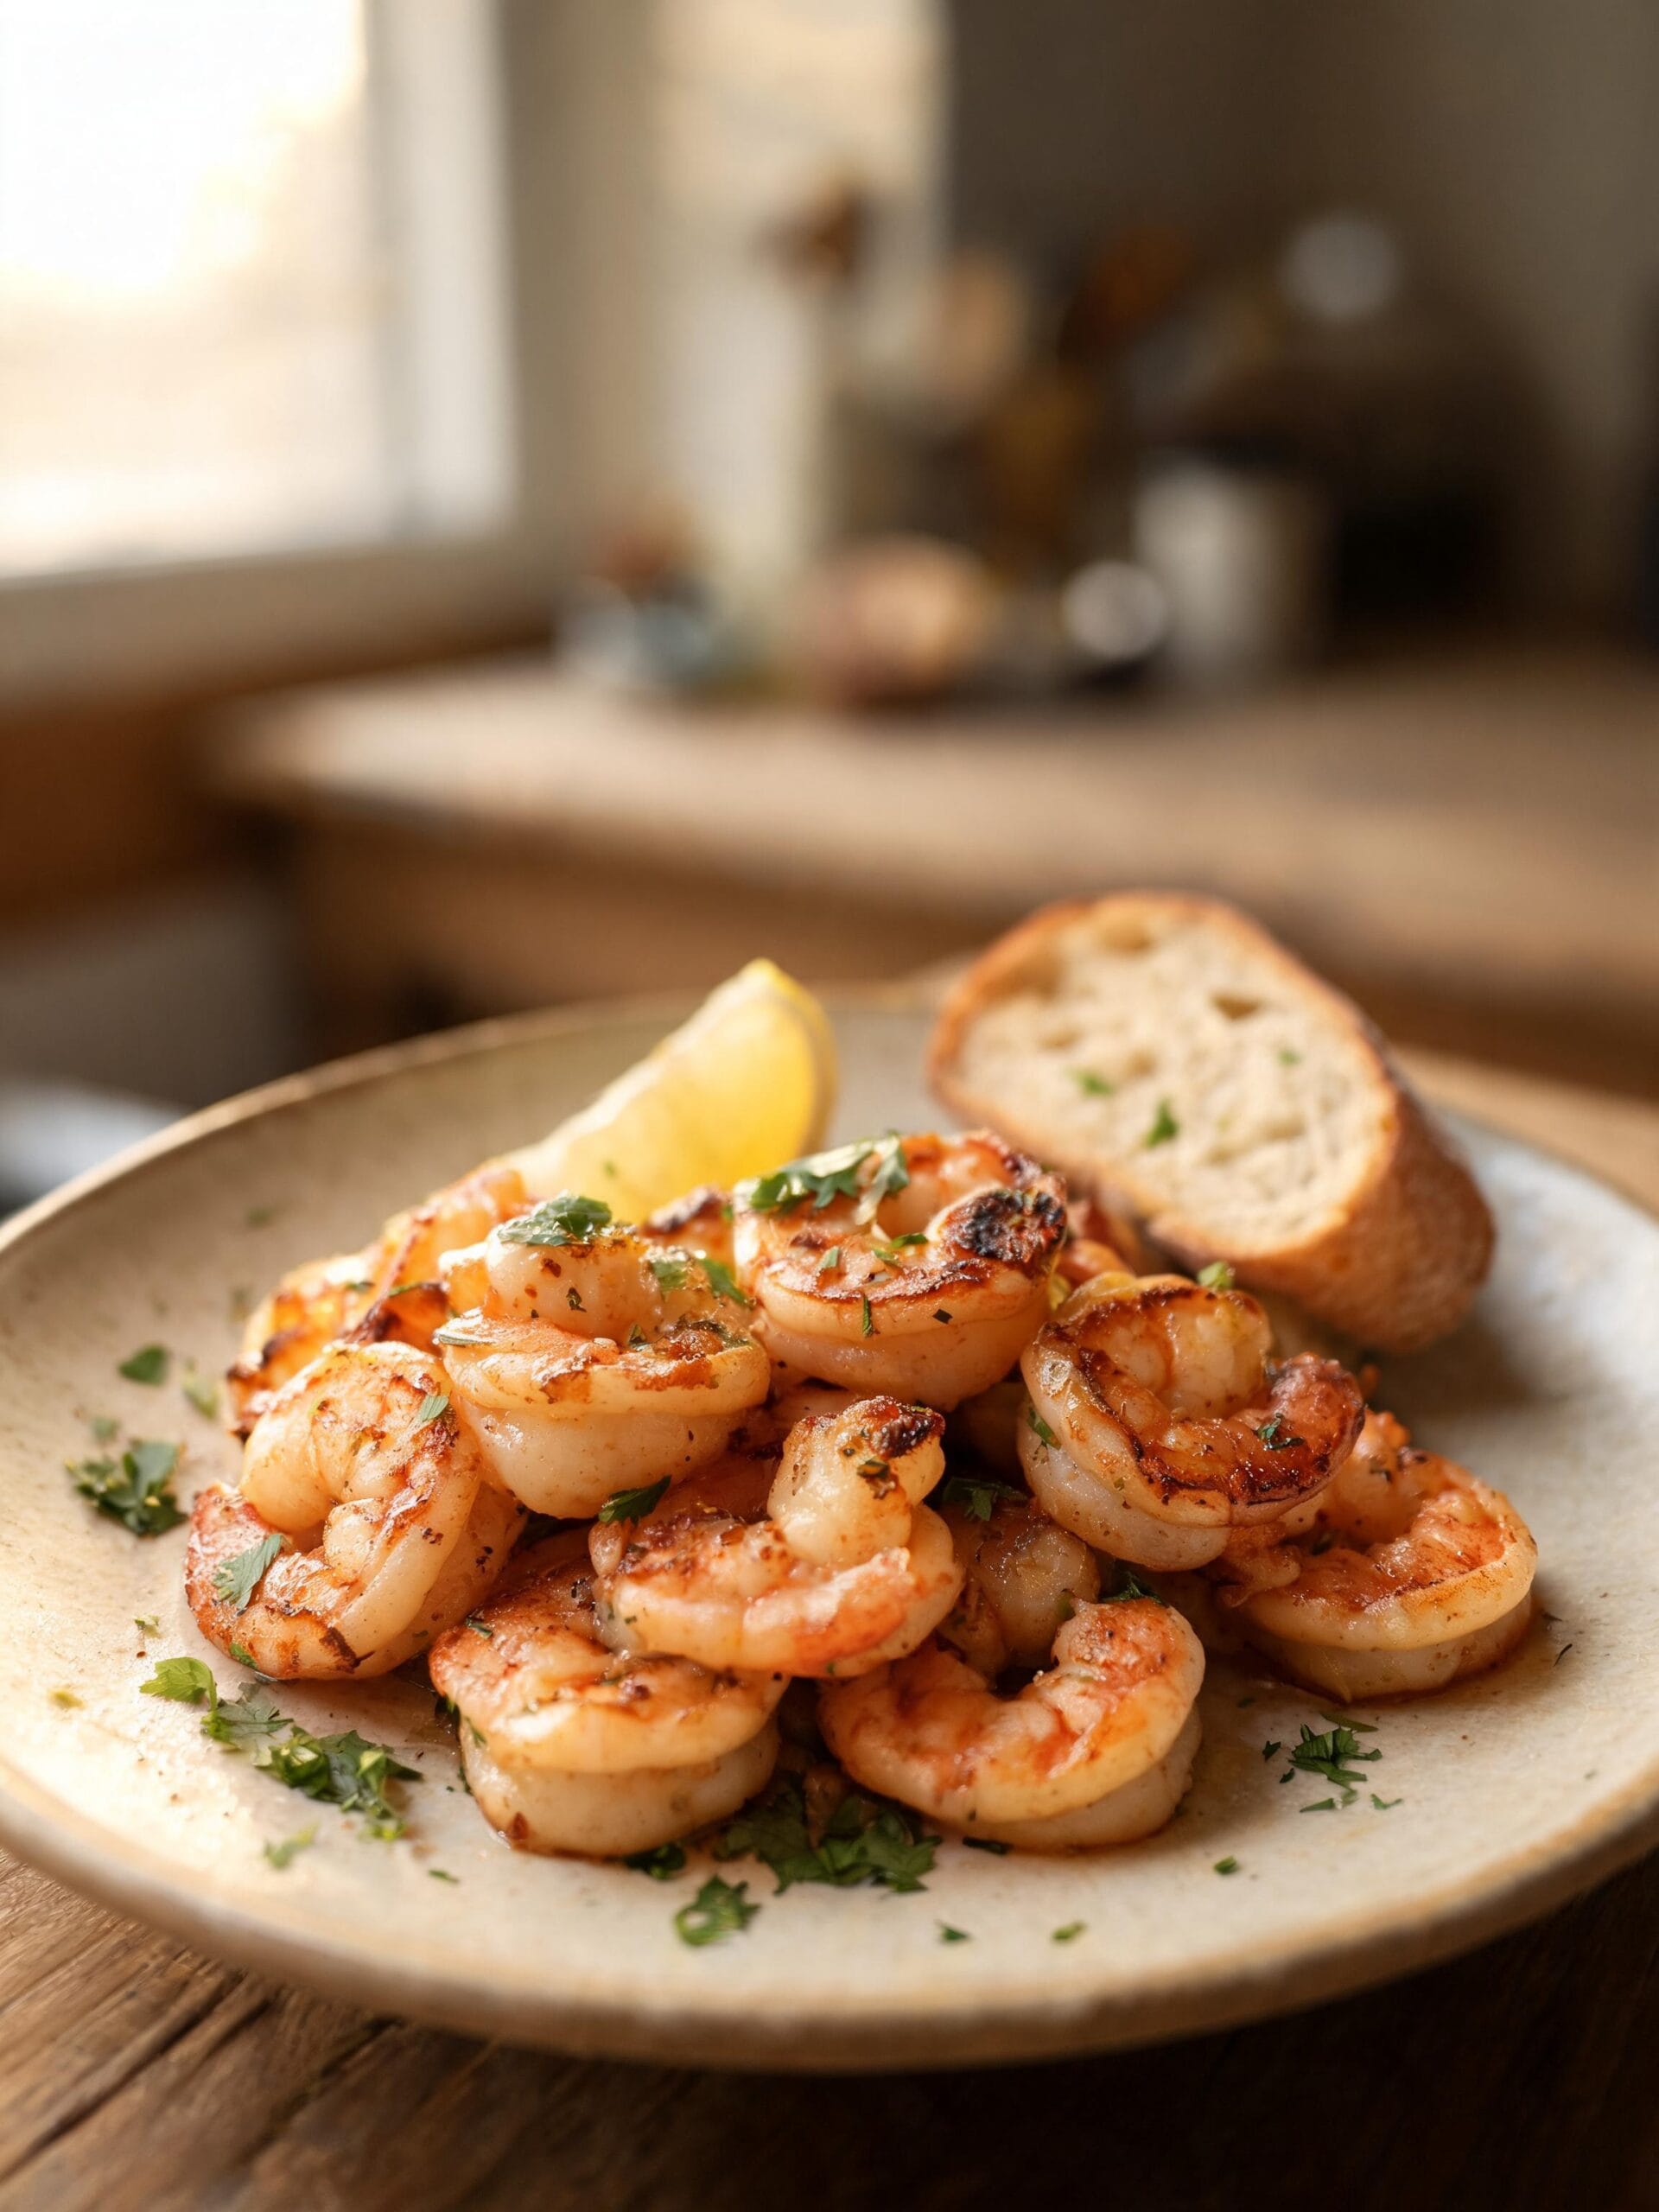
🍤 Garlic Butter Shrimp Skillet
| ⏱ Prep Time | 15 minutes |
| 🔥 Cook Time | 20 minutes |
| 🍽 Servings | 4 |
| 📊 Difficulty | Easy |
| 🌊 Style | Coastal Home Cooking |
Ingredients List
For the shrimp:
- 1½ lbs large shrimp, peeled and deveined — fresh is best, but thawed frozen works perfectly fine
- 4 tablespoons unsalted butter — this is what carries all the flavor, don’t skip it
- 5 cloves garlic, minced — the more the better honestly
- 2 tablespoons olive oil — helps the butter not burn too fast
- 1 teaspoon smoked paprika — adds that subtle coastal smokiness
- ½ teaspoon red pepper flakes — adjust this to your heat comfort
- Salt and black pepper to taste
- Juice of 1 lemon — fresh, not the bottle stuff, it makes a difference
- ¼ cup dry white wine — optional but it adds a little depth to the pan sauce
For serving:
- Fresh parsley, roughly chopped
- Crusty bread or cooked pasta or rice — whatever you’ve got
- Lemon wedges on the side
Step-by-Step Instructions
- Pat your shrimp dry with paper towels. This step matters more than people think. Wet shrimp steam instead of sear, and you lose that little golden edge that makes everything taste better. Dry them well, then season with salt, pepper, and the smoked paprika.
- Heat a large skillet — cast iron if you have one — over medium-high heat. Add the olive oil and let it get hot but not smoking. You want that shimmer in the pan.
- Add the shrimp in a single layer. Don’t crowd them. If your pan isn’t big enough, do two batches. Crowded shrimp steam and go rubbery. Give them space. Cook about 1 to 2 minutes per side until they’re pink and just starting to curl into a C shape. Pull them out and set aside.
- Turn the heat down to medium. Add the butter to the same pan. Let it melt, then add the garlic. This is the part where your kitchen starts smelling incredible. Stir the garlic around for about 60 seconds — just until it softens and goes fragrant. Don’t let it brown or it’ll turn bitter.
- If you’re using the white wine, pour it in now. Let it bubble and reduce for about a minute, scraping up any bits from the bottom of the pan. That’s flavor right there.
- Add the red pepper flakes, then squeeze in the lemon juice. Stir it all together. Taste the sauce. Adjust salt if needed.
- Add the shrimp back into the pan. Toss everything together and let it sit for just 30 seconds to warm back through. Don’t cook them further or they’ll tighten up on you.
- Scatter the parsley over the top and serve immediately. Shrimp don’t wait well on the plate.
Side note — I always have bread nearby when I make this. That butter and garlic sauce left in the pan is too good to waste.
Small Tricks From Cooking Fish at Home
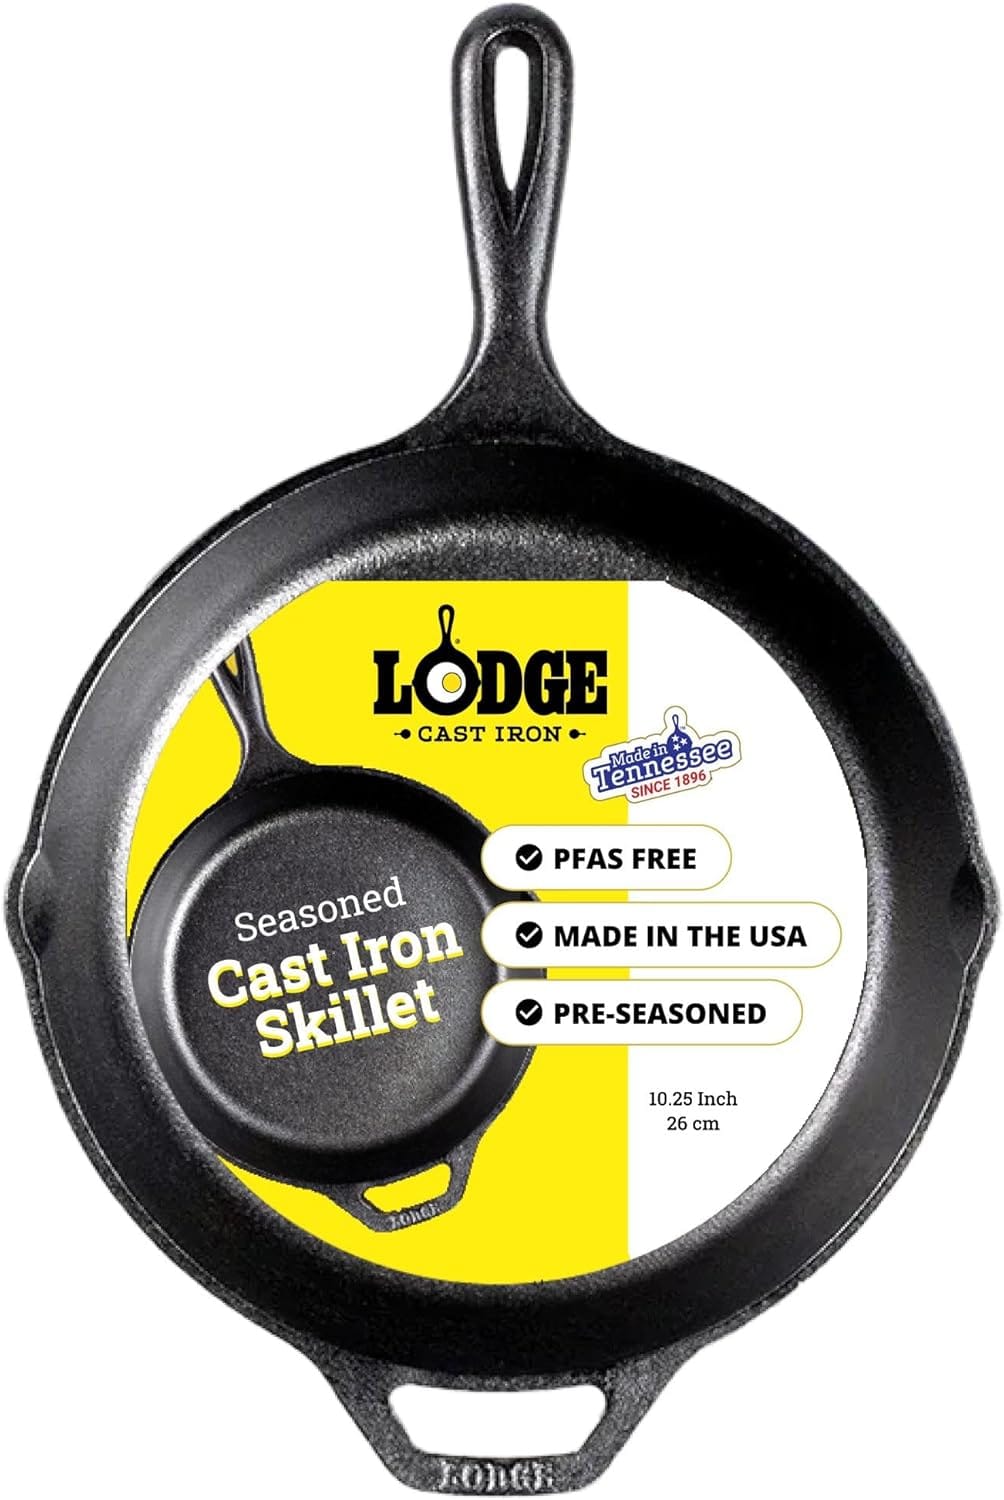
I mentioned using a cast iron skillet if you have one, and honestly, it’s the secret weapon here. To get that perfect, quick sear we’ve been talking about, you need a pan that holds a ton of heat. My old, reliable Lodge skillet does just that. It gets blazing hot and stays hot, ensuring the shrimp hit the pan and immediately start to brown instead of just steaming. It’s how you get that coastal, just-off-the-boat flavor instead of something chewy and disappointing.
This is the single best piece of equipment for this recipe, and it’ll last you a lifetime. Get yours and see the difference for yourself.
Lodge 10.25 Inch Cast Iron Skillet with Assist Handle
✓ prime
We earn a commission if you make a purchase, at no additional cost to you.
The biggest thing I learned early on is that shrimp cook faster than you expect. The first time I made a big batch, I walked away to grab my drink and came back to rubber. Now I don’t leave the stove. Not even for a second.
Dry your shrimp. I know I said it in the instructions but it’s worth saying again here because people skip it. A paper towel, 30 seconds, and your shrimp will actually sear instead of just steaming in their own moisture.
Use a wide pan. The more surface area, the better. Shrimp need room to breathe and brown. A crowded pan is the enemy of texture.
Garlic burns fast and it’s bitter when it does. Medium heat, not high. And watch it. Once it smells good, the next ingredient goes in. That’s your cue.
If you’re using frozen shrimp — which honestly I do half the time — thaw them in cold water for about 15 minutes, not the microwave. The microwave starts cooking the edges before the center thaws and you end up with uneven texture throughout.
One more thing. Lemon goes in at the end, not the beginning. Acid added too early can actually start to cook the shrimp slightly and tighten the texture before the heat even gets to them. Save it for the finish.
Common Mistakes to Avoid
Overcooking is the big one. Shrimp go from perfect to chewy in about 60 seconds. Once they curl into a tight little O shape instead of a gentle C, they’ve gone too far. Pull them just before you think they’re done — the residual heat finishes the job.
Using pre-minced garlic from a jar. I know it’s convenient. I’ve done it in a pinch. But fresh garlic has a brightness that the jar stuff just doesn’t have. For a recipe this simple where garlic is doing half the work, it’s worth the extra two minutes to mince it yourself.
Skipping the pat-dry step. I keep coming back to this because it genuinely changes the outcome. Moisture on the surface of the shrimp prevents browning. Browning equals flavor. So dry them.
Adding everything to a cold pan. The pan needs to be hot before the shrimp go in. A cold pan means slow cooking, which means more time for moisture to release, which means — you guessed it — steamed rubbery shrimp instead of that quick sear you want.
Variations and Serving Ideas
If you want it spicy, double the red pepper flakes and add a teaspoon of cayenne to the seasoning. You can also finish with a drizzle of hot honey right at the end — that sweet heat combination with the garlic butter is something else.
For a milder version, skip the pepper flakes entirely and add a splash of heavy cream to the pan sauce after the wine reduces. It turns into this silky, gentle sauce that’s great over pasta or rice, especially for kids or anyone who doesn’t love heat.
The coastal twist I love most is adding a handful of cherry tomatoes to the pan when the garlic goes in. They blister and burst, releasing their juice into the butter sauce. Served over grilled bread with a little crumbled feta, it makes one of the best seafood appetizers easy enough for any night and tastes like something you’d eat on a dock somewhere warm.
What to Serve With
Crusty bread is non-negotiable for me. That pan sauce needs something to soak into and bread does the job better than anything else.
For something more filling, serve over angel hair pasta or simple white rice. The sauce coats pasta beautifully without being heavy.
A simple green salad on the side — arugula with lemon and olive oil — cuts through the richness of the butter and keeps the whole plate feeling light. Roasted asparagus works the same way. Something green and slightly bitter balances the richness really well.
If it’s summer and you’ve got corn, grilled corn on the cob alongside this is one of the better combinations I’ve found. Sweet, smoky, buttery — it all works together.
Storage and Reheating
Cooked shrimp keep in the fridge for up to 2 days in a sealed container. After that they start to smell off and the texture gets strange. Don’t push it past two days.
DO NOT reheat shrimp in the microwave. It makes them rubbery and weirdly tough almost every time. If you need to reheat, use a pan on low heat with a tiny splash of water or butter, just long enough to warm through. Two minutes max.
DO NOT freeze cooked shrimp if you can avoid it. The texture after freezing and thawing a second time is just not good. Mealy and soft in a bad way. Better to eat leftovers cold over a salad the next day than to freeze them.
Honestly the best leftover move is eating the cold shrimp straight from the container over the sink at midnight. No judgment here.
FAQs (People Also Ask)
Can I use frozen shrimp for this?
Yes, absolutely. Thaw them in cold water for 15 minutes, pat them dry, and they cook exactly the same way. I use frozen shrimp more often than fresh, especially when I haven’t planned ahead.
How do I know when shrimp are done cooking?
They turn pink and opaque and curl into a loose C shape. If they curl into a tight O, they’ve overcooked. It happens fast so watch them closely.
Can I substitute the white wine?
Yes. Chicken broth works well. Even just a splash of extra lemon juice and a little water does the job. The wine adds depth but it’s not essential.
How long does this take from start to finish?
About 25 to 30 minutes if your shrimp are already thawed. It’s genuinely one of the quickest dinners you can make.
Is this recipe beginner friendly?
Very much so. The only real skill involved is not walking away from the stove. If you can watch a pan for 5 minutes, you can make this.
Nutrition
Nutrition Facts
(Per serving. Estimates only, varies by exact ingredients used)
Conclusion
There’s something about a pan of shrimp in garlic butter that just feels like home to me. It smells like the coast. It tastes like the nights my mom cooked without a recipe, just instinct and a hot stove and whatever was in the fridge.
You don’t need much to make a dinner worth remembering. A little butter, some garlic, shrimp that are fresh enough to smell like the ocean. That’s really all it takes.
I hope this one finds its way into your regular rotation. The kind of meal you stop thinking about as a recipe and just start making by feel.
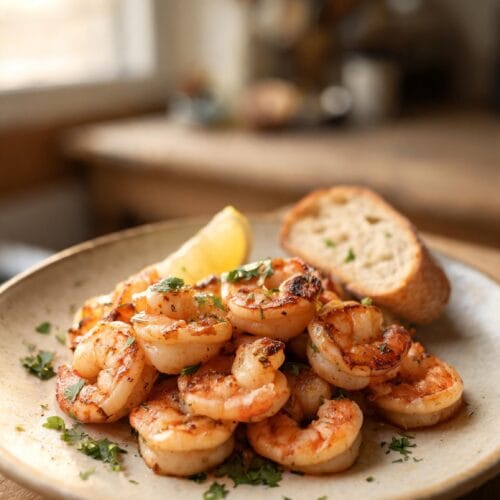
Garlic Butter Shrimp Skillet
Ingredients
- 1½ lbs large shrimp, peeled and deveined
- 4 tablespoons unsalted butter
- 5 cloves garlic, minced
- 2 tablespoons olive oil
- 1 teaspoon smoked paprika
- ½ teaspoon red pepper flakes
- Salt and black pepper to taste
- Juice of 1 lemon
- ¼ cup dry white wine (optional)
- Fresh parsley, roughly chopped
- Lemon wedges for serving
- Crusty bread, pasta, or rice for serving
Instructions
- Pat shrimp completely dry with paper towels. Season with salt, black pepper, and smoked paprika.
- Heat a large skillet over medium-high heat. Add olive oil and let it get hot until shimmering.
- Add shrimp in a single layer. Cook 1 to 2 minutes per side until pink and curled into a C shape. Remove and set aside.
- Reduce heat to medium. Add butter to the same pan and let it melt. Add minced garlic and stir for 60 seconds until fragrant but not browned.
- Pour in white wine if using. Let it bubble and reduce for 1 minute, scraping up any bits from the pan bottom.
- Add red pepper flakes and squeeze in the lemon juice. Stir and taste for salt.
- Return shrimp to the pan. Toss to coat and warm through for 30 seconds only. Do not overcook.
- Scatter fresh parsley on top and serve immediately with crusty bread, pasta, or rice.