Introduction
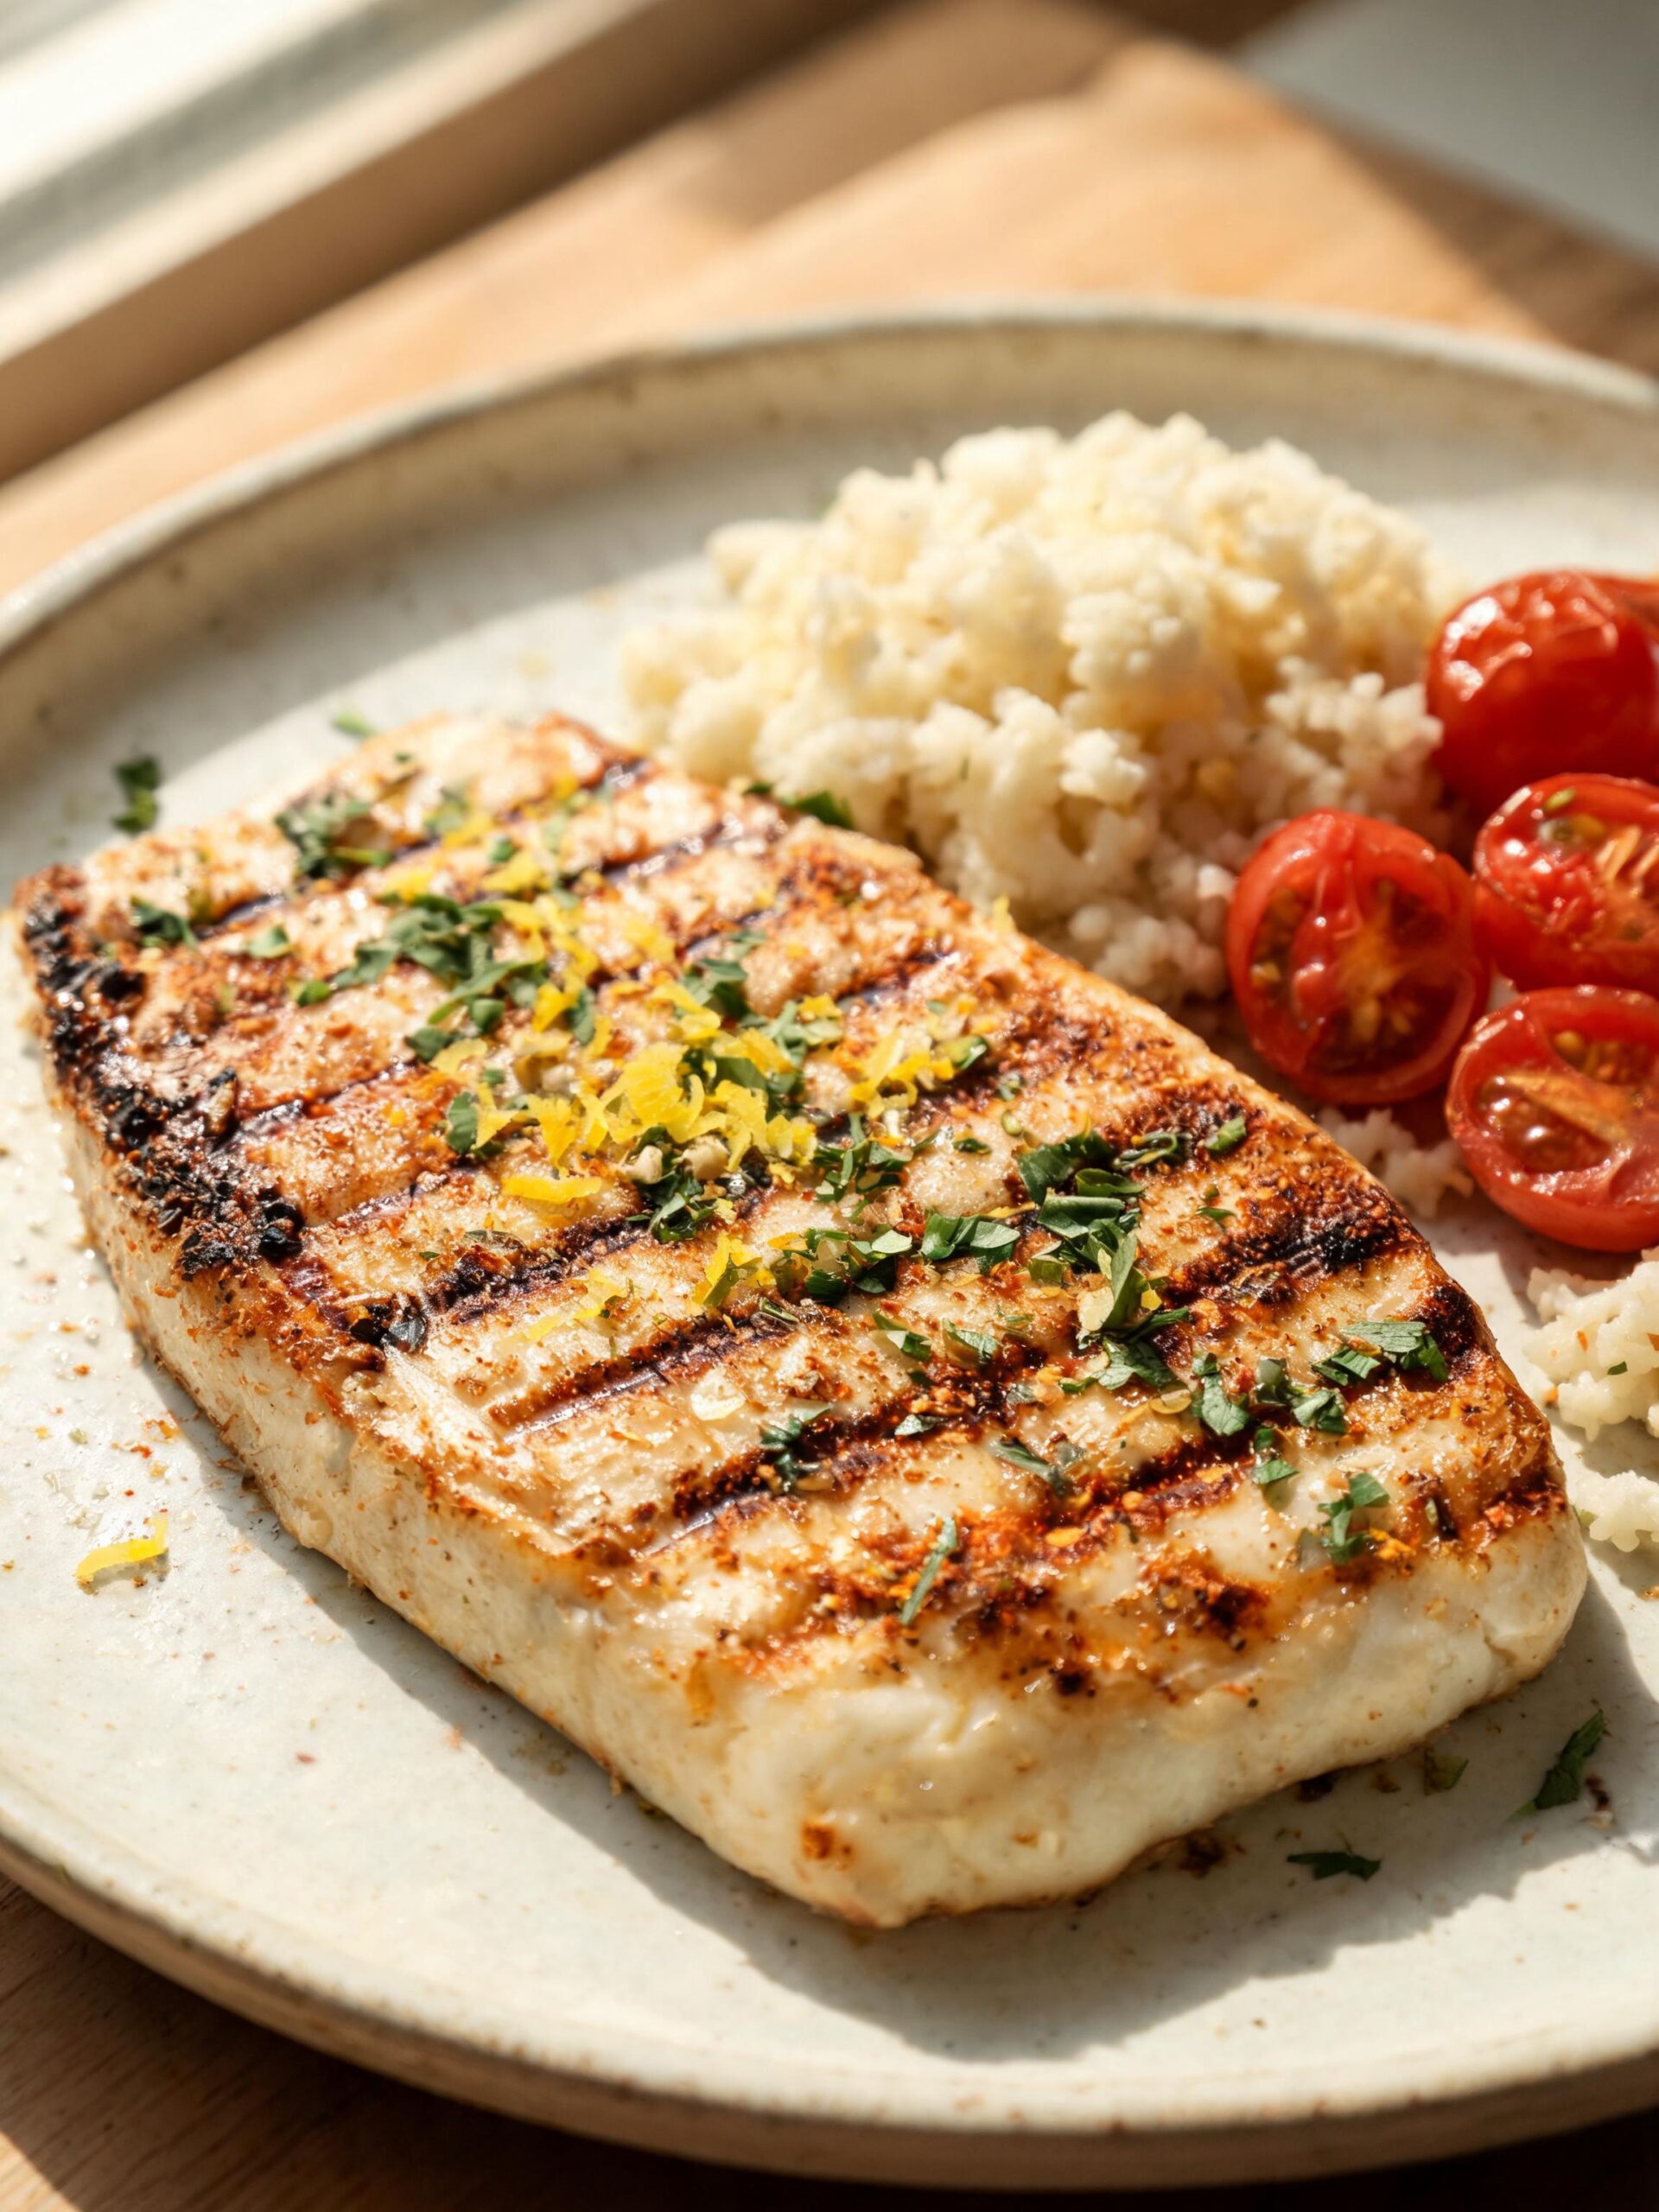
Sunday afternoon, the cooler still smelling like saltwater and bait, and I’m standing at the kitchen counter trying to figure out what to do with the four beautiful fillets I pulled out of the bay that morning. While I love a good crispy fish fillet recipe, this time was different. This is honestly where this Low Carb Grilled Fish Meal Prep was born. Not from a cookbook or a cooking show, but from being tired, a little sunburned, and knowing I needed food ready for the week ahead without a whole production.
I’d been trying to eat cleaner for a while — cutting back on the heavy stuff, more fish, less bread — and this easy low carb grilled fish meal prep just kind of clicked into place that afternoon. Simple marinade, hot grill, done. And the leftovers? Honestly better the next day once everything settles together in the container.
If you’ve got fish and thirty-five minutes, you’ve got dinner sorted for the next few days. That’s the whole idea here.
Why You’ll Love This Recipe
- It’s genuinely fast — fifteen minutes of prep, twenty on the grill, and you’re done. No complicated steps, no fancy equipment.
- The flavor actually holds up — the lemon and garlic marinade keeps the fish from tasting flat after a day in the fridge, which is the thing that kills most meal prepped fish.
- It works for almost any white fish — mahi, cod, tilapia, snapper. Whatever you caught or whatever looked good at the market that morning.
Quick Recipe Snapshot
Recipe: Low Carb Grilled Fish Meal Prep
Prep Time: 15 minutes
Cook Time: 20 minutes
Total Time: 35 minutes
Servings: 4
Calories: ~350 kcal per serving
Best For: Weekly meal prep, quick lunches, light dinners
Diet: Low carb, keto-friendly, gluten-free
Skill Level: Beginner-friendly
Ingredients List
For the Fish:
- 4 white fish fillets (6 oz each) — mahi-mahi, cod, or snapper all work great here
- 2 tablespoons olive oil — helps the fish not stick and carries the flavor into the flesh
- 1 teaspoon sea salt
- ½ teaspoon black pepper
- 1 teaspoon smoked paprika — this is what gives it that slight char flavor even if your grill isn’t screaming hot
- ½ teaspoon garlic powder
- ½ teaspoon onion powder
- Zest of 1 lemon — don’t skip this, it brightens everything up
For the Marinade:
- 3 tablespoons olive oil
- Juice of 1 large lemon
- 3 cloves garlic, minced
- 1 tablespoon fresh parsley, chopped (or 1 teaspoon dried)
- ½ teaspoon red pepper flakes — optional but worth it
For Serving (Optional but Recommended):
- 2 cups cauliflower rice, cooked
- 1 cup cherry tomatoes, halved
- 1 small cucumber, sliced
- Lemon wedges
Step-by-Step Instructions
- Pat the fish dry. This sounds small but it matters. Wet fish steams instead of grilling. Use paper towels and press gently — you want the surface dry so the seasoning sticks and you get actual grill marks.
- Make the marinade. Mix the olive oil, lemon juice, minced garlic, parsley, and red pepper flakes in a small bowl. Whisk it together until it looks combined. It won’t fully emulsify and that’s fine.
- Season the fillets. Lay the fish out on a plate or tray. Drizzle the 2 tablespoons of olive oil over them first, then sprinkle the salt, pepper, paprika, garlic powder, onion powder, and lemon zest evenly over both sides. Press it in lightly with your fingers.
- Let it sit for 10 minutes. Not an hour. Not overnight. Just ten minutes at room temperature while the grill heats up. Fish doesn’t need a long marinade — it’s not a tough cut of meat.
- Heat your grill to medium-high. If you’re using a grill pan on the stove, get it hot before the fish goes on. Brush the grates or pan with a little oil right before you cook. Cold grates equal stuck fish every single time.
- Grill the fillets. Place them down and don’t touch them for 4 to 5 minutes. Seriously, leave them alone. When they release cleanly from the grill, they’re ready to flip. Cook another 3 to 4 minutes on the other side. The fish should flake when pressed gently with a fork and be opaque all the way through.
- Drizzle with the marinade. Right off the grill, spoon that lemon garlic mixture over the top. The heat pulls it right into the fish. This is the step that makes the leftovers taste good the next day.
- Cool before packing. Let the fillets cool for about 10 minutes before putting them into containers. Hot fish in a sealed container gets soggy and sad. Give it a little air first.
- Divide into meal prep containers with your cauliflower rice, tomatoes, and cucumber. Add a lemon wedge to each one. Done.
Honestly the hardest part is waiting for the fish to cool before you seal everything up. I’ve rushed that step before and regretted it.
Small Tricks From Cooking Fish at Home
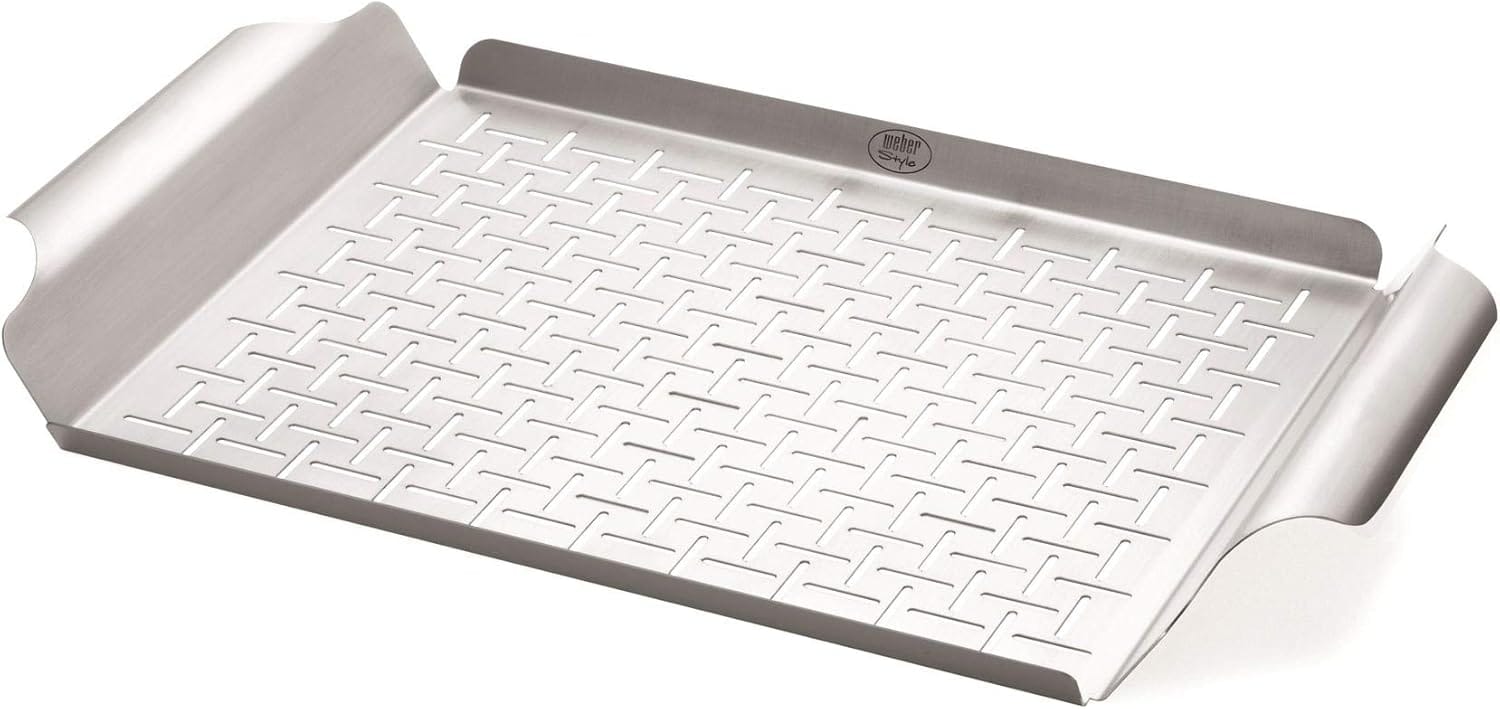
I’ll be honest, while I love an outdoor grill, for quick meal preps like this, I almost always use my Weber Grill Pan right on the stove. It gets incredibly hot, which is non-negotiable for getting those beautiful, deep grill marks we’re after. The surface is fantastic for delicate fish, letting it release cleanly without a fight — which, as I mentioned, is the difference between a perfect fillet and a torn-apart mess. It’s how I get that authentic grilled flavor and appearance without the full outdoor setup.
Stop worrying about fish sticking to the grates. Get the same grill pan I rely on for flawless results every time.
Weber Style 6435 Professional-Grade Grill Pan
✓ prime
We earn a commission if you make a purchase, at no additional cost to you.
The grill has to be hot before the fish touches it. I learned this the hard way the first dozen times I cooked fish outside. If the grill isn’t hot enough, the fish just sticks and tears when you try to flip it. Medium-high heat, preheated for at least five minutes, and oiled right before the fish goes on.
Thicker fillets need more time, thinner ones need less. Sounds obvious but when you’re meal prepping four pieces that aren’t all the same thickness, you’ll end up with one overcooked and one underdone if you’re not watching. I just check each one individually with a fork instead of going by time alone.
Don’t marinate white fish for more than 20 minutes in anything with lemon juice. The acid starts to cook the fish — same thing that happens in ceviche — and you end up with a weird texture before it even hits the heat. Ten minutes is plenty.
Smoked paprika is doing a lot of work in this recipe. It’s not just color. It adds a depth that plain paprika doesn’t have, and it makes the fish taste like it spent more time over the fire than it actually did.
If you’re using a grill pan indoors, crack a window. Fish smoke is real and it lingers. I found this out after cooking snapper on a Tuesday night and smelling it in the living room until Thursday.
Common Mistakes to Avoid
Moving the fish too early. This is the one that gets everyone. You put it down, you get nervous, you try to check it after two minutes. It tears. The fish will tell you when it’s ready to flip — it releases on its own when it’s actually cooked on that side. Trust the process and step back.
Overcrowding the grill or pan. If the fillets are touching each other, they steam instead of grill. Leave space between them. If you’re cooking for a bigger batch, do it in two rounds rather than cramming everything on at once.
Skipping the drying step. I know it feels unnecessary. It’s not. Moisture is the enemy of a good sear. Dry the fish, season it, and then grill it. That’s the order.
Sealing hot fish in containers. The steam trapped inside makes everything wet and mushy by the next morning. Cool it down first, even if it means waiting an extra ten minutes before you can put the kitchen away.
Variations and Serving Ideas
Spicy version: Double the red pepper flakes in the marinade and add a half teaspoon of cayenne to the dry rub. Serve with sliced avocado to balance the heat — the fat in the avocado calms it down nicely.
Mild version: Skip the pepper flakes entirely and swap the smoked paprika for sweet paprika. Add a little dried dill instead. It’s gentler and works really well with cod or tilapia if you’re making this for someone who doesn’t love bold flavors.
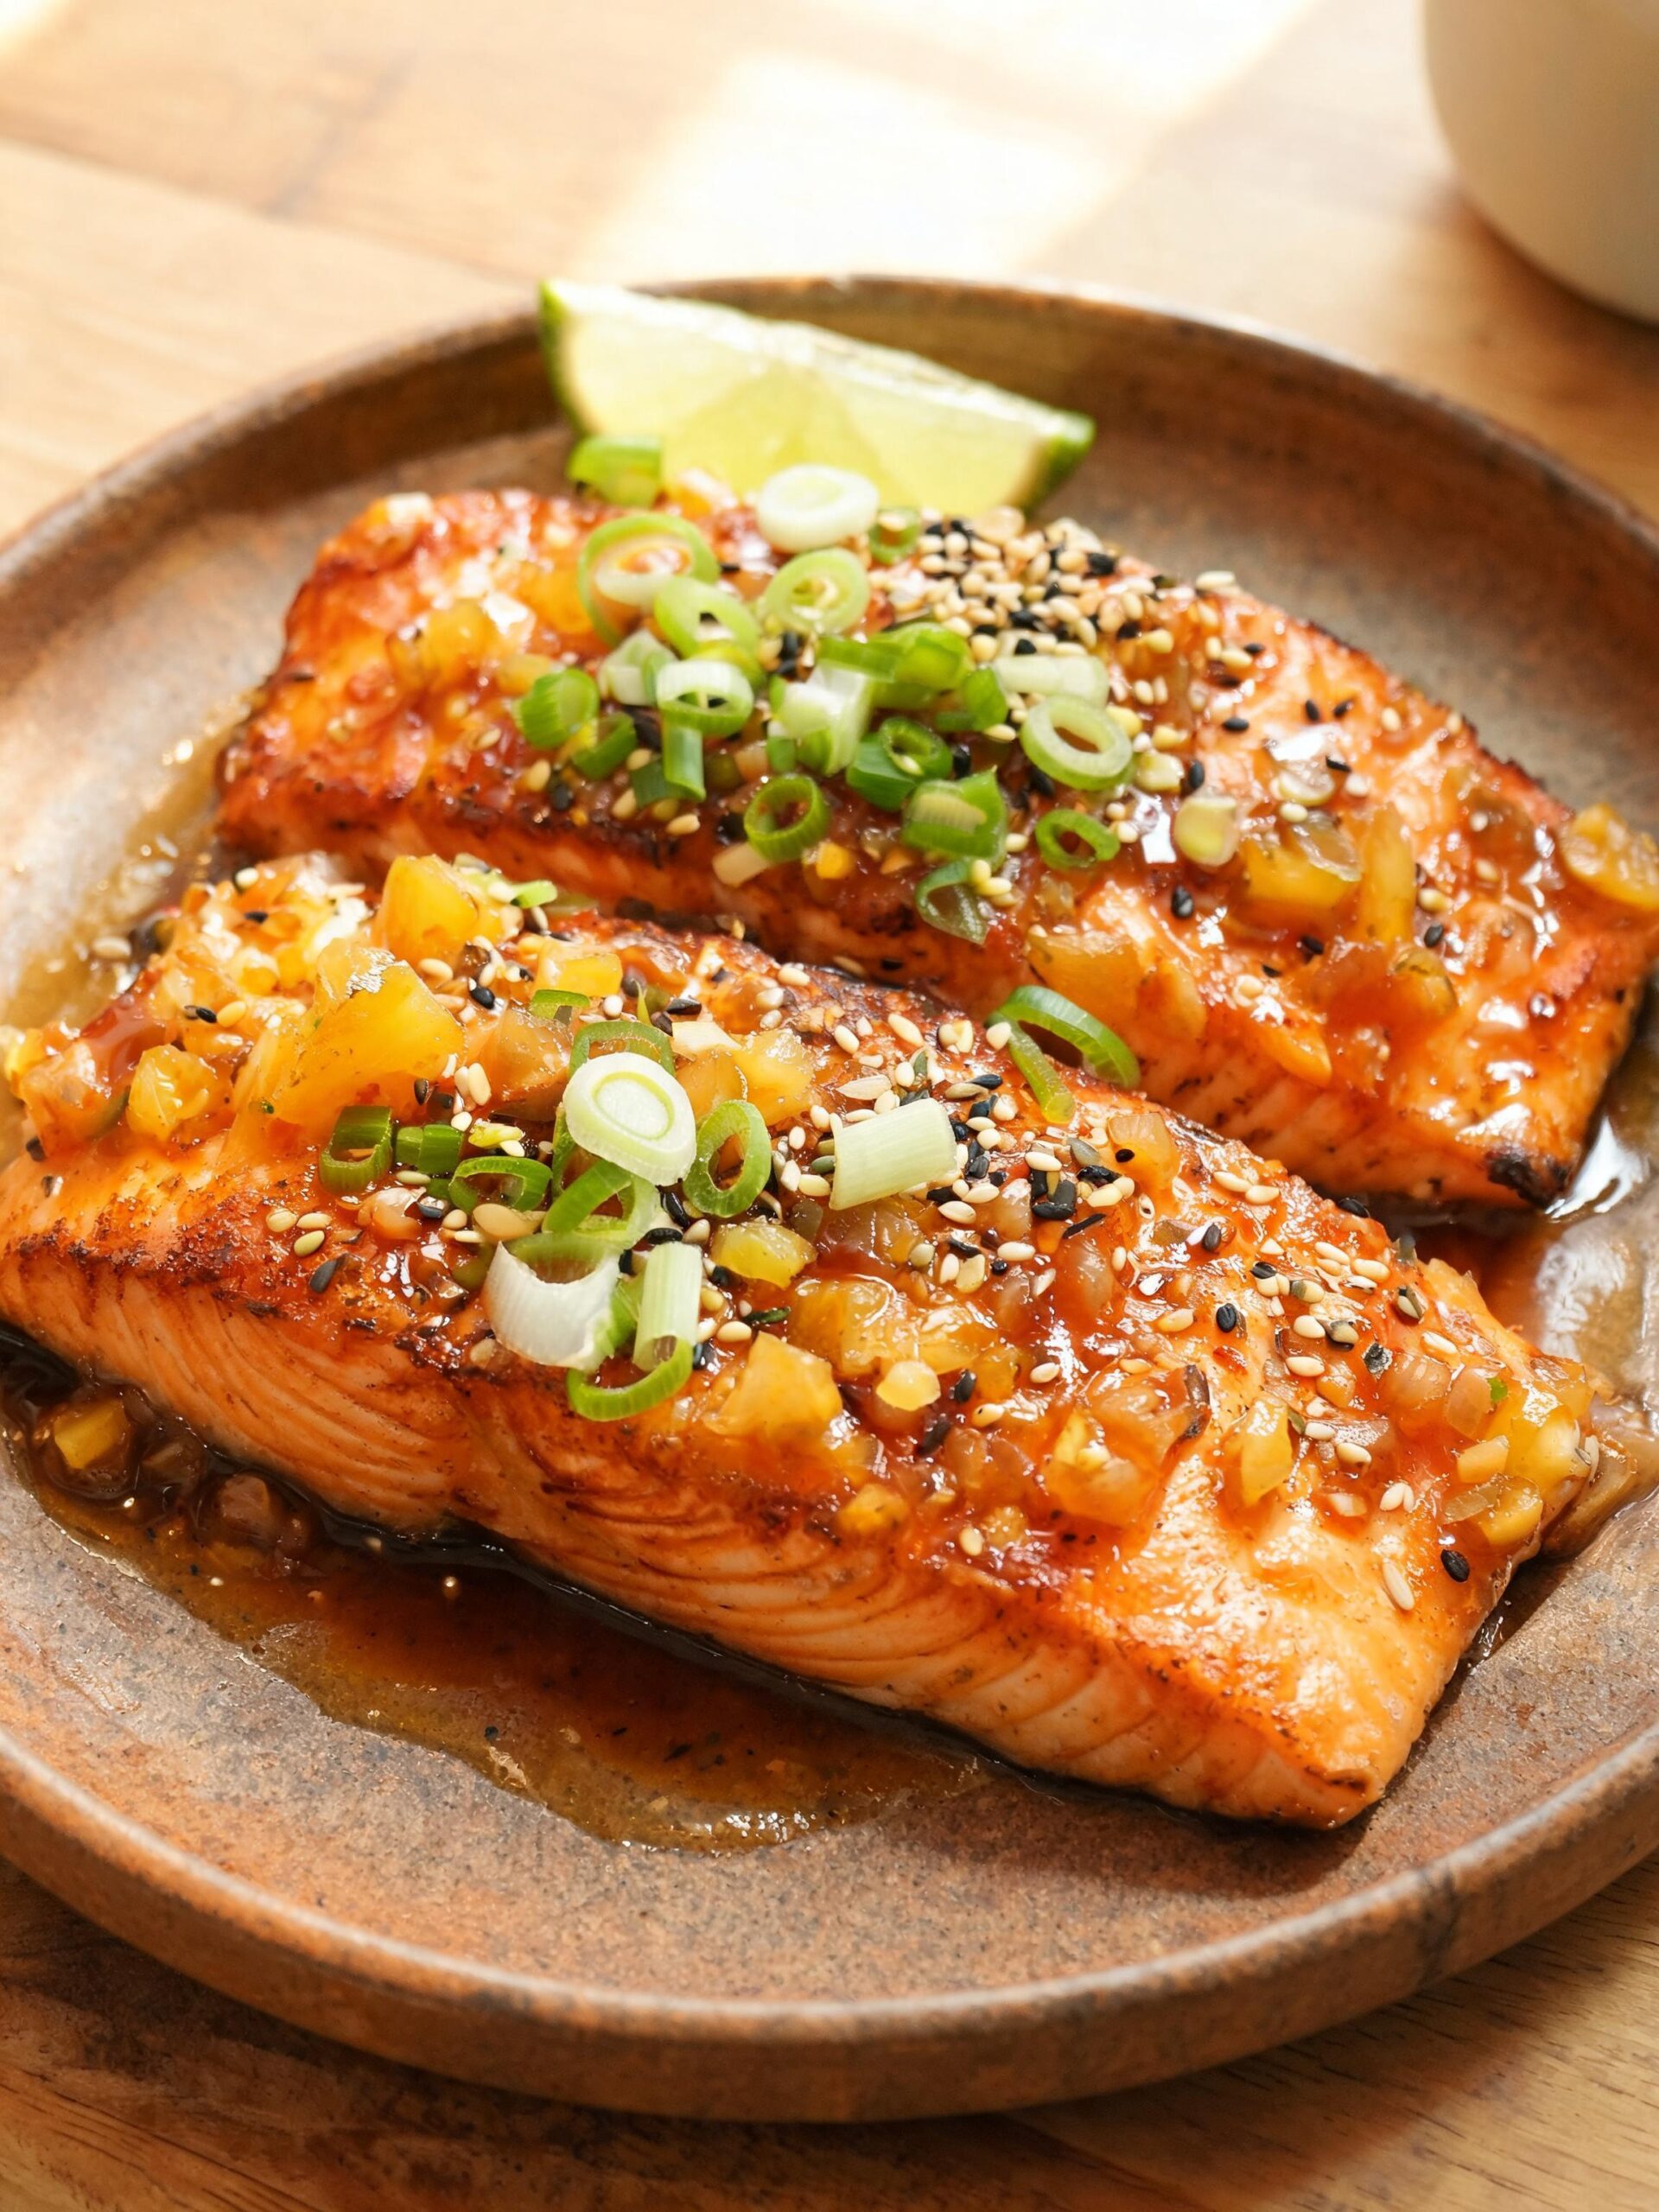
Coastal twist: After grilling, top the fish with a simple mix of diced mango, red onion, cilantro, and lime juice. It sounds fancy but takes about three minutes to throw together. This fresh topping offers a lighter alternative to the classic crispy fried fish you’d find at a seaside shack, and it tastes like something you’d eat at a picnic table twenty feet from the water.
What to Serve With
Cauliflower rice is the obvious one and it genuinely works — it’s soft and neutral and soaks up whatever marinade drips off the fish. But I also like pairing this with something that has a little crunch. Sliced cucumber, a simple slaw with cabbage and lime, or even just some raw snap peas on the side. The fish is soft and flaky so you want something that gives you a little texture contrast.
For a fuller meal, roasted zucchini or asparagus alongside it keeps everything low carb and adds some substance without making it heavy. A wedge of lemon on the plate is non-negotiable. It sounds like a small thing but it wakes everything up when you squeeze it right before eating.
Storage and Reheating
In the fridge, these fillets are good for up to three days in a sealed container. Day two is honestly my favorite — the lemon garlic flavor has had time to settle into the fish overnight.
DO NOT microwave fish on high. It ruins the texture and makes it rubbery and the smell is not something you want to deal with at work. Reheat it low and slow — 50% power for 60 to 90 seconds, covered with a damp paper towel. Or just eat it cold over salad. Cold grilled fish over greens with a little olive oil is actually really good.
DO NOT freeze these once they’re cooked and marinated. The texture falls apart when you thaw it. If you want to freeze fish for meal prep, freeze it raw and grill it fresh when you’re ready.
Keep the cauliflower rice and vegetables in a separate container from the fish if possible. They hold up better that way and the fish doesn’t get watery from sitting next to wet vegetables for three days.
FAQs (People Also Ask)
Can I use frozen fish for this recipe?
Yes, but thaw it completely first and pat it very dry before seasoning. Frozen fish holds a lot of water and if you skip the drying step it won’t grill properly — it’ll steam and stick. Overnight in the fridge is the best way to thaw it.
How do I know when the fish is fully cooked?
Press it gently with a fork in the thickest part. If it flakes apart and is opaque all the way through, it’s done. If it’s still translucent in the middle, give it another minute or two. Internal temperature should hit 145°F if you want to be precise about it.
Can I substitute the fish for something else?
Shrimp works really well with this same marinade and spice mix — just reduce the grill time to about 2 minutes per side. Salmon is another good option though it’s richer and will change the flavor profile a bit. Stick to white fish if you want the lightest result.
How long does this meal prep last in the fridge?
Three days is the safe window for cooked fish. I wouldn’t push it to four. It’s not worth it. If you know you won’t eat it all by day three, freeze the raw fillets instead and cook them fresh when you need them.
Is this recipe hard to make if I’ve never cooked fish before?
Not at all. If you can grill a chicken breast, you can grill a fish fillet. The main thing to remember is hot grill, dry fish, and don’t touch it until it releases on its own. That’s really the whole skill set you need here.
Nutrition Facts
(Per serving. Estimates only, varies by exact ingredients used)
Conclusion
There’s something grounding about coming home from the water with fish in the cooler and knowing exactly what the week’s going to look like. No scrambling for dinner at 7pm, no defaulting to something heavy and regrettable. Just good fish, a little lemon, and a grill that did most of the work.
This homemade low carb grilled fish meal prep has become one of those things I just do now without thinking much about it. It fits into the rhythm of how I cook — simple, coastal, real. And honestly, that’s all a good recipe ever needs to be.
Low Carb Grilled Fish Meal Prep
Ingredients
- 4 white fish fillets (6 oz each), such as mahi-mahi, cod, or snapper
- 2 tablespoons olive oil (for coating fish)
- 1 teaspoon sea salt
- 1/2 teaspoon black pepper
- 1 teaspoon smoked paprika
- 1/2 teaspoon garlic powder
- 1/2 teaspoon onion powder
- Zest of 1 lemon
- 3 tablespoons olive oil (for marinade)
- Juice of 1 large lemon
- 3 cloves garlic, minced
- 1 tablespoon fresh parsley, chopped
- 1/2 teaspoon red pepper flakes (optional)
- 2 cups cauliflower rice, cooked (for serving)
- 1 cup cherry tomatoes, halved (for serving)
- 1 small cucumber, sliced (for serving)
- Lemon wedges (for serving)
Instructions
- Pat all four fish fillets completely dry with paper towels on both sides. Set aside on a plate or tray.
- In a small bowl, whisk together 3 tablespoons olive oil, lemon juice, minced garlic, chopped parsley, and red pepper flakes to make the marinade. Set aside.
- Drizzle 2 tablespoons olive oil over the fillets. Sprinkle salt, black pepper, smoked paprika, garlic powder, onion powder, and lemon zest evenly over both sides of each fillet. Press the seasoning in lightly with your fingers.
- Let the seasoned fillets rest at room temperature for 10 minutes while you preheat your grill or grill pan to medium-high heat.
- Brush the grill grates or pan lightly with oil right before cooking. Place the fillets down and do not move them for 4 to 5 minutes until they release cleanly from the grill surface.
- Flip each fillet carefully and cook for another 3 to 4 minutes until the fish is opaque all the way through and flakes easily when pressed with a fork.
- Remove the fillets from the grill and immediately spoon the prepared lemon garlic marinade over the top of each one.
- Allow the fish to cool for 10 minutes before placing into meal prep containers. Divide with cauliflower rice, cherry tomatoes, cucumber slices, and a lemon wedge per container.
- Seal containers and refrigerate for up to 3 days.