Introduction
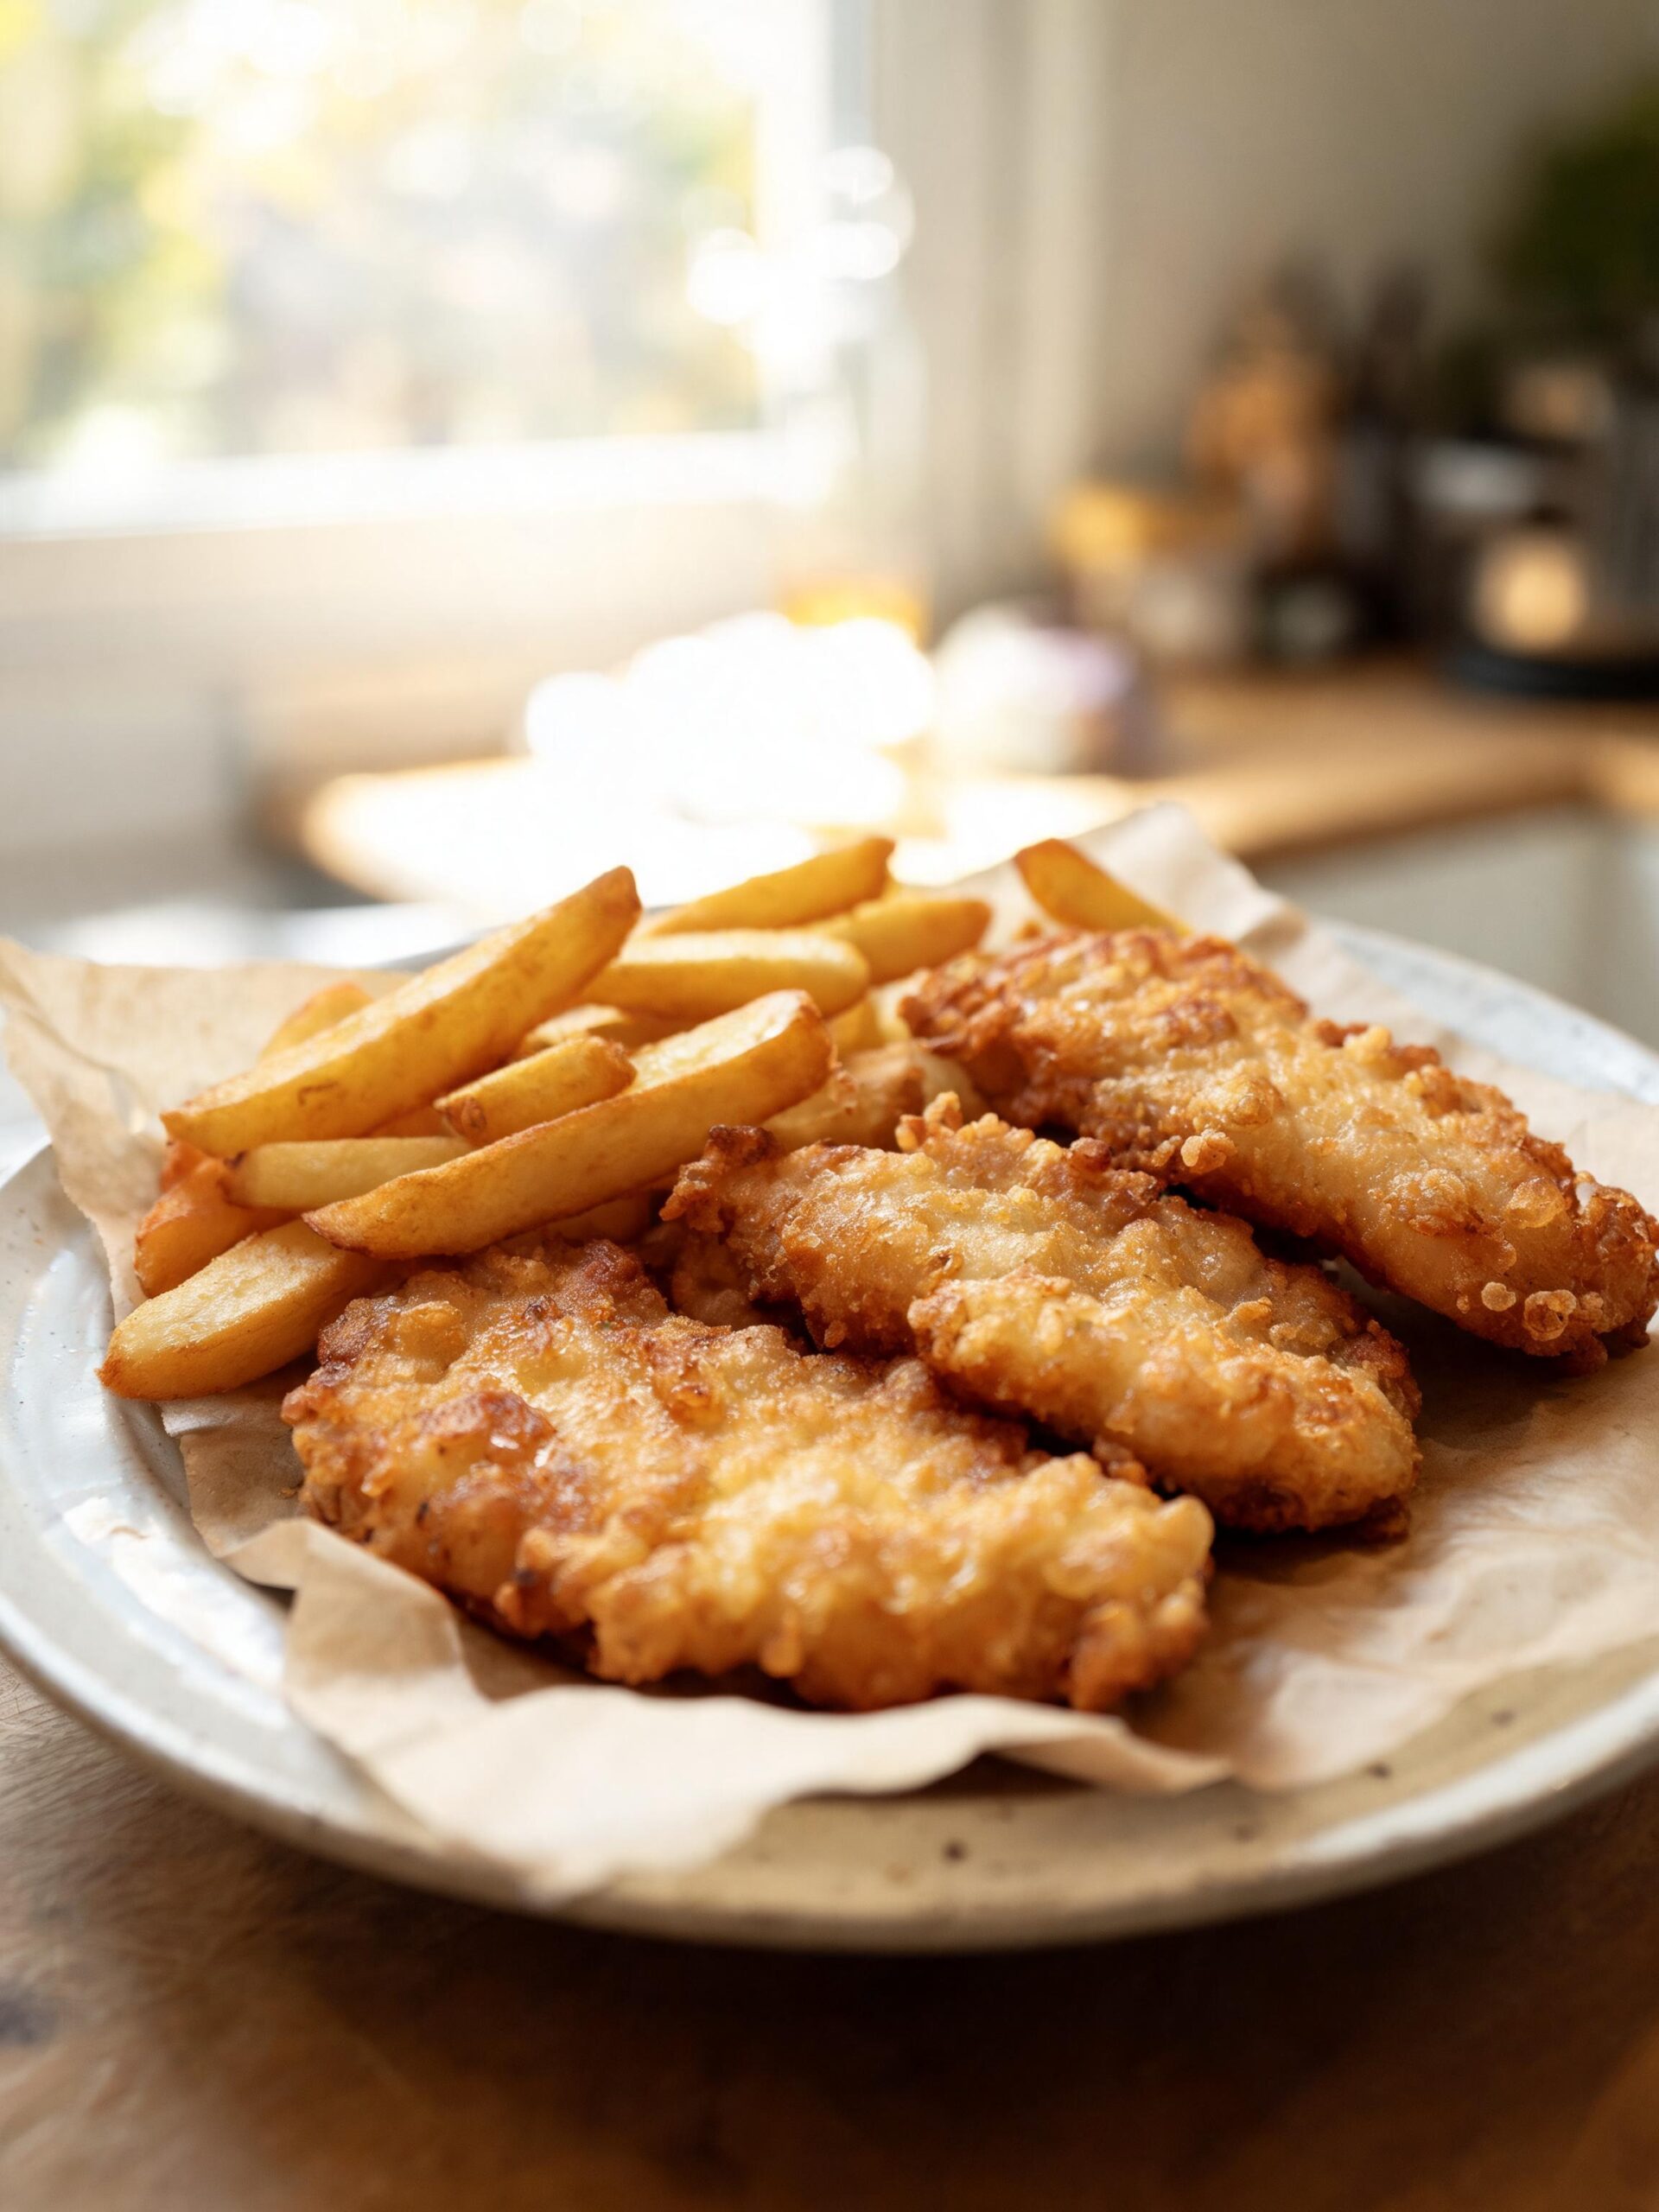
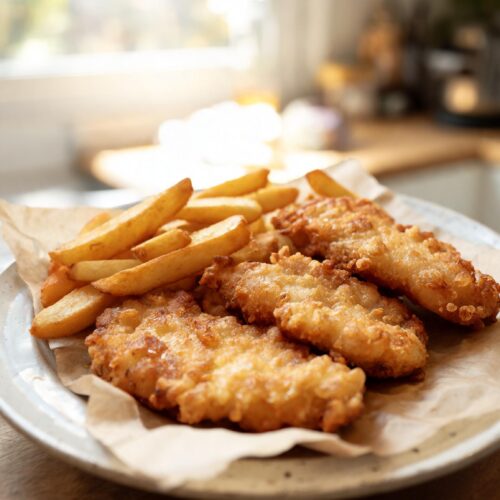
After twenty years behind the line in professional seafood kitchens, I can tell you there are few things more satisfying than a perfect plate of Beer Battered Fish and chips. It’s a dish that sounds simple, but the difference between a soggy, greasy fillet and a shatteringly crisp, golden-brown masterpiece comes down to technique. Forget the takeaway shop; I’m going to walk you through the exact process we use in high-end restaurants to achieve that legendary crunch with a flaky, perfectly steamed fish inside. This isn’t just a recipe; it’s the blueprint for mastering iconic seafood dishes, a skill that translates perfectly to other fried favorites like our crispy salt and pepper calamari. We’ll cover the science of the batter, the critical importance of oil temperature, and the little details that separate the amateurs from the pros. Get ready to make the best fish and chips of your life, right in your own kitchen.
Why You’ll Love This Recipe
- Unbeatable Texture: The combination of cold beer and leavening agents creates an incredibly light, airy, and audibly crunchy batter that stays crisp long after it leaves the fryer.
- Perfectly Cooked Fish: The batter forms a protective shell, essentially steaming the fish inside so it remains moist, tender, and flaky.
- Simple, High-Impact Ingredients: You don’t need a laundry list of fancy items. This recipe uses pantry staples to produce restaurant-quality results, proving that great food is about technique, not complexity.
Ingredients List
The quality of your final dish is directly tied to the quality of your ingredients. Here’s exactly what you need and why.
For the Fish:
- White Fish Fillets: 2 lbs firm white fish (such as cod, haddock, or pollock), cut into 4 equal portions (about 6-8 oz each). The fish should be about 1 to 1.5 inches thick. This thickness is crucial for it to steam perfectly inside while the batter crisps.
- All-Purpose Flour: 1/2 cup, for dredging. This initial flour coating is non-negotiable. It absorbs surface moisture and gives the wet batter something to cling to.
- Kosher Salt and Black Pepper: To taste, for seasoning the fish directly before dredging.
For the Beer Batter:
- All-Purpose Flour: 1 1/2 cups. AP flour provides the right structure without becoming too heavy.
- Cornstarch: 1/4 cup. This is a key ingredient for crispiness. Cornstarch inhibits gluten formation, resulting in a lighter, more delicate crust.
- Baking Powder: 2 teaspoons. This acts as a chemical leavener, creating tiny air bubbles that expand in the hot oil, making the batter airy and light.
- Kosher Salt: 1 1/2 teaspoons. For seasoning the batter itself.
- Paprika: 1 teaspoon (optional, for color). A touch of paprika will give your batter a beautiful golden-amber hue.
- Cold Beer: 12 oz (1 can or bottle) of a light-style lager or pilsner. The beer must be ice-cold. Its carbonation provides lift, and the alcohol evaporates faster than water, aiding in crisping.
For Frying:
- Neutral Oil: 48 oz (about 6 cups) of a high-smoke-point oil like canola, peanut, or vegetable oil. You need enough for the fish to be fully submerged without touching the bottom.
Step-by-Step Instructions
- Prepare the Fish: Pat the fish fillets completely dry with paper towels. This step is critical for batter adhesion. Season both sides generously with salt and pepper. Place the 1/2 cup of flour for dredging in a shallow dish.
- Heat the Oil: Pour the oil into a large, heavy-bottomed pot or Dutch oven. You need at least 2 inches of depth. Heat the oil over medium-high heat until it reaches 360°F (182°C). Use a deep-fry or candy thermometer to monitor the temperature precisely. This is the single most important factor for success.
- Make the Batter (Only When Ready to Fry): While the oil is heating, prepare the batter. In a large bowl, whisk together the 1 1/2 cups of flour, cornstarch, baking powder, salt, and paprika. Do not add the beer until the oil is at temperature and you are ready to fry immediately. The carbonation is most active right after mixing.
- Combine Wet and Dry: Once the oil is hot, pour the ice-cold beer into the dry ingredients. Whisk gently until just combined. A few small lumps are perfectly fine. Over-mixing will develop gluten and result in a tough, chewy batter instead of a light, crispy one. The consistency should be similar to a thin pancake batter.
- Dredge and Dip: Working with one piece of fish at a time, dredge it in the plain flour, shaking off any excess. This dry layer is what the wet batter will grab onto. Then, dip the floured fillet completely into the beer batter, allowing any excess to drip off for a second.
- Fry the Fish: Carefully lower the battered fish into the hot oil. Lay it in the oil away from you to prevent splashing. Do not overcrowd the pot; fry in batches of two pieces at most. Overcrowding will drop the oil temperature, leading to greasy fish. Fry for 5-7 minutes, flipping halfway through, until the batter is a deep golden brown and very crisp. The fish should float when it’s nearly done.
- Drain and Season: Remove the fish from the oil using a spider strainer or slotted spoon and place it on a wire rack set over a baking sheet. Do not drain on paper towels, as this will trap steam and make the bottom soggy. Immediately season with a little more salt while it’s still hot.
- Maintain Temperature and Serve: Check that the oil has returned to 360°F before adding the next batch. Serve the fish immediately with chips (fries), lemon wedges, and tartar sauce.
Chef’s Pro Tips for Success
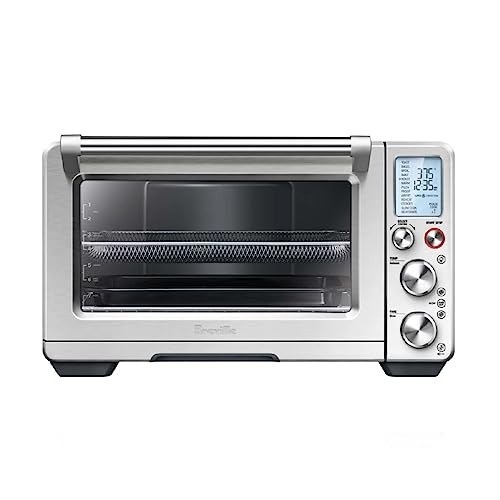
To get that perfect 360°F oil temperature I keep talking about, you have to stop guessing. A clip-on thermometer is slow and messy, but an infrared thermometer gun gives you an instant, precise reading right on the surface where the action happens. This is the exact type of tool we use in professional kitchens to guarantee that shatterproof crust every single time. It’s the difference between good and great.
This ThermoPro gun is the one I recommend for home cooks; it’s fast, accurate, and eliminates all the guesswork.
ThermoPro TP420 Digital Infrared Thermometer Gun
✓ prime
Check PriceWe earn a commission if you make a purchase, at no additional cost to you.

I’ve said it before, and I’ll say it again: mastering your oil temperature is the line between a greasy failure and a crispy triumph. In a professional kitchen, we don’t guess. For years, I’ve relied on an infrared thermometer gun. It lets me get an instant, pinpoint-accurate reading of the oil’s surface temperature without having to clip a messy probe to the side of my pot. This means I know the exact moment to drop the fish and can quickly check that the oil has recovered between batches. It’s the single best tool for guaranteeing that shatteringly crisp crust we’re all chasing.
Stop guessing and start frying like a pro. Get the tool I trust in my own kitchen.
After frying thousands of pieces of fish, I’ve learned a few things. These are the non-negotiable rules for a perfect Beer Battered Fish every single time.
- The Colder, The Better: The magic of a great batter is the temperature differential between the batter and the oil. Keep your beer in the freezer for 20 minutes before you mix it. You can even place your mixing bowl in the freezer. When this ice-cold batter hits the hot oil, it creates a violent reaction that instantly sets the crust into a light, airy shell, preventing oil from penetrating and steaming the fish inside.
- The Double Dredge is Mandatory: I see many home cooks skip the initial dry flour dredge. This is a fatal flaw. A wet fillet plus a wet batter equals a slippery mess where the batter slides right off in the fryer. The dry flour acts as a primer, absorbing any residual moisture on the fish and creating a starchy surface for the wet batter to grip onto like glue.
- Master Your Oil Temperature: Frying is a science. 360°F is the sweet spot. If your oil is too low (e.g., 325°F), the batter will absorb oil like a sponge before it has a chance to crisp up, resulting in a heavy, greasy product. If it’s too high (e.g., 400°F), the batter will burn before the thick fillet inside has a chance to cook through. Use a thermometer and cook in batches, allowing the oil to recover to 360°F between each batch.
- Don’t Overmix the Batter: When you mix flour and liquid, you start developing gluten. Gluten is great for chewy bread, but it’s the enemy of a light, crispy batter. Whisk the beer into your dry ingredients until they are just barely combined. Lumps are your friend here. They are pockets of unincorporated flour that will create a craggy, interesting texture. A smooth, overworked batter will be dense and tough.
- Drain on a Wire Rack, Not Paper Towels: This is a simple but game-changing tip. When you place hot, fried food on a flat surface like a paper towel-lined plate, the steam gets trapped underneath. This steam softens that beautiful crust you just worked so hard to create. A wire rack allows air to circulate all around the fish, keeping the bottom just as crispy as the top.
Common Mistakes to Avoid
I’ve seen it all go wrong. Here are the most common pitfalls and how to ensure you don’t fall into them.
- The Soggy Bottom Disaster: You pull out a beautiful piece of fish, but by the time it gets to the table, the bottom is soft and oily. This is almost always caused by draining on paper towels instead of a wire rack. The trapped steam is the culprit. The second cause is letting the oil temperature drop too low, which allows the batter to become oil-logged.
- The Case of the Disappearing Batter: You lower the fish into the oil, and the batter immediately bubbles up and separates from the fillet, leaving you with a naked piece of fish and a bunch of fried batter scraps. This happens for two reasons: you didn’t pat the fish dry enough, or you skipped the initial flour dredge. Without that dry, starchy surface, the wet batter has nothing to adhere to.
- The Tough, Bready Crust: Your batter looks okay, but the texture is more like a chewy pancake than a delicate, crispy shell. This is a direct result of over-mixing. You activated too much gluten in the flour. Remember, mix until just combined. Treat it gently. You are not making bread dough.
- Burnt Outside, Raw Inside: The exterior is dark brown, even burnt in spots, but the fish inside is still translucent and undercooked. Your oil was way too hot. The intense heat cooked the outside far too quickly, not allowing enough time for the heat to penetrate and cook the thick fillet. This is why a thermometer isn’t optional; it’s essential equipment.
Variations and Serving Ideas
While the classic recipe is a masterpiece, you can certainly put your own spin on this fantastic Beer Battered Fish. For serving, think about textures and flavors that complement the rich, fried fish.
Variations:
- Spice it Up: Add 1/2 teaspoon of cayenne pepper, smoked paprika, or garlic powder to the dry batter mix for an extra layer of flavor. A pinch of Old Bay seasoning is a classic American seafood addition that works beautifully.
- Beer Selection: While a light lager is standard for its clean taste, you can experiment. A dark stout like Guinness will produce a much darker, richer, and more malty-flavored batter that is incredible with cod. An IPA will add hoppy, slightly bitter notes.
- Gluten-Free Version: You can successfully make this gluten-free. Use a one-to-one gluten-free flour blend in place of the all-purpose flour and use a gluten-free beer or plain sparkling water. The results are surprisingly crisp.
Serving Ideas:
- Classic Tartar Sauce: Don’t use the jarred stuff. A quick homemade tartar sauce is superior. Mix 1 cup of good quality mayonnaise with 1/4 cup of finely chopped dill pickles or relish, 1 tablespoon of capers, 1 tablespoon of lemon juice, and 1 tablespoon of fresh dill.
- Malt Vinegar: A staple in British fish and chip shops for a reason. The sharp acidity cuts through the richness of the fried fish perfectly. A light sprinkle is all you need.
- Lemon Wedges: A fresh squeeze of lemon juice brightens everything up and provides a necessary acidic counterpoint.
What to Serve With
A great main needs great supporting actors. Here are the perfect pairings for your fish and chips.
- Thick-Cut Fries (‘Chips’): The classic pairing. For the best results, use a double-fry method: fry potatoes once at a lower temperature (325°F) until soft, then a second time at a higher temperature (375°F) until golden and crisp.
- Creamy Coleslaw: A cool, creamy, and crunchy coleslaw provides a refreshing contrast to the hot, crispy fish. The tanginess helps cut through the fat.
- Mushy Peas: A British classic. While it may sound unusual to some, the sweet, earthy flavor of mushy peas is a traditional and delicious accompaniment.
- Simple Green Salad: If you want something lighter, a simple salad of mixed greens, cucumber, and cherry tomatoes with a sharp lemon vinaigrette is an excellent choice. For another show-stopping seafood meal, you could also try an authentic Spanish seafood paella.
Storage and Reheating
Let’s be honest: fried food is best enjoyed immediately. However, if you have leftovers, here is the proper way to handle them to retain some of that original crunch.
Storage: Allow the fish to cool completely to room temperature on a wire rack. This prevents condensation from forming. Once cool, store it in an airtight container in the refrigerator for up to 2 days. Do not wrap it in plastic wrap, as this will trap moisture and make it soggy.
Reheating: The microwave is your enemy here; it will turn the crispy coating into a steamy, soft mess. The best way to reheat is in an oven or an air fryer. Preheat your oven or air fryer to 400°F (200°C). Place the fish on a wire rack set on a baking sheet (to allow air circulation) and heat for 6-10 minutes, or until heated through and the crust has re-crisped. The air fryer is particularly effective at this.
FAQs (People Also Ask)
1. Can I make the beer batter ahead of time?
Absolutely not. The magic of the beer batter comes from the active carbonation in the beer, which creates a light, airy texture. As soon as you mix it, those bubbles start to dissipate. The batter should be made immediately before you are ready to start frying for maximum crispiness.
2. What is the best oil for frying fish?
You need a neutral oil with a high smoke point (the temperature at which it starts to break down and smoke). Excellent choices include peanut oil, canola oil, vegetable oil, or safflower oil. Avoid oils with low smoke points like extra virgin olive oil, as they will burn and impart a bitter flavor.
3. Can I make this recipe without beer?
Yes. The primary function of the beer is its carbonation. You can substitute the beer with an equal amount of ice-cold sparkling water or club soda. You will lose the subtle malty flavor from the beer, but you will still achieve a very light and crispy batter from the carbonation.
4. How do I know when the fish is perfectly cooked inside?
There are a few signs. The fish will typically float to the surface of the oil as it gets close to being done. The best way to be certain is to check a piece. Remove it from the oil and insert a fork into the thickest part. If it flakes easily, it’s done. The internal temperature should register 145°F on an instant-read thermometer.
5. Why did my batter fall off the fish in the fryer?
This is the most common frustration, and it’s almost always due to improper prep. You must start with very dry fish fillets (pat them thoroughly with paper towels). Secondly, you must dredge the dry fillet in plain flour before dipping it in the wet batter. This dry flour coating acts as a primer, giving the wet batter something to cling to. Without it, the batter will slide right off the moist surface of the fish.
Nutrition
Nutrition Facts
(Per serving. Estimates only, varies by exact ingredients used)
Conclusion
You now have the complete chef’s guide to making truly exceptional, pub-quality Beer Battered Fish. It’s a recipe that relies on technique over complicated ingredients, and once you master the key steps—cold batter, proper dredging, and precise oil temperature—you’ll be able to replicate it perfectly every time. There’s nothing quite like the sound of that crunch and the taste of that flaky fish. So heat up your oil, grab a cold beer, and get ready to enjoy one of the greatest seafood meals there is.
Crispy Homemade Beer Battered Fish and Chips
Ingredients
- 2 lbs firm white fish (cod, haddock, or pollock), cut into 4 portions
- 1/2 cup all-purpose flour, for dredging
- Kosher salt and black pepper, to taste
- 1 1/2 cups all-purpose flour, for batter
- 1/4 cup cornstarch
- 2 teaspoons baking powder
- 1 1/2 teaspoons Kosher salt
- 1 teaspoon paprika (optional)
- 12 oz cold beer (lager or pilsner)
- 48 oz neutral oil, for frying (canola, peanut, or vegetable)
Instructions
- Pat fish fillets completely dry and season with salt and pepper. Place the 1/2 cup of dredging flour in a shallow dish.
- Heat 2 inches of oil in a large Dutch oven to 360°F (182°C). Use a thermometer for accuracy.
- While oil heats, whisk together 1 1/2 cups flour, cornstarch, baking powder, salt, and paprika in a large bowl.
- Once oil is at temperature, pour the ice-cold beer into the dry ingredients and whisk gently until just combined. Do not overmix.
- Dredge a piece of fish in the plain flour, shake off excess, then dip completely in the beer batter.
- Carefully lower the battered fish into the hot oil. Fry in batches of two for 5-7 minutes, flipping halfway, until deep golden brown and crisp.
- Remove fish with a slotted spoon and drain on a wire rack. Immediately season with a pinch of salt.
- Ensure oil returns to 360°F before frying the next batch. Serve immediately.